
iPhone 7 screen repair can be accomplished smoothly if you take your time and have the correct tools and equipment.
Tools Needed:
- Metal spudger [BUY NOW]
- Phillips Head Screwdriver [BUY
NOW] - Pentalobe Screwdriver [BUY NOW]
- Tri-point Screwdriver [BUY NOW]
- Spudger [BUY NOW]
- Guitar Pick
- Dehydrator, Heat Gun, or Heat Mat [BUY NOW]
Recommended: Magnetic Mat [BUY NOW],
Screw Capsules [BUY NOW]
Parts Needed:
- iPhone 7 LCD Assembly [BUY
NOW]
General Repair Guidelines:
- Always use good lighting. Smart device components, for instance, are small. You’ll need plenty of light to see
what you are doing. - Maintain a clean,
organized workspace. This prevents losing or confusing any components. - Group your screws so you can keep track of where they came from. Most screws cannot be interchanged.
- Apply enough heat to loosen adhesive. However, take care not to overdo it and damage the device.
- At any point, if the adhesive becomes hard to separate, apply more heat.
- After separating adhesive, keep the housing and screen in close proximity until flex cable is disconnected.
Introduction
iPhone 7 screen repair is moderate in difficulty. Several flex cables can be torn easily. Above all, use caution. For
instance, loosening the adhesive that keeps the screen sealed to the body requires properly heating them with a
dehydrator or heat gun. Let’s get to it!
iPhone 7 Screen Repair Step by Step
Before beginning, heat up the device’s interior adhesive strips with a dehydrator, heat gun, or heat mat. Heat guns are
the quickest. However, use caution. It can be easy to overdo it and damage the device.
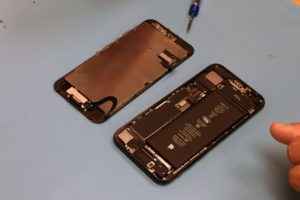
Open the iPhone 7
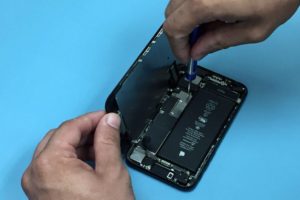
- Unscrew the two pentalobe screws on the bottom edge of the phone on either side of the lightning port.

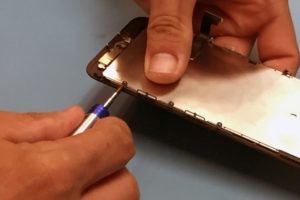
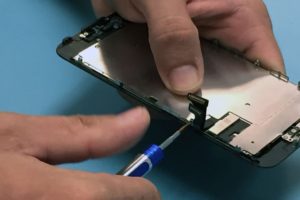
- Use the metal spudger to slowly and carefully separate the screen of the iPhone from the body. Start on the bottom
edge of the device and proceed slowly.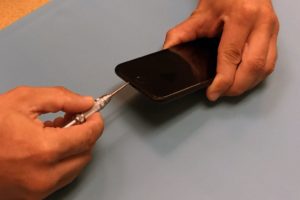
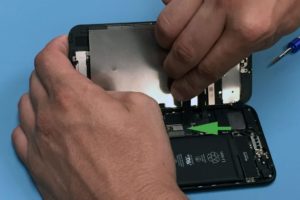
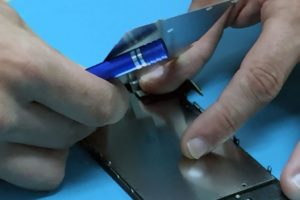
- Continue using the metal spudger or use playing cards or guitar picks to gently separate the adhesive up the sides
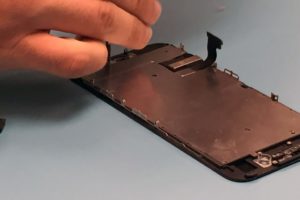
and top. Don’t push too deeply towards the center of the device. - The left side of the screen will open off the body; like a book opened from the back cover. The flex cable
connecting the screen to the battery will still be attached so open it carefully.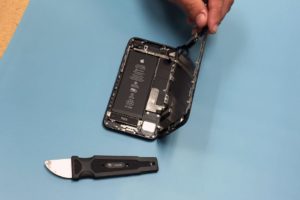
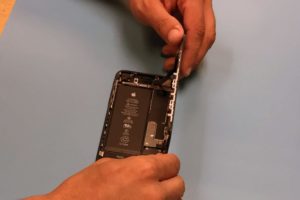
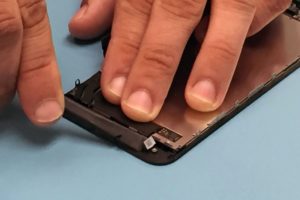
Disconnect the Cables
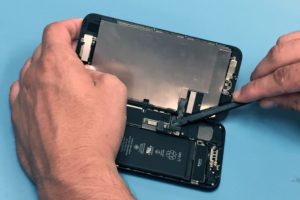
- A silver EMI shield on the mid-right side of the phone needs to be removed. It is held in place by four tri-point
screws.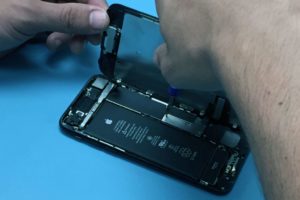
- After removing the shield, use a spudger to disconnect the battery from the logic board.
- Use the spudger to disconnect the display connector flex cable.
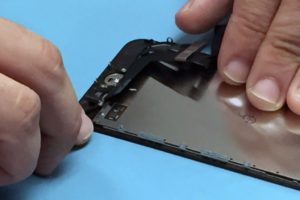
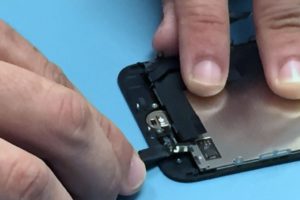
- Remove the two Philips head screws on the shield over the front panel sensor assembly connector. It is the silver
shield near the top of the phone with the flex cable coming out of the bottom.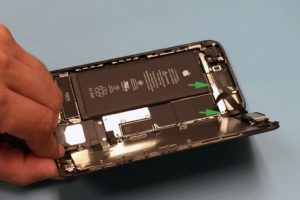
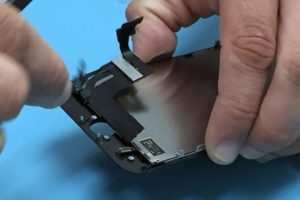
- With your spudger, disconnect the black front panel sensor assembly connector cable from the logic board. It is
the one that connects the screen to the body. - You can now remove the LCD assembly of the iPhone 7 from the body.
Remove the Front Camera and Earpiece
- Next, we will remove the three Phillips head screws that hold the silver earpiece bracket on the top of the LCD
assembly.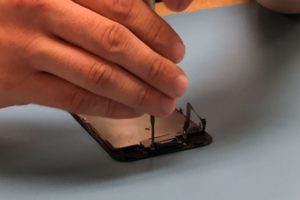
- Pull the front camera up and out of the way with your spudger or tweezers. Remove the two Phillips head screws
attached to the earpiece speaker. You can now also remove the earpiece speaker.
- Use your spudger to remove the ambient light sensor and proximity sensor. This is a thin cable that is easy to
tear so use caution.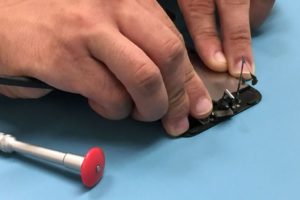
Remove the Touch ID/Home Button
NOTE: The touch ID must be removed carefully. Failing to remove it safely or breaking it will require visiting
an Apple store. The touch ID must be removed carefully. Failing to remove it safely or breaking it will
require visiting an
Apple store.
- Remove the four pentalobe screws holding the touch ID/home button bracket.
- Work your way around the side brackets on the both sides of the assembly, unscrewing all 6 tri-point screws.
- Peel the large LCD shield away, starting from the top.
- Use your spudger to disconnect the home button cable connector.
- Disconnect the underlying connection with caution.
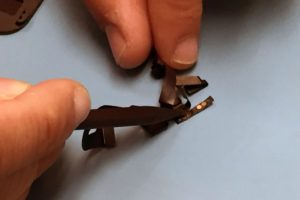
- Pry the adhesive holding the touch ID/home button to the back of the digitizer.
- The home button is now unattached and can be removed but pushing it forward through the front of the screen.
For Help, Repairs, or Parts
For iPhone 7 Replacement Parts, or if iPhone 7 screen repair
is too much to attempt on your own and you need a repair professional skilled at iPhone
7 Repair,
contact iFixYouri at 888-494-4349 or www.ifixyouri.com.