Category Archives: Tips

What To Do When an iPhone LCD Screen is Damaged

You probably suspect by now that the LCD screen on your iPhone is one of the most sensitive and vulnerable parts of your gadget. LCD (Liquid Crystal Display) screens are commonly used in many electronic gadgets such as TVs and computer monitors.

The screen is made up of ultra-thin layers. Two of those layers are polarized panels, between which is a solution of liquid crystal – hence the name. When light is projected through these layers, the liquid crystal layer becomes colorized and produces the image that we see on the phone. Due to its design and material, the LCD screen is easily prone to damage and breakage.

LCD Screen Maintenance Tips

To extend the usable life of your iPhone and keep it in top shape, use these tips on care and maintenance:

Keep Your LCD Screen Clean

In most cases, an LCD screen will only require regular wipes to remove dust. If oil or grime gets on the surface of the phone, use 70% rubbing alcohol and a piece of chamois or flannel. Use this to wipe off the surface. Do not use ammonia-based cleaning products, window or glass cleaners, rough cloths or paper towels.

Use a Protective Screen Film

Screen film is thin and transparent with a stick-on side that can be applied on the surface of the screen. This will help protect it from the usual problems associated with regular wear-and-tear, such as scratches (which will also eliminate the need for LCD screen scratch repair). It can be peeled off and replaced with a new one every few months.

Avoid Dropping the Phone

If the polarized panels break, the liquid crystal solution will leak and cause distortion on the screen. Avoid carrying your phone around during vigorous activity such as exercise and keep it in a protective case. The extra rubber, silicone or plastic barrier will help protect the surface against dents, dings, and scratches. There are even cases that are designed to shield the iPhone against shock. These cases are usually enough to protect the device from low falls but won’t do much if you drop your phone from a considerable height.

What Happens If I Damage the Screen?

If the damage is extensive or affects the functionality of the iPhone, you can have a professional service such as iFixYouri repair or replace the screen or buy it for cash. Unless you have the expertise and experience, it is not recommended that you attempt to replace the screen yourself. Doing so could cause serious, irreparable damage (that may greatly outweigh the LCD screen repair cost). Besides, you could void the warranty if the coverage is still active. Have the experts work on the problem instead.

What to Know About iPhone Battery Replacement

iphone-battery-replacement-ifixyouriRechargeable batteries may run for a long time but they do have a limited lifespan. iPhone batteries, for example, are good for roughly 400 charge cycles. Performance starts to degrade afterwards and owners will need an iPhone battery replacement in order to continue using the device when hopes of extending the iPhone battery life has been lost.

Sometimes a replacement is required much earlier, such as when the unit routinely fails to charge or runs out of power very quickly and such cases may require a iPhone battery replacement kit. Owners can also have their phones processed at Apple service centers. They could also opt to replace it themselves as spare batteries are available online at reasonable prices. The guide below offers simple instructions for DIY iPhone battery replacement.

Step-by-Step Guide to iPhone Battery Replacement

  1. Close all the apps and turn off the phone with a prolonged press of the power button. Swipe the red slider on the screen as instructed to complete the process. Wait for a few seconds before proceeding to the next step.
  2. Look down at the bottom of the device. For the iPhone 4 and 4S, there should be a tiny screw at both ends of the port. Use suitable screwdrivers to loosen them then keep them somewhere safe for easy retrieval later on.
  3. In order to lift the back plate, try to put some pressure on it and slide it down just a little bit until it gives way. Apply more downward pressure and increase surface contact if it proves hard to budge.
  4. The iPhone 4 battery is immediately visible when facing the back of the phone. It is held in place by a lone screw while the 4S uses a more secure dual arrangement. These will have to be taken out in order to get to the battery itself.
  5. Slowly lift up the connector at the lower left-hand corner of the battery with any slender tool that would fit in the tight space. Be sure not to scratch the areas surrounding it.
  6. Take the battery out by lifting the plastic tab attached to its side. This may prove challenging and require a good amount of force, but do it gradually so as not to upset nearby components.
  7. The new battery is ready to be inserted. Align the contacts and secure it with the screw that was removed earlier. Insert the back plate and tighten the screws at the bottom. Power up the phone and enjoy.

Things to Consider Regarding iPhone Battery Replacement

  • When buying a new battery, be sure to get one for the right iPhone model. Those on the market all have slightly different shapes and connector placements so find a piece that fits.
  • Having the right kind of tools is also important when trying to open the case.  Household screwdrivers or a specifically tailored iPhone repair tool kit.
  • The components are extremely small and packed densely so a good steady hand is ideal. Apply even pressure and never force anything on the device.

In Conclusion

iPhone battery replacement is a fairly uncomplicated task that owners may attempt when the situation calls for it. On the other hand, those who are uncomfortable about opening their phones or are unsure whether the battery is truly at fault can send their units to a repair shop such as iFixYouri for proper diagnosis and parts replacement.

Make iPhone Ringtones for Free in iTunes

free-iphone-ringtones-ifixyour

So you just bought an iPhone, and you want to buy a custom ringtone. Then you discover the songs are a buck each, and then another buck to make them into a ringtone on iTunes. If you want them for free, I’ll show you how to do it all within iTunes, no external program required.

Set Up for Free iPhone Ringtone

What to do first is to go into iTunes and pick a song. You can only pick a song that was not bought in the iTunes store. So either a song ripped from a CD, or that you find elsewhere on the internet.

Take the song, right-click on it and select “Get info”. Go down to the options menu and pick the start time and the stop time. Say the part of the song that you want to use for a ringtone is in the middle of it.  Indicate the start time for when the section of the song begins, and end it wherever you want. It doesn’t matter where it is in the song, as long as it lasts less than 40 seconds. Notice there are no dots in between minutes and seconds.

Now you’ve set when the song starts, and when it stops. If you were to play the song now that you’ve created a start and stop time, it will only last as long as the segment you indicated, even though the length of the song will still be the same. What you can do is right-click again, and choose “create AAC version”.  Create an AAC version and iTunes will create a copy of the song with the times that you have selected.

Fix Your Files

Next, go back to the song you’ve altered and undo the time changes you made in the options. That way, when you go back to listen to it later, it doesn’t just play the short clip you arranged.  Then take the short version for your ringtone to your desktop, and return to iTunes. Delete the short version from iTunes, so the copy isn’t taking up space in iTunes anymore.

Make the iPhone Ringtone

Next, go to the short track on your desktop, click on it, and change the name. Notice the format of the song is MPEG4 (‘M4A’ file extension). You’re just going to delete the A, to create an R, so the file’s extension would be .M4R instead of .M4A. If an alert comes up, confirm that you’re changing the extension.

Double-click on the song, and when it starts playing, it’s added in your ringtones automatically. Finally, on your iPhone, go to the ringtones section and sync it. Now your ringtone will be on it.

Adding personalized ringtones can make an old phone feel like new.  Before you purchase a new phone for fancy build-in ringtones, consider trying this simple method.  If your current phone isn’t performing properly, getting it fixed will also make it new.  Don’t take chances: leave iPhone repairs to the experts at iFixYouri.

How to Tether an iPhone: An Insightful Guide

 How to Tether an iPhone

iphone-tether-ifixyouriMobile telephone networks have progressed significantly ever since the introduction of the 1G network which came to first use in 1981. Today, urban areas are already enjoying the great benefits of mobile 3G networks powered by CDMA technology (code division multiple access). Theoretical speeds of up to 42 megabits per second are possible with this enhanced technology. Practically, a decent speed of about 7.2 megabits per second is commonly realized.

With this speed, mobile internet users can already stream high-definition videos from YouTube almost seamlessly (only 1 megabit per second is necessary, according to Google). As telecommunication companies are currently on the progress of laying out the framework for 4G networks, mobile internet communications will even be faster and more reliable. To maximize the use of this amazing internet speed, mobile users can tether their internet-connected smartphones so that other internet-capable devices such as laptops, iPods, and tablets can share with the connection.


The Convenience of Tethering

Sharing of an internet connection, referred to as tethering, can be done over wireless local area network (Wi-Fi), Bluetooth, or via a USB cable. When internet connection is shared over Wi-Fi, the tether device becomes the mobile hotspot. Depending on the Wi-Fi standard being used, internet-capable devices can connect from a distance as far as 10 meters.

An internet tether can also be done via Bluetooth; in which case, distance and speed may further be limited by the type of Bluetooth technology being used. Although a bit cumbersome due to the extra wire required, the tether can also be established via the USB cable that connects to the USB ports of the tether devices.

Of all the possible connections, sharing the internet over the Wi-Fi network is the most popular because of network speed and reach. Furthermore, multiple devices can connect to the mobile hotspot simultaneously. The number of devices that can effectively connect to the hotspot is only limited to the established speed of the mobile 3G or 4G networks. If connection speed can reach about 1 megabit per second, then three devices can connect simultaneously without noticeable decrease in internet speed. If you can manage to get strong networks, reaching the speeds of about 7.2 megabits per second, you could get a dozen devices to simultaneously connect.


Step-by-Step Method for Tethering the iPhone

The iPhone, known for the restrictive nature of its company, has been in a consistent battle over allowing tether or not.

While Apple allowed the tether in the iPhone 3G through the iOS 3.0, succeeding updates of the mobile operating system removed the feature due to fair use policy restrictions. However, jailbroken iPhones were able to retain the feature. Due to popular demand, Apple reinstated the mobile hotspot feature in the iOS 5 mobile operating system.

In an iPhone 5 running the latest iOS, turning the mobile hotspot feature on is very easy.

Find the Option

iphone-tether-ifixyouri-3On the Settings menu, the Personal Hotspot submenu is accessible if the shareable 3G network is available. The Personal Hotspot feature is dependent on the kind of SIM card provided by the service provider.

Prior to accessing the Personal Hotspot submenu, the General Network settings must be checked for 3G and cellular data configurations. Both of these network settings must be turned on; 3G helps in loading data faster while cellular data allows the iPhone to access internet data via the cellular network.

If you don’t see any of the options, check this page to see if you have the minimum technical specs required.

Configuration

When the General Network settings are properly configured, the iPhone should already have mobile internet connection and this internet data access can be shared by sliding the Personal Hotspot option to the on-state.

Below the Personal Hotspot configuration, internet connectivity can be shared via Wi-Fi, Bluetooth, or USB tether. For wireless connections including Wi-Fi and Bluetooth, wireless security must be activated by setting up a password.

The older versions of the iPhone including the iPhone 4 and 4s and 3GS are compatible with iOS 5+; thus, these iPhone versions follow the same method as the iPhone 5 for internet tether. The original iPhone and its immediate successor, the iPhone 3G, may need certain hacks to enable the tether since these no longer supported in iOS 5+. Nonetheless, the slow cellular connectivity of the original iPhone and the iPhone 3G may not be worth the trouble of enabling the tether on these devices.


Connecting to the Access Point

Connecting to the iPhone tether is as easy as connecting to any Wi-Fi network.

1) On a Windows or Mac computer, connecting to the iPhone hotspot begins with searching nearby wireless networks.

2) When the iPhone mobile hotspot is active, the name of the iPhone is shown on the list. Upon clicking the correct option, the user is prompted to enter the Wi-Fi password previously set up.

3) The connecting device then obtains the IP address and automatically performs other wireless configurations for the tether.

That’s all there is too it!

The ability to tether can bring new life into how you use your devices.  If you have either an iPhone or a computer that you want to use for this process, but one (or both) is in need of repair, get it fixed at iFixYouri so you can enjoy the benefits of tethering.

Beware of Data Charges

REMEMBER: Data charges apply for the tether. Since the laptop and other larger devices can consume data really fast, data consumption related to the tether could easily go overboard. To avoid outrageous cellular bills, it is important to check with the telecom company for unlimited data plans pegged at a fixed rate per month.

 

Speed Up Your iPhone

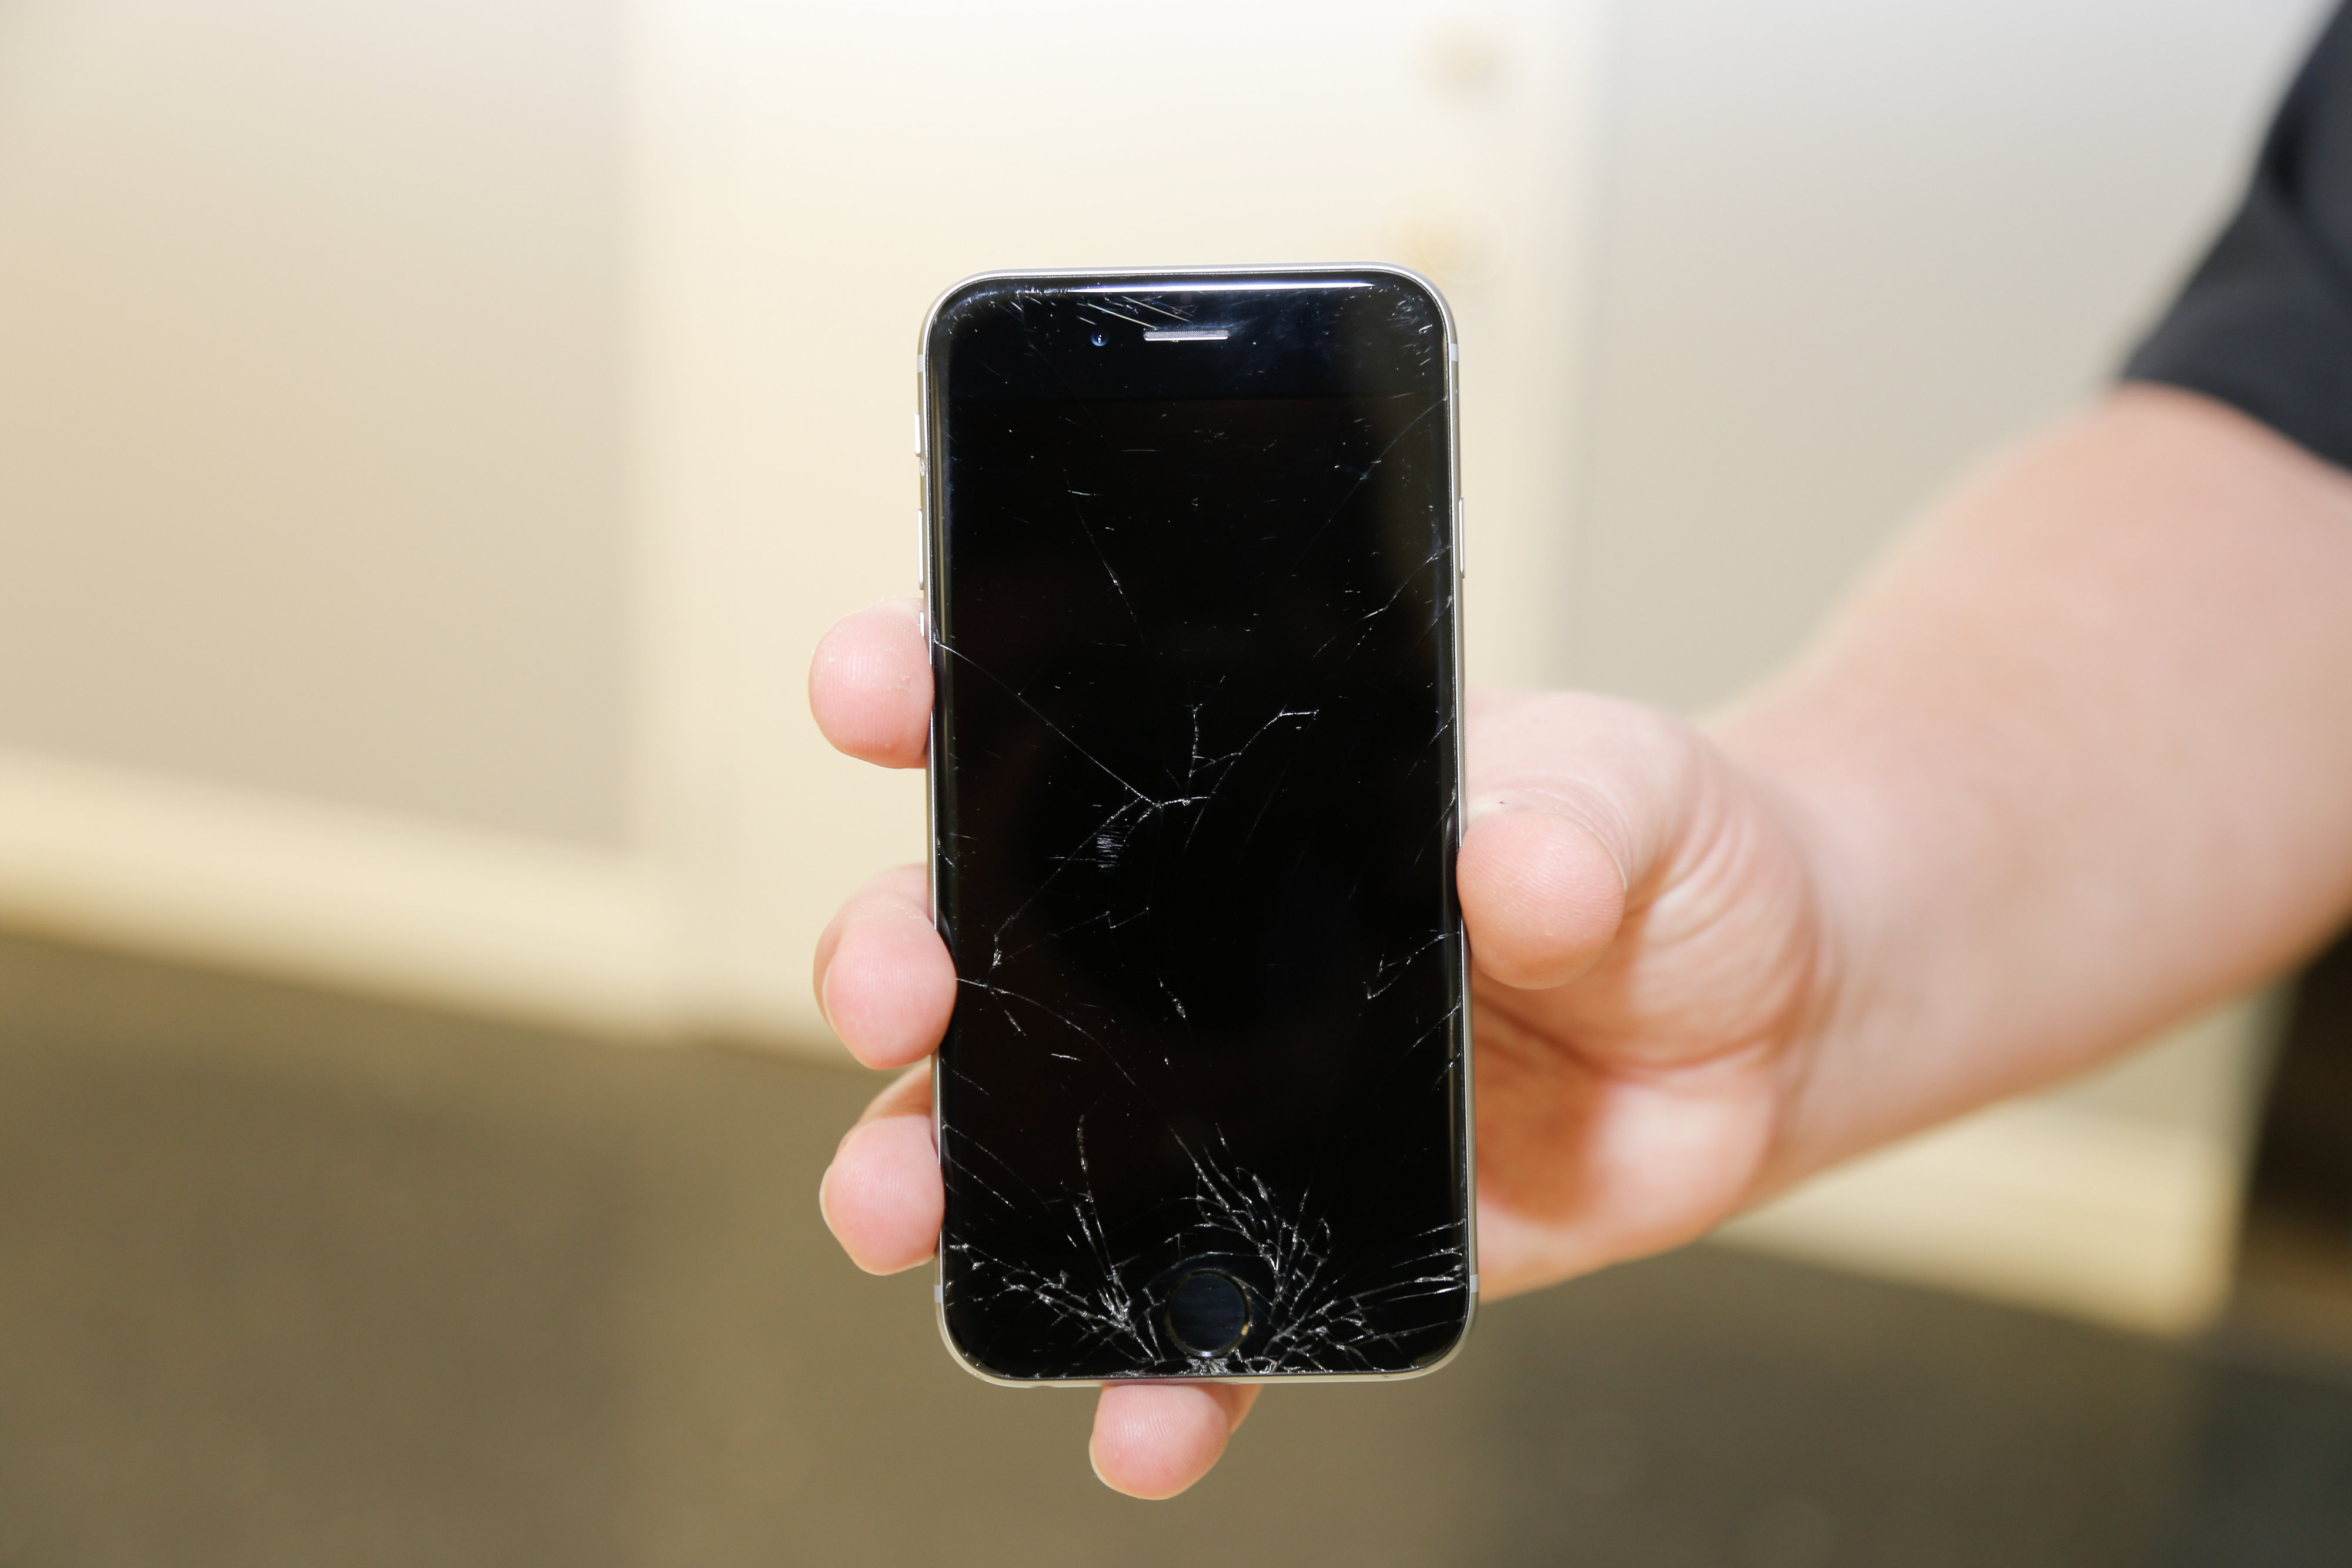
Article Updated July 12, 2016. While a new iPhone runs smoothly, this user experience can change with time. As a result, your once speedy iPhone starts crawling at a slow pace or freezes entirely. This is not an issue that affects iPhones alone but a wide range of electronic devices. With this in mind, you might be wondering what can be done to speed up your iPhone. The following tips can help you squeeze better performance from a buggy iPhone.

Speed Up Your iPhone with a Restart

Restarting your iPhone can help solve issues related to responsiveness. This tip is an old standard from the desktop computer days – just reboot it. To reboot your iPhone, just hold down the wake/sleep button. This will bring up a red slider on the screen. Use your finger to move the slider across the screen. This will turn off your iPhone. You can now power up your iPhone to boot up afresh. Do not worry if this process seems to last a little bit longer.

Disable Background App Refresh

Settings>General>Background App Refresh (OFF) or choose by individual app.

Clear App Cache with Taps

From @zadr’s tweet – apparently tapping 10 times on any single button on the bottom of the following apps clears the app cache for iTunes, iBooks, App Store or Apple Watch apps.

Turn Off Animations

This setting will help iPhone 5 or older as well as iPad 4 or older.
Settings>General>Accessibility>Reduce Motion (ON)

Turn Off Transparency

For iOS9
Settings>General>Accessibility>Increase Contrast>Toggle on Reduce Transparency

Disable Siri Suggestions

Also for iOS9
Settings>General>Spotlight Suggestions>Siri Suggestions (OFF)

Update your iPhone Firmware

If you have not yet updated your iPhone firmware, this can cause apps to run a little bit slower. To get the latest firmware, visit the iTunes website. Synchronize your iPhone before updating your firmware. You can then proceed to check for updates. If an update is available, install it. Remember to restore backup after installing new firmware.

  • Plug your iPhone in to a power source.
  • Tap Settings > General > Software Update.
  • Tap “Download and Install” to download the update. Updates might download automatically while your device is connected to Wi-Fi and a power source.
  • Tap Install when the download completes if you want to complete it now.

Uninstall Buggy Apps

In some instances, a buggy app can make your iPhone behave in a sluggish manner. In this case, the best way to speed up your iPhone again is to delete the buggy apps. You can always reinstall the apps if they are important.

Free Up Some Drive Space

iPhone apps can create a lot of temporary data quickly. It’s best to have at least 500 MB-1GB of free space to ensure your apps aren’t crashing from lack of space. So you may want to consider uploading some of those photos and videos to your iCloud, Google Drive, Youtube, Flickr, whatever you use for cloud storage.

Check Your Sync Settings

Every time an app syncs or updates it’s info, it requires processing power and time. Check your Settings to adjust which apps are syncing and their update frequency.

Restore your iPhone to Factory Settings

You should only resort to this action if all the other tips have failed. It is important to note that restoring your iPhone to factory settings will delete all your apps, contacts, text messages, and videos. If you restore from a corrupt backup, you may have few options to make your iPhone run faster. However, a restore will definitely make your iPhone user experience as smooth as possible. Before attempting to restore your iPhone, make sure that you have backed up all data.

If you have a jail broken iPhone, install apps that are compatible with your iOS version. This will make your iPhone run a little bit faster at all times. However, if none of this works, perhaps you’ll need to repair your iPhone — contact iFixYouri to learn about what we can do to speed up your iPhone.

Tips To Extend MacBook Battery Life

macbook-battery-life-ifixyouri

The battery life of a Macbook depends primarily on its usage, as well as its configuration. All MacBooks have a battery status menu that displays the charge level of the battery as well as whether it is charging or not. The battery status menu and the menu bar lay side to side on the right side of the computer. It undergoes varying changes and updates depending on the system workload and screen brightness. Below are some tips that you can use to get the most out of your MacBook battery.

First Things First

Click on system preferences on your MacBook dock. A silver square with a gear train inside represents the system preferences. Next, click on energy saver and check the graphics settings. If they are set on the ‘higher performance’ option, change it to ‘better battery life’. In order to save the changes on your graphics option, you will have to log out.

Use Only What’s Necessary

Turn off unused technologies and features and maximize your MacBook’s battery life. This follows the same logic as switching off the lights in an empty room. Start by ejecting DVDs and CDs that you are not using. The optical drive will use battery power to read these media as long as they are in the drive. Disconnect all peripherals such as digital cameras, external hard drives, mice and printers. Connected peripherals draw power through the fire wire or USB ports. This reduces your battery life considerably. Shut down any running applications that are not in use as well as runaway applications.

Turn off Local Networks

Turn off your Bluetooth or AirPort to extend your battery life if you are not using them. Click on the menu bar and select the AirPort or Bluetooth option. Choose the turn off option of either feature from the drop-down menu to turn them off. You can also deactivate the two features from the system preferences option.

Reduce Brightness

Reduce your screen brightness to a comfortable level. The brightness of your MacBook screen has the greatest impact on your battery life when compared to any other setting. Pressing the F1 key will dim the screen to a comfortable brightness level. For example, reducing your screen brightness from 100% to 50% on a MacBook Pro will add up to three hours on your total battery life.

Pressing the F8 key on your MacBook will turn off the keyboard backlight further extending your battery life.

Check Your Battery Condition

If you are running Mac OS X v10.6.x or higher, holding the option key and clicking the battery status menu will display the condition of your battery. The MacBook should indicate normal battery condition for optimum performance. A ‘replace soon’ condition indicates that the battery needs replacement soon while a ‘replace now’ condition requires immediate battery replacement. If you see this sign, your computer may be getting old and you should check out iFixYouri’s Mac laptop repair services.