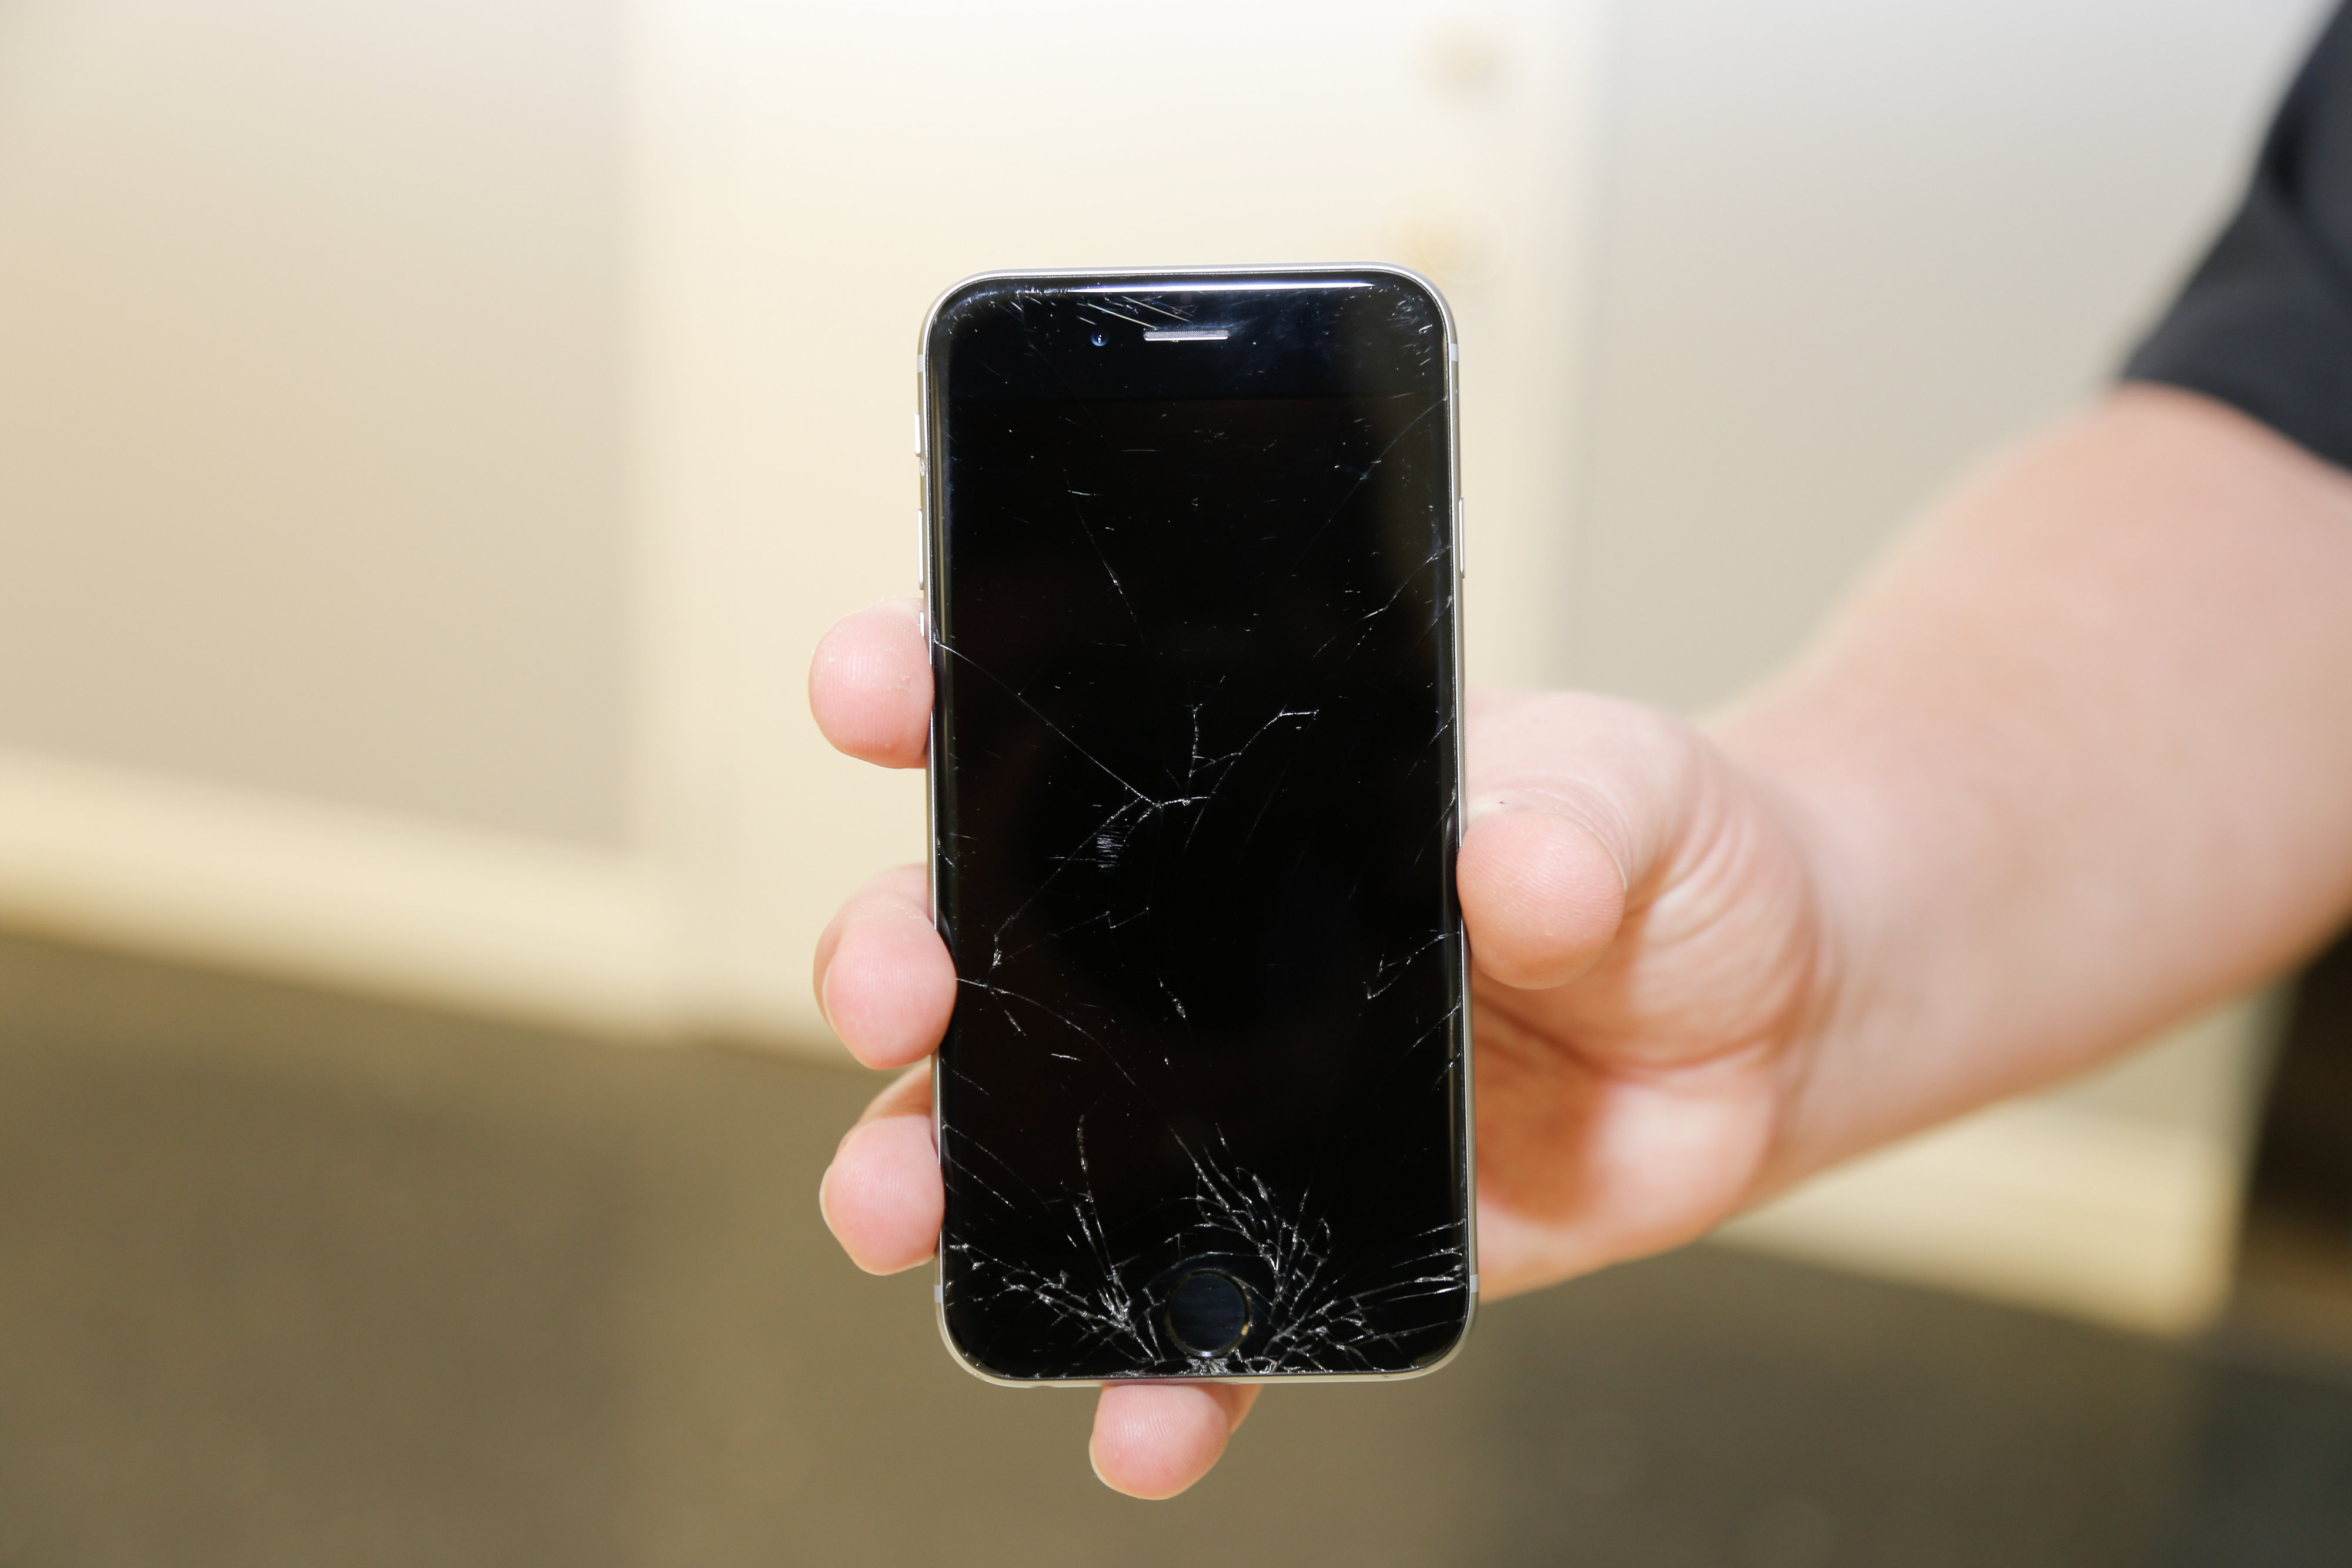
You have finally bought an iPhone and you are enjoying every moment of it but unfortunately, the screen gets cracked or broken and you are confused because you do not know how to change a cracked iPhone screen. Some people might even decide to shop for a new iPhone since the broken one no longer seems attractive as it was before. When you find yourself in such a situation, you need the right tips and ideas of how to change an iPhone screen to save the hassle and expense of a new phone.
Tools Required – How to Change a Cracked iPhone Screen
Before you even start the process of changing the iPhone screen, ensure that you have the right tools, most of which can be found online. This helps you get the exact size that you need instead of shopping online where you are not very sure about the dimensions. If you prefer shopping online, ensure that you have the right dimensions that will be compatible with your device. Here is a list of the basic tools that you should have:
- Replacement glass
- Philips screwdriver
- A wedging and scraping device or a razor blade
- Superglue or double-sized tape
- A pair of scissors
- Q-tips and Rubbing alcohol
- Heat gun or hair dryer
Step 1: Unscrewing The iPhone With a Cracked Screen
Check the bottom part of your iPhone and take keen interest on the side that has the Home button. You will notice two screws fitted on both sides of the USB port. Unscrew them using the Philips screwdriver. Also remember that it will not be necessary to remove the SIM card for you to open the device.
Step 2: Removing The Cracked iPhone Screen
The screen can be removed using two major methods. You can either use a scraping or wedging tool. A razor blade is mostly preferred because it can be fitted between the metal and the rubber to lift the screen. Alternatively, you can use a suction cup by placing it above the Home button then pulling it up gently. You will notice that the glass has been removed without damaging the rubber gasket that surrounds it.
Step 3: Separating The Screen From The iPhone
Check for the flaps that hold the phone and the screen together at the top right corner. They are normally labeled 1 and 2 attached to orange stickers. You will also notice the 3rd sticker placed under the 2nd flap. It should be released by lifting the black clamp. At this point, you will notice that the screen has been completely separated from the iPhone.
Step 4: Detaching The Screws
The interior of the device has 5 screws along the side rails, 3 along the flaps and 2 on the opposite sides. These screws are of the same size and that means you should not worry about where to place them after completing the installation process. You will also notice a black tape over each screw and you can cut it off using a razor blade. The black tape is less important in this case.
Step 5: Separating The LCD From The Glass
Detach the LCD screen from the glass by putting the wedge between the rails then wedge the inner section out. For you to clear the top flanges, make sure the LCD drops down near the Home button. Use some little force if possible because the metal cannot get distorted that easily.
Step 6: Scrubbing The Adhesive
Use a wedging device or razor blade to scrape the glass leftovers or any other pieces along the metal frame. It is also possible to use a hair dryer or heat gun but this should be done carefully to avoid distorting the frame. The bonding agent may not dissolve by rubbing alcohol so you can try scrubbing using a Q-tip then removing it with a razor blade.
Step 7: Installing The New Screen
When installing the new screen, make sure the super glue does not cross to the Home button. You may also decide to use a double-sided tape but ensure it is trimmed properly. Adhesive should be applied along the black plastic at the top or bottom sides while excluding the middle part. Use the tweezers to control the double-sided tape so that you do not let your fingers touch it thus weakening its ability to stick. Also ensure that you take away the protective plastic found on the new glass where it is expected to touch the tape.
Step 8: Installing The LCD
Install the LCD glass and make sure it fits properly by sliding it from the bottom part of the device. Fix the screws back where they belong and also restore the 3rd cable into the clamp. Press the 1st and 2nd cable onto the connector by using a little pressure. Do not worry if you miss the connector several times because this is quite common.
Step 9: Assembling The iPhone
Restore the screen back to the iPhone by inserting the top part first. The sides should be attached to the connectors and also make sure the bottom fits in properly. When the LCD and screen are well-fitted, fix the remaining 2 screws back into their places found on both sides of the USB port.
DIY vs. Professional Repair
These are the most crucial tips on how to change an iPhone screen; however, as you can see, it is a long and rather confusing process. That is where we at iFixYouri come in handy. We can replace your cracked iPhone screen properly and inexpensively.


