
Tag Archives: iPhone Repair

All posts related to iPhone Repair, including repair tips, specific iPhone generation repair details, iPhone parts, and repair news.

How to Pack and Ship an iPhone or iPad for Repair

iPhones and iPads have become necessary items and many people cannot live without them. When you accidentally damage your device(s), shipping it to a professional repair store like iFixYouri should be your top priority. You’ll need to know how to carefully pack and ship the device(s) to avoid any further damage during its travel. iPhones and iPads cost big money. Their numerous, delicate small parts can chip, crack or break quite easily.

Packing and Shipping Your Device(s)

Always pack and ship your phone so that even the most careless handling won’t ruin it. First, get a cardboard shipping box and packing materials. Bubble wrap probably works best, along with newspaper or other unwanted large sheets of paper. Remember to use packing tape and finish it all off with a shipping label.

The cardboard shipping box you use should comfortably accommodate your device(s). The box should comfortably support at least an inch of packing material on all sides. Fill the first half of the box with the paper. Don’t keep it neat. Crumple the newspaper.

Wrapping the Package

Next, wrap your phone with several layers of bubble wrap. Make sure the phone is against the bubble side of the bubble wrap. Fold in the edges of the bubble wrap to protect the screen and casing from impacts. Then, lay the phone in the middle of the box and fill the rest of the box with crumpled newspaper.

Make sure the bubble wrap and crumpled newspaper form a dense layer between the edge of the box and the phone. You want the device(s) to fit snugly inside the box. If it’s loose, it will slide around and become damaged during shipping.

Testing Whether the Device is Firmly in the Box

To test it, shake the box gently at first. Then, once you find that your device(s) stays completely immobile, shake it more violently. If it still stays immobile within the packing, it is good to go. Tape the top and the bottom of the box shut even if the bottom of the box is glued shut already. Then attach your shipping label.

Paperwork and Insurance

One very important part to keep in mind when you want to pack and ship your device(s) is the paperwork, which is generated as a result of sending it. This means all documentation on the package should be duplicated and kept. Any receipts must be kept including the receipts for the device(s) itself, for the shipping costs, and the tracking numbers.

Please put insurance on the package as well. If for any reason the phone is damaged then you can recoup your losses. Keep the insurance number. Without that, you won’t be able to make a claim if the package goes missing or is damaged.
Do You Need iPhone Digitizer Replacement?

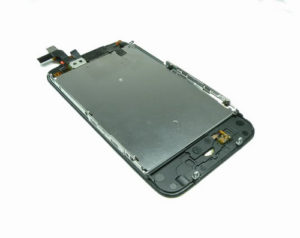
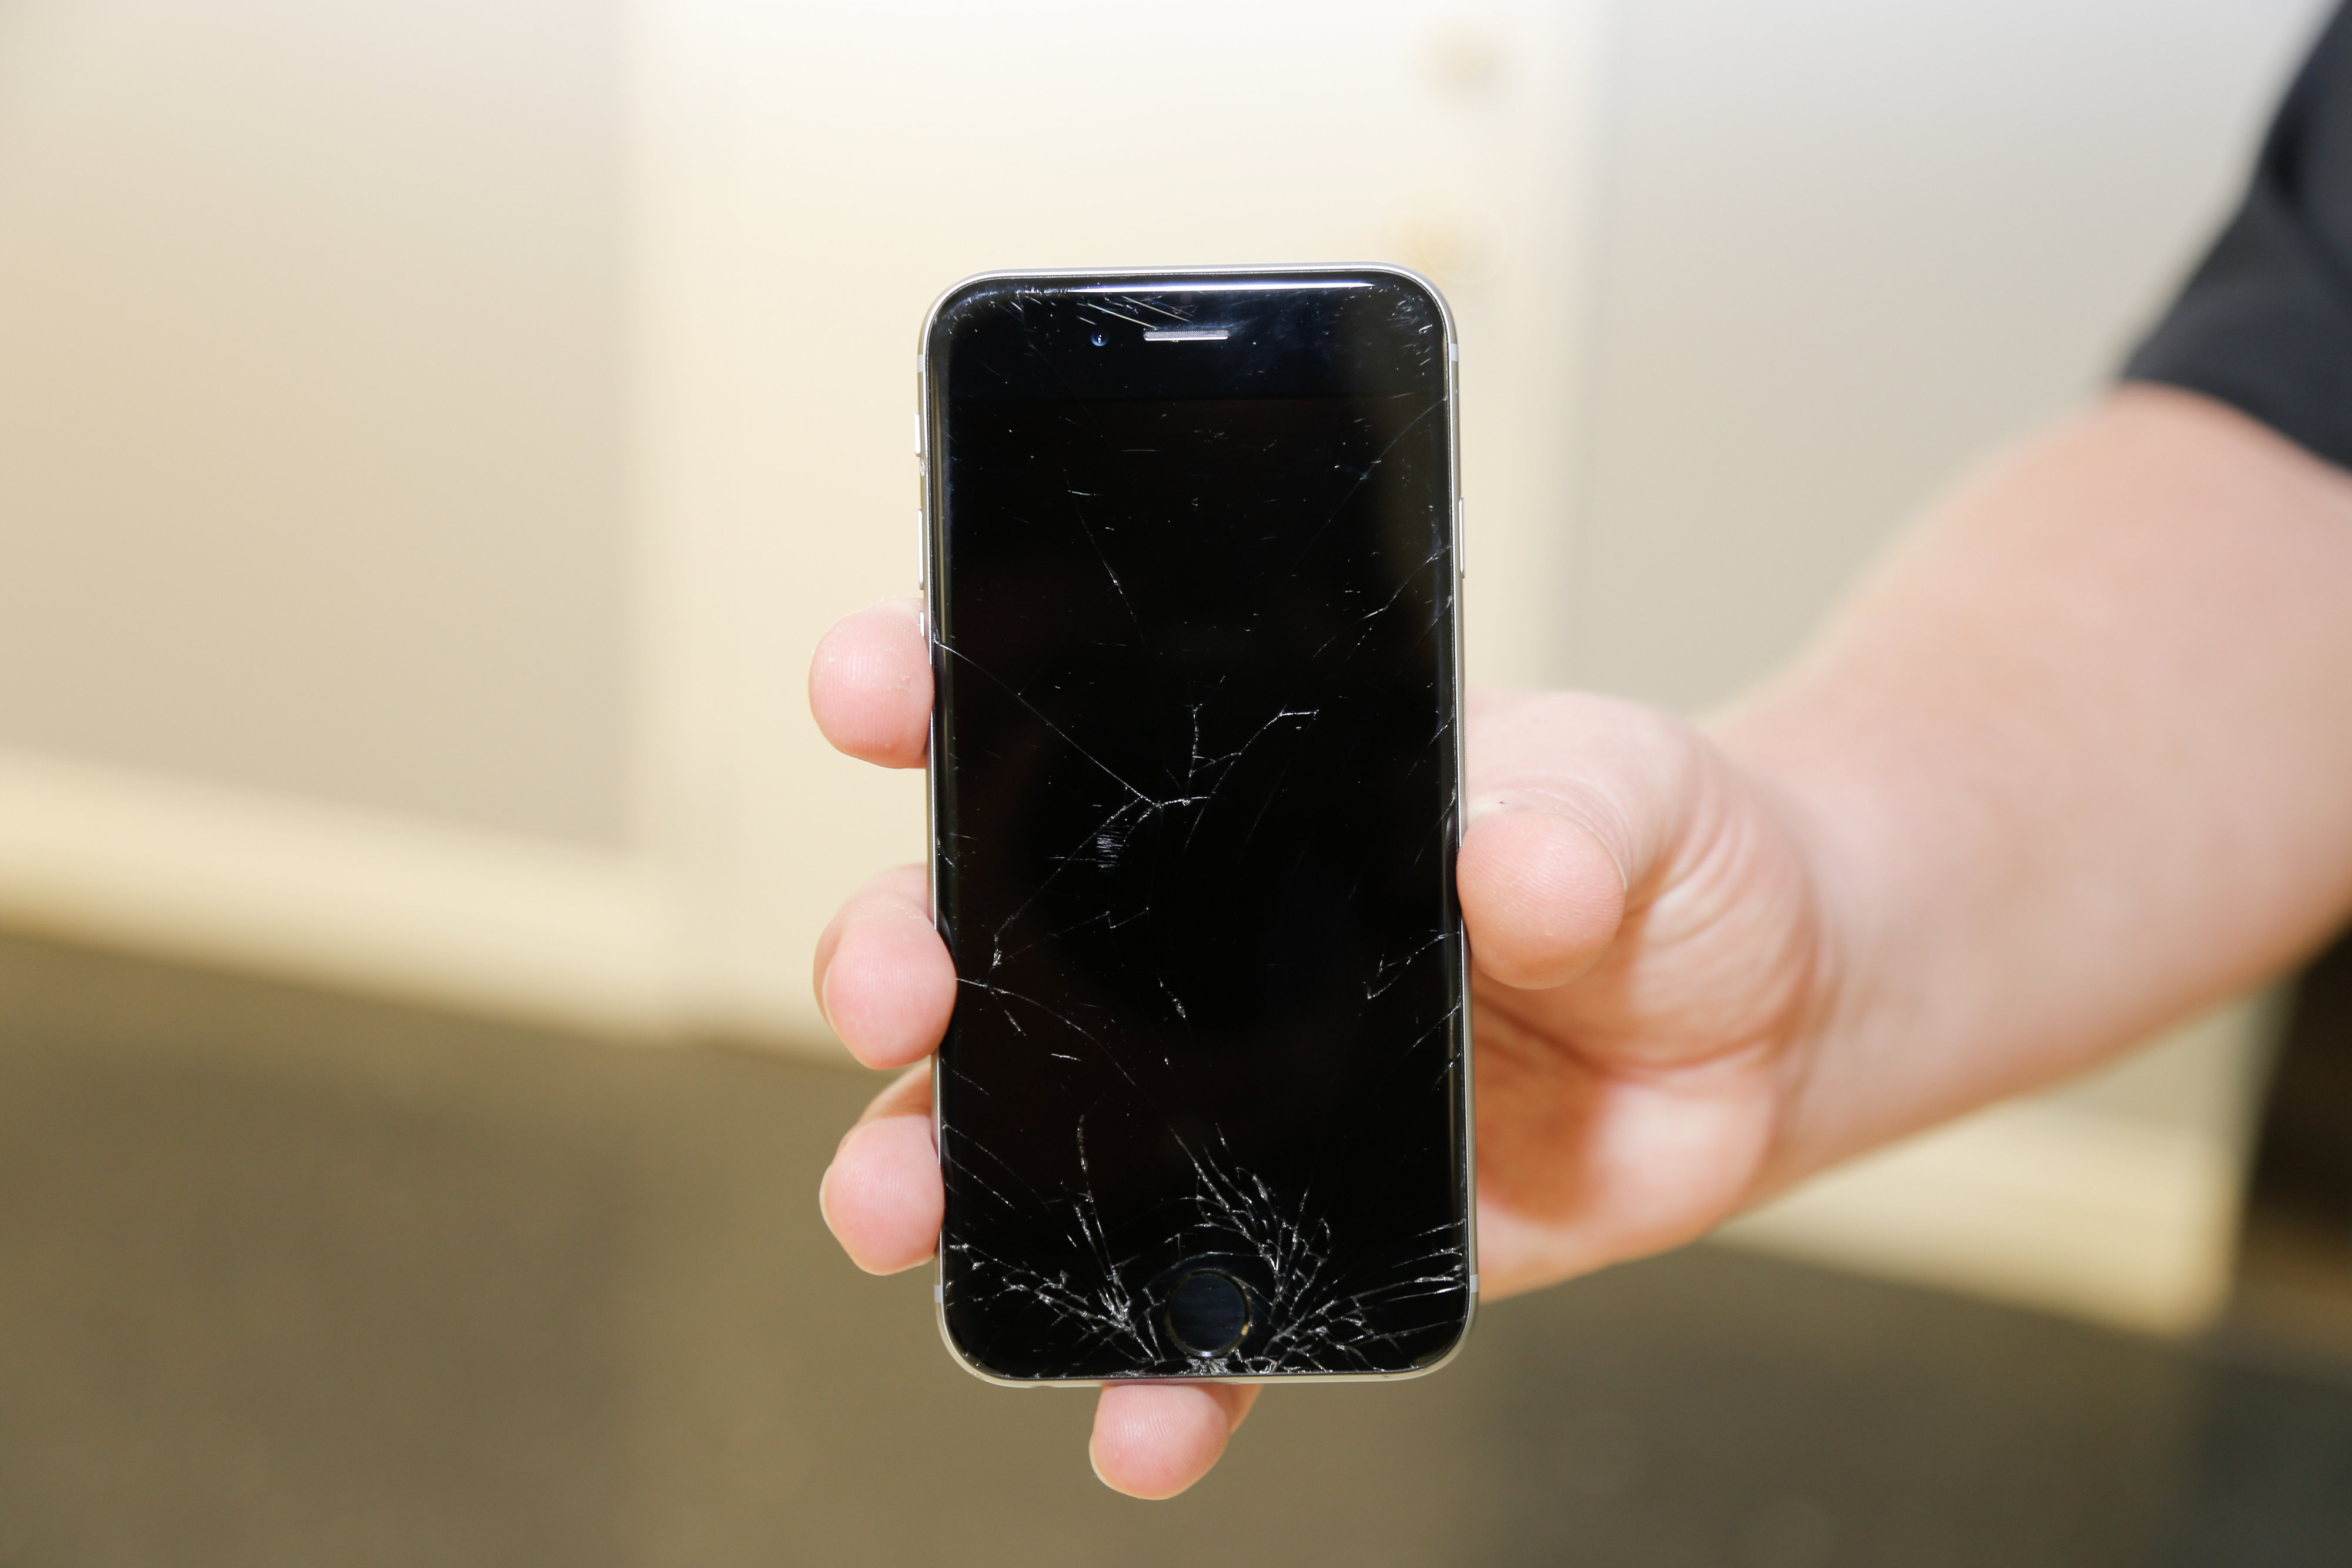
If you bought an iPhone, you know that the touch capabilities are the best part about it. The component that makes this enjoyable experience possible is the digitizer, which is firmly fixed to the screen. Unfortunately, this means that if your touchscreen gets broken or damaged, you will require iPhone digitizer replacement as well.
How iPhone Digitizer Replacement Works

The digitizer is like a thin plastic film attached to the screen. It’s sensitive to your finger movements, and sends information about the position and movements of your fingers to the motherboard. The information you enter with your fingers is analog information, and it is converted by the digitizer into digital, or computer-readable, data.

Why You Might Need a Replacement

If the screen is damaged, it is usually the result of the phone being dropped, or knocking against something – a very common occurrence. However, it’s possible that the digitizer itself can develop problems. Symptoms that could indicate that your digitizer needs replacing include:

  • No response from your screen when you touch it.
  • There is a response, but it is very slow.
  • Some areas respond erratically, or not at all.
  • Some applications seem to open unpredictably or randomly.

If you experience any of these problems, your digitizer is faulty and needs replacing – repair is not an option.

Whether the digitizer needs replacing because it is faulty in itself, or because the screen is damaged, it cannot be replaced by itself. Because it is fused to the screen, the two are in effect a single component, so you have to replace the screen as well. There are various ways to do this.

How to Replace the iPhone Digitizer

You can try to do it yourself. There are a number of low-cost digitizer replacement kits on the market, and several instructional three-minute video clips online. However, it is a very difficult repair to do successfully, especially if the kits supply cheap plastic tools rather than metal, and you don’t have years of experience and know-how. This can cause serious frustration. There’s even a chance of causing additional damage to the iPhone. There is also the option of using Apple’s own repair service, though this costs up to $200 and has a lengthy wait time.

The easiest and most satisfactory way of obtaining an iPhone digitizer replacement is usually to find a reliable professional repair company. This is likely to be a lot cheaper than using Apple’s service, or paying the deductible for your carrier’s phone insurance. Make sure you choose a company that offers a warranty, lists prices on its website, and can guarantee a fast turnaround, such as iFixYouri.

The Simple Truth

The chances of damaging your iPhone are actually pretty high. As you can imagine, the inconvenience of being without it can be pretty painful. It’s a smart idea to identify a reliable repair service in advance, such as iFixYouri, that specializes in matters such as iPhone digitizer replacement just in case you need it. Alternatively, if your phone is damaged and you’re ready for an upgrade, you could always sell your old iPhone for cash.

What To Do When an iPhone LCD Screen is Damaged

You probably suspect by now that the LCD screen on your iPhone is one of the most sensitive and vulnerable parts of your gadget. LCD (Liquid Crystal Display) screens are commonly used in many electronic gadgets such as TVs and computer monitors.

The screen is made up of ultra-thin layers. Two of those layers are polarized panels, between which is a solution of liquid crystal – hence the name. When light is projected through these layers, the liquid crystal layer becomes colorized and produces the image that we see on the phone. Due to its design and material, the LCD screen is easily prone to damage and breakage.

LCD Screen Maintenance Tips

To extend the usable life of your iPhone and keep it in top shape, use these tips on care and maintenance:

Keep Your LCD Screen Clean

In most cases, an LCD screen will only require regular wipes to remove dust. If oil or grime gets on the surface of the phone, use 70% rubbing alcohol and a piece of chamois or flannel. Use this to wipe off the surface. Do not use ammonia-based cleaning products, window or glass cleaners, rough cloths or paper towels.

Use a Protective Screen Film

Screen film is thin and transparent with a stick-on side that can be applied on the surface of the screen. This will help protect it from the usual problems associated with regular wear-and-tear, such as scratches (which will also eliminate the need for LCD screen scratch repair). It can be peeled off and replaced with a new one every few months.

Avoid Dropping the Phone

If the polarized panels break, the liquid crystal solution will leak and cause distortion on the screen. Avoid carrying your phone around during vigorous activity such as exercise and keep it in a protective case. The extra rubber, silicone or plastic barrier will help protect the surface against dents, dings, and scratches. There are even cases that are designed to shield the iPhone against shock. These cases are usually enough to protect the device from low falls but won’t do much if you drop your phone from a considerable height.

What Happens If I Damage the Screen?

If the damage is extensive or affects the functionality of the iPhone, you can have a professional service such as iFixYouri repair or replace the screen or buy it for cash. Unless you have the expertise and experience, it is not recommended that you attempt to replace the screen yourself. Doing so could cause serious, irreparable damage (that may greatly outweigh the LCD screen repair cost). Besides, you could void the warranty if the coverage is still active. Have the experts work on the problem instead.

What to Know About iPhone Battery Replacement

iphone-battery-replacement-ifixyouriRechargeable batteries may run for a long time but they do have a limited lifespan. iPhone batteries, for example, are good for roughly 400 charge cycles. Performance starts to degrade afterwards and owners will need an iPhone battery replacement in order to continue using the device when hopes of extending the iPhone battery life has been lost.

Sometimes a replacement is required much earlier, such as when the unit routinely fails to charge or runs out of power very quickly and such cases may require a iPhone battery replacement kit. Owners can also have their phones processed at Apple service centers. They could also opt to replace it themselves as spare batteries are available online at reasonable prices. The guide below offers simple instructions for DIY iPhone battery replacement.

Step-by-Step Guide to iPhone Battery Replacement

  1. Close all the apps and turn off the phone with a prolonged press of the power button. Swipe the red slider on the screen as instructed to complete the process. Wait for a few seconds before proceeding to the next step.
  2. Look down at the bottom of the device. For the iPhone 4 and 4S, there should be a tiny screw at both ends of the port. Use suitable screwdrivers to loosen them then keep them somewhere safe for easy retrieval later on.
  3. In order to lift the back plate, try to put some pressure on it and slide it down just a little bit until it gives way. Apply more downward pressure and increase surface contact if it proves hard to budge.
  4. The iPhone 4 battery is immediately visible when facing the back of the phone. It is held in place by a lone screw while the 4S uses a more secure dual arrangement. These will have to be taken out in order to get to the battery itself.
  5. Slowly lift up the connector at the lower left-hand corner of the battery with any slender tool that would fit in the tight space. Be sure not to scratch the areas surrounding it.
  6. Take the battery out by lifting the plastic tab attached to its side. This may prove challenging and require a good amount of force, but do it gradually so as not to upset nearby components.
  7. The new battery is ready to be inserted. Align the contacts and secure it with the screw that was removed earlier. Insert the back plate and tighten the screws at the bottom. Power up the phone and enjoy.

Things to Consider Regarding iPhone Battery Replacement

  • When buying a new battery, be sure to get one for the right iPhone model. Those on the market all have slightly different shapes and connector placements so find a piece that fits.
  • Having the right kind of tools is also important when trying to open the case.  Household screwdrivers or a specifically tailored iPhone repair tool kit.
  • The components are extremely small and packed densely so a good steady hand is ideal. Apply even pressure and never force anything on the device.

In Conclusion

iPhone battery replacement is a fairly uncomplicated task that owners may attempt when the situation calls for it. On the other hand, those who are uncomfortable about opening their phones or are unsure whether the battery is truly at fault can send their units to a repair shop such as iFixYouri for proper diagnosis and parts replacement.

The Best Phone Screen Protectors

An iPhone is the most expensive cell phone in the market. Therefore, when you buy an iPhone, you should do everything you can to protect it. The screen is particularly prone to scratches and other scuffs.  The essential form of protection is a screen protector. There are many screen protectors in the market, and naturally, some will offer better protection than others. Listed below are some of the best iPhone protectors available today.

Skinomi TechSkin Screen Protector

This screen protector is made from clear urethane film which is actually the same film used to protect NASA space shuttles and military aircraft. The best thing about this screen protector is that it has the ability to resist abrasion. Therefore, if you want value for your money, the skinomi protector should be your first choice.

Generiks Screen Protector

The Generiks screen protector features High-Quality Anti-Glare Screen that is aggression-resistant, making it ideal for your iPhone. The best thing about this protector is that it is not as expensive as the others. Therefore, when you buy it, you will be getting quality at a cheaper price.

Premium Screen Protector

It features a 3-layer PET film which was designed for iPhone 4S. It effectively protects your natural screen from scratches and dust. The whole package includes a microfiber cleaning cloth and 3 bonus back films. This makes the premium screen protector a must have for anyone who still uses iPhone 4S.

Empire 5-pack Screen Protector

The Empire 5-pack is clear, thin and durable. It does not leave fingerprints on your screen. The package includes a cleaning cloth and 5 screen protectors.

Halo Screen Protector

Halo screen protectors are highly-rated protectors in the market today. This can be attributed to the fact that these protectors offer higher quality. They offer minimal screen bubbles, are easy to install and can be re-used. The pack includes 3 films to ensure that you have a spare at all times.

Iconic Screen Protection

It not only protects your iPhone screen, but also reduces glare under strong light. In addition to that, it will not affect your screen’s interface.

Screen protectors will definitely protect your screen from scratches; however, when it comes to serious damage such as cracked screen or water damage, the screen protector will not be of any help. In such a case, you will have to take your iPhone to a repair store. At iFixYouri we specialize in repairing damaged iPads, iPhones, laptops and computers.


iPhone vs. Man: Unbelievable iPhone Destruction Videos

Perhaps you’re buying a new iPhone.  Or perhaps your iPhone just stopped working.  Or perhaps you were just trying to access your favorite app, and the device wouldn’t open it, again, and when you try open Safari to see what the problem is, the browser just won’t load, you just can’t take it anymore…

So you decide to destroy your iPhone.

The rash solution is to throw it against a wall in frustration.  Or drop it from your 15th storey apartment.  Or smash it with a hammer.  But there are as many ways to wreak havoc on your iPhone as there are reasons for doing it.  Let’s explore some methods, so you can decide how you’ll end the life of your (once) prized possession!

Quick Household Methods to Destroy Your iPhone

When you just need to get the job done.

iPhone vs. Truck

iPhone vs. Blender

iPhone vs. Boiling Water

iPhone vs. Drill

Creative Methods to Render Your iPhone Irreparable

Imaginative solutions to destroy an imaginative device.

iPhone vs. Giant Magnifying Glass

iPhone vs. Microwave Robot

Hi Tech Punishiment for an iPhone Behaving Badly

When you’ve got toys that are more powerful than the iPhone itself, why not use them against the little weeny device?

iPhone vs. Extreme Heat

iPhone vs. Lasers

Don’t Try This At Home… Unless You’re Mad

Safety first.  New phone second.

iPhone vs. Hand Gun

iPhone vs. Angle Grinder

Who Doesn’t Love a Montage?

It Takes a Lickin’…

Testing the durability of a consumer product with entertaining methods isn’t a new phenomenon. Timex, the titan of watch manufacturers, popularized the slogan “It takes a licking and keeps on ticking”.  Check out some of the vintage ads where they tested their claims.

While the iPhone does, at times, have the ability to continue functioning after it has been drilled or dropped in water, it is a pretty sensitive electronic device that can fail when it is simply knocked off of a coffee table, or dropped into a toilet.

Unless the phone has been obliterated, most of the common damage sustained by an iPhone can be repaired.  What could be more convenient than sending your damaged device from anywhere in the States to the professional repair team at iFixYouri, who specialize in iPhone repair, and getting your baby shipped back to your hands like new?

Besides, it’s more fun to destroy a working iPhone…


Warranty Options for the iPhone 5

For those with a warranty on their iPhone 5 that doesn’t have extensive coverage, or a warranty that has expired, or no warranty at all, getting repairs from iFixYouri will help the smartphone owner save high repair costs, or save the device from joining a pile of e-waste.

In addition to the benefits of reduced repair costs, a good warranty can offer piece of mind.   Therefore, it is important to get the best warranty and protection plan for an iPhone 5 that provides coverage for repairs, breakage, and also replacement if it is stolen or lost. Here are a few of the best plans available today. Here are some warranty options for the iPhone 5.

AppleCare+

This plan costs $99 for two years, and coverage includes support and hardware issues. The plan is quite popular and available from retailers and directly from Apple as well. The recently updated version of the plan includes two damage claims due to accidents. This means your phone will be replaced if it is broken due to any reason for a fee of $49.

The AppleCare+ plan can be purchased within 30 days of purchase of the iPhone 5. However, when you do not purchase the plan along with a new phone, it will require inspection and an appointment at the Genius Bar.  This plan does not cover theft or loss; hence, it is not a comprehensive protection plan.

SquareTrade

The plans from SquareTrade are similar to Apple’s extended warranty plans for the iPhone 5. This plan costs $99 for two years, and $129 for three years. If you sell your iPhone 5 in that period, you can transfer the plan to the new user. The plan includes four replacements or repairs, and there is a same-day service option. Coverage is for any kind of damage, and claims require a deductible of $50. You can also pay for repairs out of pocket at the Apple Store and have it reimbursed; however, the plan does not cover theft or loss.

Protect your Bubble

This plan costs $143.99 for a one-time annual fee, and $7.99 per month if you prefer monthly payments. Apart from repairs and replacement, it also covers theft and loss; however, there is $100 deductible.

The best value of an iPhone 5 warranty seems to be plans from AppleCare+ and SquareTrade; however, if you need theft and loss coverage, Protect your Bubble is a good option. Remember that the third option is to not get a warranty at all — iPhone 5 repairs are often much cheaper if you get them yourself!

3 Potential Fixes for iPhone Issues

iPhone issuesIf you are having iPhone issues, you are not alone. These popular devices are certainly not bullet proof, and they can act up from time to time. One of the simplest issues many run into is the phone not turning on. If your iPhone will not turn on, you might believe that it is broken and you will have to get a new one. This could be the case, but certainly is not always true.

Here are 3 potential fixes:

1) Restart it

This might seem obvious, but if the iPhone is not turning on then the first thing you should do is just make sure it is turned on. In order to verify this, you simply press the Hold button on the top right corner of the phone for a few seconds. If it turns on, your problem is over. Obviously, this is the best-case scenario, but it might do the trick for you.

Of course, in many instances the problem is more complex. If the above step does not work, then press the hold button and the home button simultaneously. Make sure to do this for a minimum of 10 seconds. In many instances, this will turn on the phone.

2) Use DFU Mode

Sometimes an iPhone will get to the silver logo and just keep restarting. If this is your problem, you have an issue with the booting system. For some people this happens after they update the operating system.

Fortunately, fixing this issue is not hard. All you have to do to stop this problem is put it in DFU Mode (Device Firmware Update) mode. Note: this is not the same as recovery mode – it is a lot more thorough.

To get to DFU mode, you first have to connect the iPhone with your computer. Since the phone is off, you will have to hold down the sleep/power button and home button simultaneously for 10 seconds. It needs to be precisely 10 seconds-otherwise the phone will enter recovery mode instead of DFU.

Once 10 seconds have gone by, let go of the sleep/power button, but continue holding the Home button. At this point, the Apple Logo will come up. However, make sure you keep holding the home button until after the recovery warnings come up.

Note: there is an easy way to tell if you are in DFU or recovery mode. All you have to do is look at the iPhone screen. Should it be black, then you know you are in DFU mode. However, if it is showing a cable connection with the iTunes icon, you are in recovery mode.

3) Proximity Sensor

Sometimes the proximity sensor has issues. This sensor is responsible for locking the phone when it is close to your face. If this sensor stops working, then the screen will not turn on.

This problem is not common, but it can happen. The way to fix the problem is to press the home and hold button as before, in order to restart the system. This generally fixes the problem.

Conclusion

If after trying all the methods listed above your iPhone still doesn’t start, then it might have bigger problems than anticipated. At that point, it would be advisable to either ship or take your phone to an iPhone repair store for checkup. There are several stores but none of them can compare to ifixyouri.com.