Category Archives: iPhone

Top 5 Most Common Smartphone Repair Issues and How to Avoid Them

Hello, tech enthusiasts and smartphone users! Welcome to the iFixYouri blog, your go-to source for all things related to smartphone repair and maintenance. Today, we’re going to dive into the top 5 most common smartphone repair issues and share some tips on how to avoid them. As a representative of iFixYouri, a renowned smartphone repair company based in Palm Beach Gardens, FL, I’m here to help you understand the intricacies of these issues and guide you on how to keep your device in top shape.

So, without further ado, let’s get started!

#1 Cracked Screens

Common smartphone repair issues - broken screen
Photo by Laura Rivera on Unsplash

One of the most common and dreaded issues with smartphones is a cracked screen. Not only is it visually unappealing, but it can also hinder your phone’s functionality and make it difficult to use. The primary cause of a cracked screen is accidental drops or knocks, which can happen to anyone, regardless of how careful you are.

How to avoid cracked screens:

  • Invest in a high-quality screen protector: A screen protector is a thin, transparent film that adheres to your phone’s screen to protect it from scratches, cracks, and shatters. There are various types of screen protectors available, such as tempered glass, PET (polyethylene terephthalate), and TPU (thermoplastic polyurethane). We recommend using a tempered glass screen protector, as it offers the best protection and durability.
  • Use a protective case: A smartphone case is essential in providing an extra layer of protection to your device. Look for cases that have raised edges or a lip around the screen, as this will help prevent the screen from coming into direct contact with surfaces when dropped.
  • Develop good habits: Always be mindful of where you place your phone and avoid keeping it in precarious locations, such as on the edge of a table. Additionally, avoid placing your phone in the same pocket as keys or other sharp objects, which can cause scratches or cracks.

#2 Battery Drain and Degradation

common smartphone repair issues - battery
Photo by Tyler Lastovich on Unsplash

Another common issue that plagues smartphone users is battery drain and degradation. Over time, smartphone batteries lose their capacity to hold a charge, leading to shorter battery life and the need for frequent recharging. While it’s natural for batteries to degrade over time, there are several factors that can accelerate this process, such as excessive heat and poor charging habits.

How to avoid battery drain and degradation

  • Keep your phone cool: Excessive heat can cause significant damage to your phone’s battery, leading to faster degradation. Avoid exposing your phone to direct sunlight for prolonged periods and don’t leave it in a hot car. Moreover, remove any heavy-duty cases while charging, as they can trap heat and cause the device to overheat.
  • Adopt healthy charging habits: To prolong your battery’s lifespan, avoid charging it to 100% or letting it drain to 0% consistently. Instead, aim to keep your battery levels between 20% and 80%. Additionally, use only certified chargers and cables, as low-quality alternatives can cause damage to your battery.
  • Monitor battery-hungry apps: Some apps are notorious for draining your battery quickly. Regularly check your phone’s battery usage to identify such apps and take appropriate action, such as closing them when not in use or disabling their background activity.

For more on battery care, check out our Ultimate Guide to Smartphone Battery Care and Maintenance.

#3 Water Damage
common smartphone repair issues - water damage

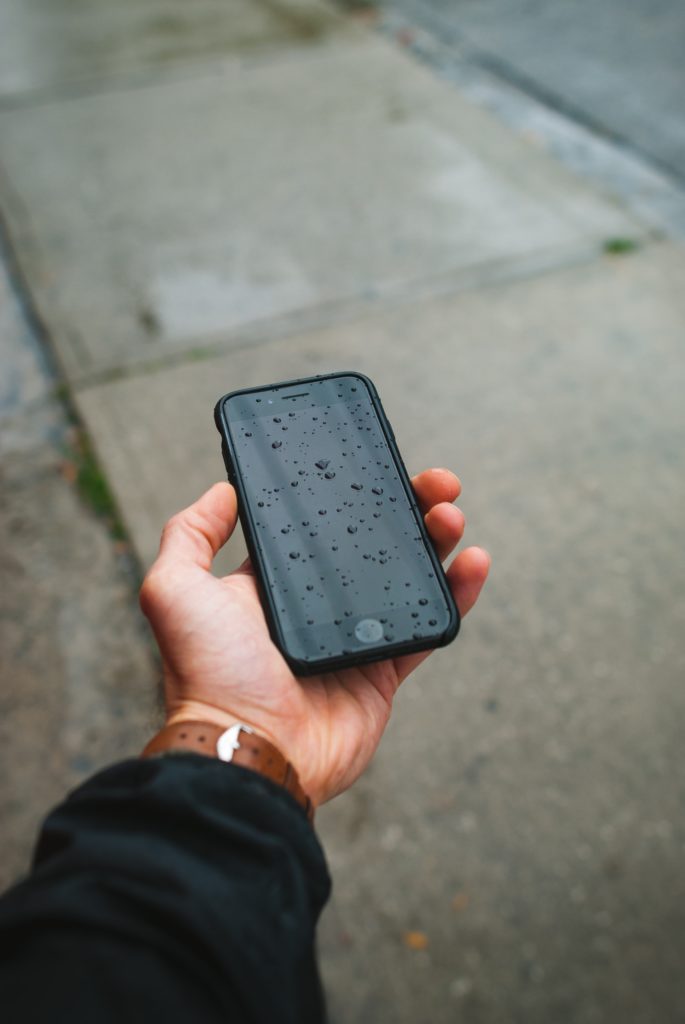
Water damage is one of the common smartphone repair issues that can cause severe problems, ranging from unresponsive touchscreens to complete device failure. Although most modern smartphones come with a certain degree of water resistance, it’s essential to remember that they’re not entirely waterproof.

How to avoid water damage:

  • Be cautious around water: Keep your phone away from water sources, such as pools, beaches, sinks, and bathtubs. Be especially careful during rainy days and avoid using your phone when it’s wet.
  • Use a waterproof case: Investing in a waterproof case can provide added protection for your smartphone in case of accidental splashes or submersion. These cases create a watertight seal around your device, preventing water from entering and causing damage.
  • Dry your hands: Before using your phone, ensure your hands are dry to avoid any moisture coming into contact with the device. Additionally, keep a microfiber cloth handy to wipe away any water droplets that may accidentally land on your phone.
  • Know what to do in case of water exposure: If your phone does come into contact with water, immediately turn it off and remove the battery (if possible). Avoid using a hairdryer or any heat source to dry the device, as this can cause further damage. Instead, place your phone in a bowl of uncooked rice or use a desiccant, like silica gel packets, to absorb the moisture. Allow your phone to dry for at least 48 hours before attempting to turn it back on.

#4 Software Issues and Malware
common smartphone repair issues - software
Photo by David Grandmougin on Unsplash

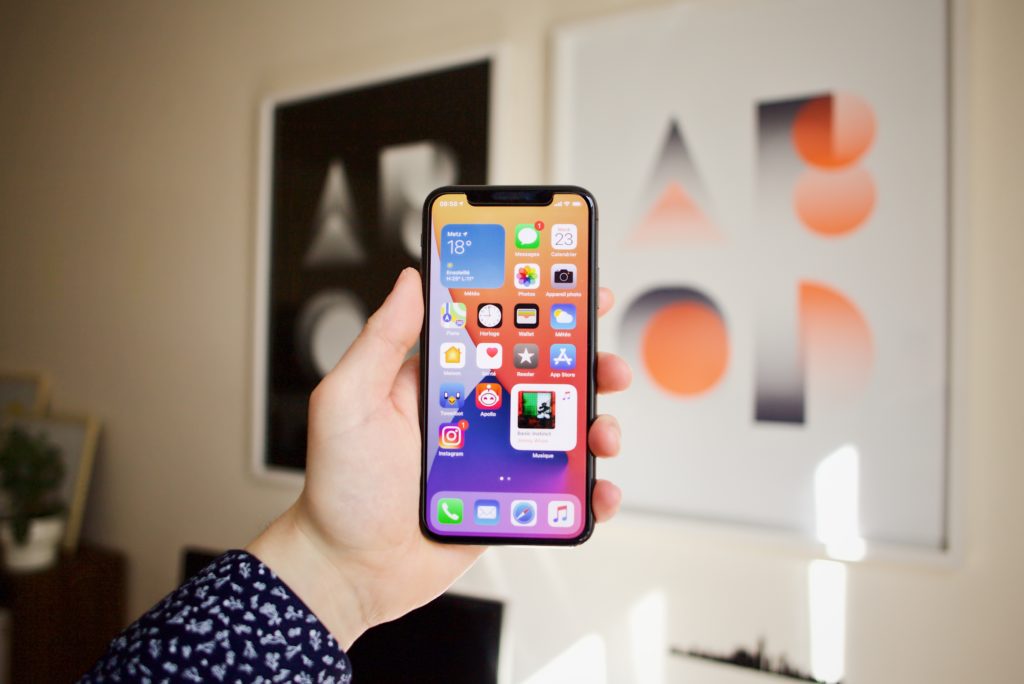
Software issues and malware infections can cause a myriad of problems for smartphone users, such as unresponsive apps, slow performance, and even data theft. Keeping your device’s software up-to-date and protecting it from malware is crucial to ensure a smooth user experience.

How to avoid software issues and malware:

  • Regularly update your device’s software: Software updates often include important security patches and bug fixes that help protect your phone from potential threats. Make a habit of regularly checking for and installing any available updates for your device’s operating system and apps.
  • Only download apps from trusted sources: To minimize the risk of downloading malicious apps, always download them from official app stores like Google Play Store or Apple App Store. Additionally, read user reviews and do some research on the app’s developer before installing it on your device.
  • Use a reliable antivirus app: While not a foolproof solution, having an antivirus app installed on your smartphone can provide an extra layer of protection against malware. Look for reputable antivirus apps with good user reviews and regular updates.
  • Be cautious with public Wi-Fi: Public Wi-Fi networks can be breeding grounds for cyberattacks. When connecting to public Wi-Fi, avoid accessing sensitive information like online banking or logging into personal accounts. Consider using a Virtual Private Network (VPN) app to encrypt your data and protect your online privacy.

#5 Charging Port Issues
common smartphone repair issues - charging port
Photo by Daniel Romero on Unsplash

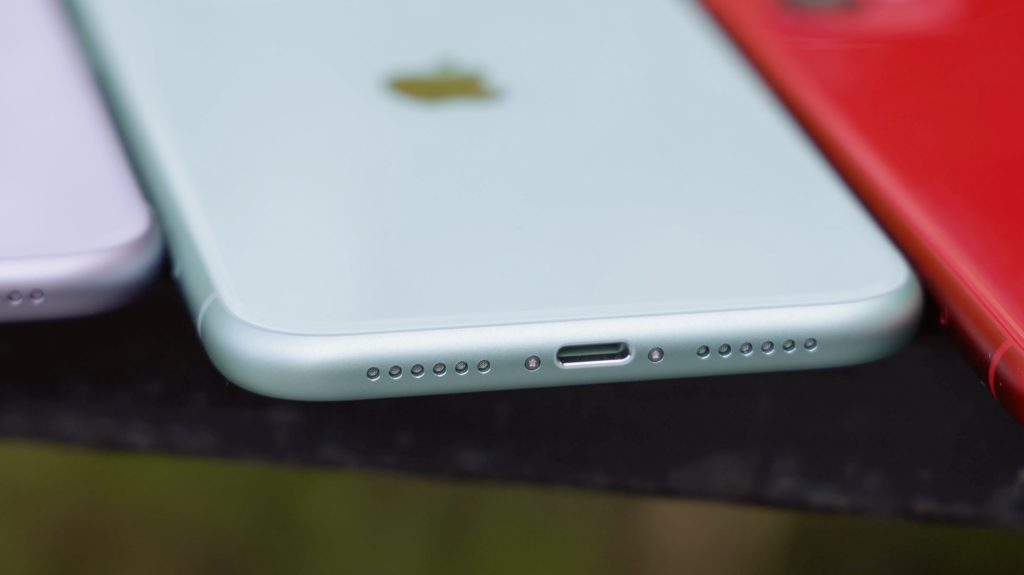
A smartphone’s charging port is another one of the common smartphone repair issues. These problems can range from slow charging to complete failure to charge the device. Dust, debris, and regular wear and tear can contribute to charging port issues.

How to avoid charging port issues:

  • Keep your charging port clean: Regularly inspect your phone’s charging port for any dust, lint, or debris that may have accumulated. Use a can of compressed air or a soft brush to gently clean the port, taking care not to damage the internal components.
  • Be gentle when plugging and unplugging: When connecting or disconnecting your charger, be gentle and avoid applying excessive force. This can help prevent damage to the charging port and extend its lifespan.
  • Use high-quality charging cables: Cheap, low-quality charging cables can cause damage to your phone’s charging port. Invest in a high-quality cable that’s compatible with your device and certified by the manufacturer.

While these common smartphone repair issues show up on our iFixYouri repair benches often, many of them can be avoided by taking some simple preventive measures. By following the tips provided in this blog post, you can significantly reduce the risk of encountering these problems and enjoy a smoother, hassle-free smartphone experience. And remember, if you do find yourself in need of repair, visit iFixYouri.com or any of our walk-in retail repair locations.

All About Cell Phone Processors

iFixYouri has been repairing phones since 2010, so we know a fair amount about cell phone processors. Our master technician Alex has been performing board-level repair with a level of expertise you won’t find anywhere else. Visit iFixYouri if you need any board-level repairs: Touch IC, Audio IC, backlight issues, or TriStar/Hydra issues.

Cell Phone Processors: Begin!

Cell phone processors, aka CPUs or Central Processing Units, function as the brain of a smartphone. They control the device’s operations, from running apps and games to managing the battery and connecting to the internet. In this post, we’ll take a closer look at the technology behind these processors and how they’ve evolved.

ARM Processors

The first smartphones used processors based on ARM architecture. These processors were designed for low power consumption and were not as powerful as those used in laptops or desktop computers. As smartphones became more advanced, the demand for more powerful processors increased. Eventually, the industry developed processors based on the x86 architecture, commonly used in laptops and desktop computers.

Qualcomm Snapdragon

One of the most popular smartphone processors today is the Qualcomm Snapdragon, based on ARM architecture. Snapdragons take center stage in many high-end Android smartphones like the Samsung Galaxy. The Snapdragon processor boasts high performance and low power consumption. It also includes an integrated modem for connecting to the internet, which helps to save space and power.

Apple A-Series

Another popular processor used in smartphones is the Apple A-series. These processors are used exclusively in Apple’s iPhone and iPad devices. They are based on ARM architecture and are known for their high performance and energy efficiency. The latest A-series processors feature machine learning capabilities, which enable the device to perform complex tasks such as facial recognition and augmented reality.

As the demand for more powerful processors continues to grow, manufacturers are developing new technologies to meet this demand. For example, many processors now include multiple cores, enabling them to perform numerous tasks concurrently. Additionally, processors are becoming more power-efficient, which helps to extend battery life.

What Lies Ahead for Cell Phone Processors?

Cell phone processors are the backbone of a smartphone. They control the device’s operations, from running apps and games to managing the battery and connecting to the internet.

With the rapid development of new technologies, processors are becoming more powerful and energy-efficient, enabling smartphones to perform more complex tasks and last longer on a single charge.

With the fast-paced technological advancements, it is always exciting to see what new processors will come out and what new features they will bring to our smartphones. iFixYouri will still be here for you, repairing all the latest smartphones and performing world-class board-level repairs!

Phone Battery Replacement

Cell phone batteries are an essential component of our everyday lives. Phone battery replacement is required eventually by everyone. Batteries power our devices and keep us connected to the world around us.

In this blog post, we will take a closer look at the chemicals, production, and lifespan of cell phone batteries. If you already know you need battery replacement, please visit an iFixYouri walk-in location.

What Type of Battery is in an iPhone?

The most common type of cell phone battery is the lithium-ion battery. This type powers Apple’s iPhone and Samsung Galaxy phones. These batteries contain a number of different chemicals, including lithium cobalt oxide (LiCoO2), lithium manganese oxide (LiMn2O4), and lithium iron phosphate (LiFePO4). These chemicals allow the battery to store and release energy as needed to power our devices.

How Do They Make Smartphone Batteries?

The production of cell phone batteries is a complex process that involves multiple steps. First, raw materials, such as lithium and cobalt, are extracted from the earth. These materials are then processed and mixed together to create the active materials used in the battery. Next, the active materials are placed into a battery cell, which is then sealed and tested to ensure it is functioning properly.

When Will I Need Phone Battery Replacement?

The lifespan of a cell phone battery can vary depending on a number of factors, including the battery quality, its usage, and how it is cared for.

On average, a cell phone battery will last between 2-3 years. However, batteries can sometimes last for up to 5 years. Modern phones and their original charging blocks have circuitry that regulates the current, preventing unnecessary blasting of the battery with the current. For this reason, iFixYouri always recommends high-quality charging accessories like those for sale in our walk-in locations.

To prolong the life of your cell phone battery, avoid leaving it plugged in overnight, avoid extreme temperatures, and avoid using the phone while it is charging.

Phone Battery Replacement at iFixYouri

iFixYouri offers free battery tests for all phones, and many battery replacement services are while-you-wait. We have replaced thousands of batteries since 2010, and have the know-how to get you back in action quickly. See you soon!

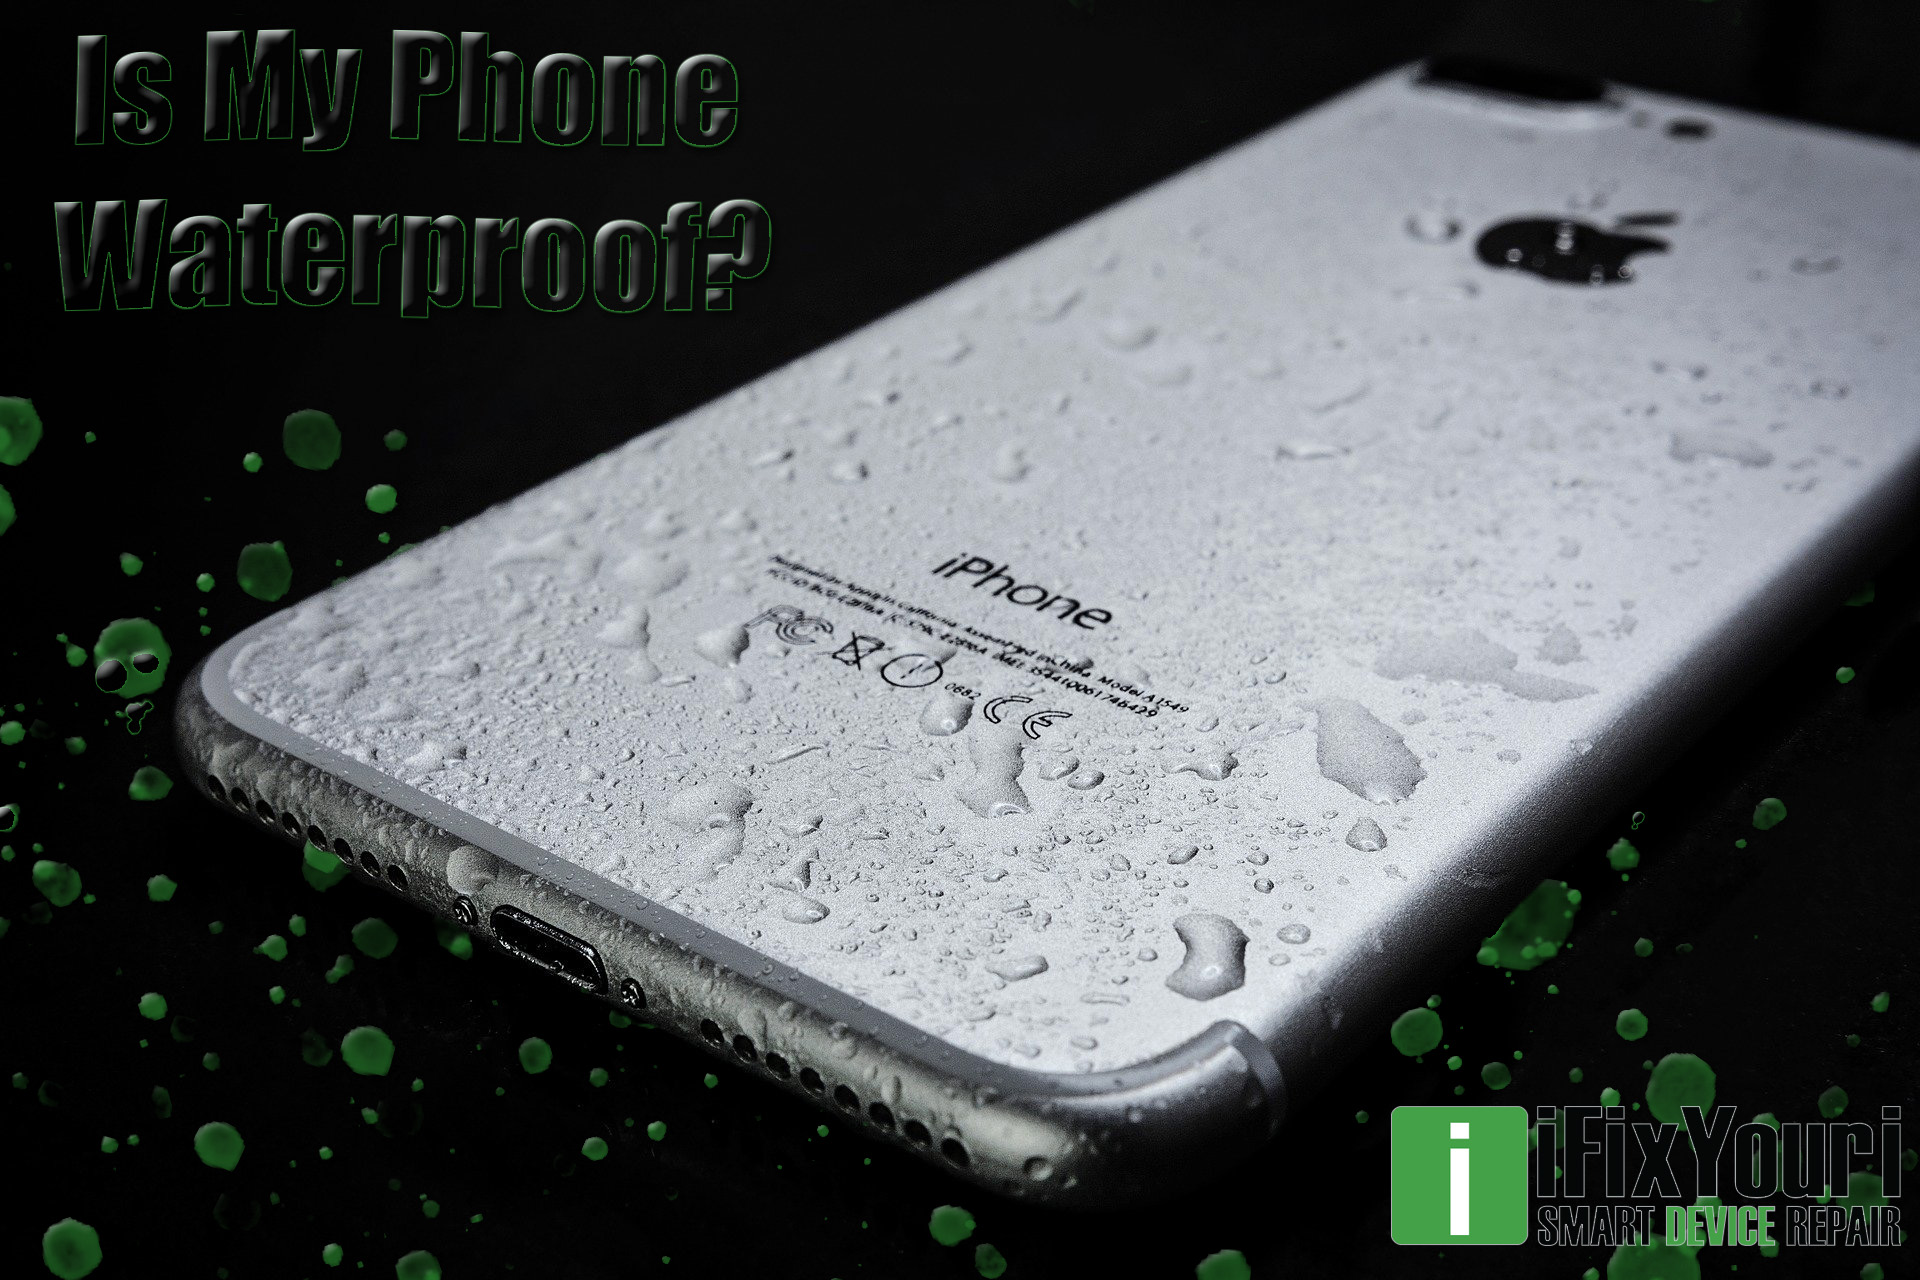
Is My Phone Actually Waterproof?

When buying a phone, many people make the mistake of confusing water-resistant for waterproof. A water-resistant phone can be disturbed by water to a certain extent, while a waterproof phone can be submerged in water without limitations. You may be asking yourself, “Is my phone actually waterproof?” Unfortunately, the answer is no, not quite. As of February 2021, there are no phones on the market that are truly waterproof. But many great phones just happen to be water-resistant.
The iPhone. 

Six (phone) generations ago, people were so excited about the release of the iPhone 6S. They jumped to the conclusion that just because the new device is water-resistant, it could withstand going for a swim. A test ran by iFixYouri experts showed that the device performed well after being submerged in water for two minutes, except for the microphone and loudspeaker. These two hiccups solidify the fact that the iPhone has great water-resistance, but is NOT waterproof. 

Apple has not released an official IP or Ingress Protection Rating for the iPhone 6, but it is predicted to have a rating of IP66. The higher the number, the more resistant a device is. Thankfully the iPhone has improved greatly since then. 

iPhone 12 Line 

The iPhone 12 line was released in October 2020 and has received praise for its camera quality, display, and durability. 

It is rated as IP68 and can be submerged in 20 feet of water for 30 minutes without major damage done.

As a plus, the iPhone 12 is just as durable on land as it is in water, being that its Ceramic Shield display adds extra protection. For the best protection, consider getting a protective case

iPhone 11 Line 

The iPhone 11 also has a rating of IP68, but can only be submerged in 6.5 feet of water for 30 minutes without major damage done. The iPhone 11 Pro and iPhone 11 Pro Max have the same rating but can withstand 13 feet of water which is twice as much as the iPhone 11. 

So if you are looking for a water-resistant phone but want to save hundreds, consider the iPhone 11. 

The iPhone X Line 

According to Apple, the iPhone X and iPhone XR have a rating of IP67 and can withstand a maximum depth of 3.2 feet for up to 30 minutes. The iPhone XS and iPhone XS Max have a rating of IP68, with a maximum depth of 6 feet for 30 minutes. 

What Apple Has to Say 

On Apple’s informational page titled “About splash, water, and dust resistance of iPhone 7 and later,” it states what to avoid to prevent water damage.

  • Bathing and/or swimming with your phone 
  • Bringing your phone into contact with pressurized or high-velocity water (surfing, jet skiing, wakeboarding, etc.) 
  • Using your when in a sauna or steam room 
  • Purposefully submerging your phone in water (There is no need to bathe your phone)

Samsung Galaxy

Take note that the Samsung Galaxy is also praised for being one of the best water-resistant devices on the market. 

Samsung Galaxy S21 Ultra: IP68; Can withstand 5 feet of water for 30 minutes 

Samsung Galaxy S21: IP68; Can withstand 5 feet of water for 30 minutes

Samsung Galaxy S20 FE: IP68; Can withstand 5 feet of water for 30 minutes 

Samsung Galaxy Note 20 Ultra: IP68; Can withstand 5 feet of water for 30 minutes 

When shopping for a phone, if your priority is its durability, you will not have to look far or sacrifice too much money with a Samsung. The Galaxy FE starts at $699, while the Galaxy S20 Ultra starts at $1,399, even though they both have the same IP rating. 

What Happens if My Phone Is Water Damaged? 

If you mistook your device for being waterproof and now your phone won’t work properly, turn to iFIxYouri, where tech experts will repair your device for an affordable price, and best of all have it working like new in no time!

iFixYouri is located all throughout Florida. For those who are not close by, iFixYouri has a secure shipping system.

Is My Phone Actually Waterproof? By iFixYouri

iPhone 6s Plus Home Button Repair: How To

Introduction

iPhone 6s Plus Home button replacement is moderately challenging. The screen must be removed and several components and cables must be disconnected. You will note be able to use Touch ID after this repair – a note worth repeating.

Keep in mind that a home button replacement will eliminate the ability to use Touch ID.

Tools Needed

Recommended: Magnetic mat, screw capsules

Parts Needed:

  • iPhone 6s Plus Plus Home Button Assembly [BUY NOW]

General Repair Guidelines:

  • To reduce losing and confusing things, keep your workplace clean and organized.
  • Most screws cannot be interchanged. Group or strategically place your screws (in screw capsules) so you can track them.
  • Work in a well-lit space – smart device components are tiny. You’ll thank yourself for good lighting.

iPhone 6s Plus Home Button Repair Steps

Remove the Screen

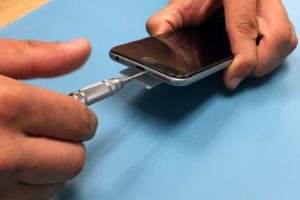
  1. Unscrew the pentalobe screws on both sides of the lightning port on the bottom of the iPhone.iPhone 6s Plus Home Button Repair Step 1 -
  2. Using the metal spudger, pry the screen away from the body, starting at the bottom edge of the phone.iPhone 6s Plus Home Button Repair Step 2 -
  3. A flex cable near the top of the phone connects the screen and body, so open it carefully like a notepad.iPhone 6s Plus Home Button Repair Step 3 -

Undo the Flex Cables

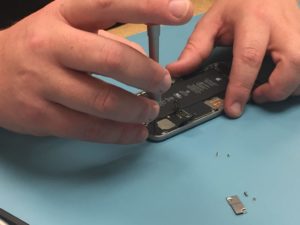
  1. Unscrew the silver rectangular shield near the bottom right of the battery. This shield covers the battery cable, which should be disconnected for practically every repair.iPhone 6s Plus Home Button Repair Step 4 -
  2. Disconnect the display flex cable using a plastic spudger. Plastic spudgers, rather than metal spudgers, should always be used for removing items on the inside of the phone.iPhone 6s Plus Home Button Repair Step 5 -

Remove the Home Button

  1. Unscrew the two screws which hold down the home button bracket.iPhone 6s Plus Home Button Repair Step 6 -
  2. Use a spudger to disconnect the home button connector.iPhone 6s Plus Home Button Repair Step 7 -
  3. Push up slowly on home button from the front. Use your spudger to assist in loosening the rubber gasket that holds the button on the screen.iPhone 6s Plus Home Button Repair Step 8 -
  4. Nice work! You have removed the home button on the iPhone 6s Plus.iPhone 6s Plus Home Button Repair Step 9 -

For further help visit the following links:

iPhone 6s Plus repair by iFixYouri Smart Device Repair

iPhone 6s Plus Parts for a DIY repair

iPhone 6s Home Button Repair: How To

Introduction

iPhone 6s Home button repair is moderately challenging. The screen must be removed and several components and cables must be disconnected. Doing this repair will remove functionality of the Touch ID, and I may repeat that.

Keep in mind that a replacement home button will eliminate the ability to use Touch ID.

Tools Needed

Recommended: Magnetic mat, screw capsules

Parts Needed:

General Repair Guidelines:

  • Always use good lighting – smart device components are small and you’ll need plenty of light to see what you are
    doing.
  • Maintain a clean, organized workspace so you don’t lose or confuse any components.
  • Group your screws so you can keep track of where they came from. Most screws can not be interchanged.

iPhone 6s Home Button Replacement Steps

Remove the Screen

    1. Remove the two pentalobe screws on either side of the lightning port on the bottom of the iPhone.
    1. Starting at the bottom edge of the phone, use the metal spudger to pry the screen away from the body.
  1. A flex cable near the top of the phone is connected to the body, so open the screen carefully like a
    notepad.

Undo the Flex Cables

    1. Unscrew the silver rectangular shield near the bottom right of the battery. This shield covers the battery cable, which should be disconnected for practically every repair.
  1. Disconnect display cable flex using a plastic spudger. Plastic spudgers, rather than metal spudgers, should always be used for removing items on the inside of the phone.

Remove the iPhone 6s Home Button

    1. Unscrew the three screws which hold down the home button bracket.
    1. Use a spudger to disconnect the home button connector.
    1. Push up slowly on home button from the front. Use your spudger to assist in loosening the rubber gasket that holds the button on the screen.
  1. That’s it! You have removed the home button on the iPhone 6s.

For further help visit the following links:

iPhone 6s repair by iFixYouri Smart Device Repair

iPhone 6s replacement parts for a DIY repair

iPhone 7 Home Button Repair – The Full Story

In this post, the iPhone 7 is mentioned, but the information applies to the iPhone 7 Plus as well.

In previous versions of the iPhone, home button replacement was a simpler repair. The screen gets removed, a flex cable is disconnected, depending on the model, a shield is removed, and then the home button can be unscrewed and popped out. A replacement home button can then be installed and your phone is back to work. There were some earlier versions of iOS that locked phones with home button repairs done by a third party repair companies, displaying Error 53, but backlash forced Apple to eliminate this behavior in later updates. So let’s learn more about the iPhone 7 home button.

How is the iPhone 7 Home Button Different?

iPhone 7 Home Button Repair - the iPhone 3gs home button
iPhone 3gs Home Button

The home button has long been a part of the iPhone, since the first generation. It offered a quick escape option to get back to the home screen from wherever you may have navigated. Traditionally it was an actual physical button that had a click reaction when depressed. This physical motion was translated into an electronic signal which then traveled to the motherboard, letting it know it was time to leave the current app. In the hands of a professional, replacing these buttons was as simple as if they were buttons on your shirt. In the hands of a professional, replacing these buttons was as simple as sewing buttons on your shirt.

iPhone 7 Home Button Repair - the iPhone 7 home button
iPhone 7 Home Button

The iPhone 7 home button works in tandem with the logic board (Apple’s name for motherboards) and a software lock. So there’s not only hardware design involved with this component; it can be paired only with one specific logic board, as defined by unique coding. Additionally, the iPhone 7 home button is not truly a mechanical button at all. It is an indented fingerprint sensor which provides physical feedback via the Taptic Engine, Apple’s component for providing tactile sensations in the form of vibrations.
Starting with the Samsung Galaxy S8 and the LG G6, and now the iPhone X, phone manufacturers will most likely continue to omit a physical home button to fit more screen within the dimensions of the phone.

What Happens When You Replace an iPhone 7 Home Button?

If you replace the iPhone 7 home button with an after-market replacement part or even a different OEM replacement, you will see a message after booting up, “The home button may need service.” After displaying this message, a temporary fix on-screen home button appears.  You can navigate using this on-screen button, but after you’ve grown accustomed to using the actual button, it feels like a compromise. This Accessibility setting can be activated on any iPhone at any time by turning on AssistiveTouch.

iPhone 7 Home Button Repair - on-screen assistance

Why Does Apple Make Home Button Repair Difficult?

There are two possible schools of thought about why Apple would make the home button unique to each phone. Since the button is software controlled, the software lock closes a security hole. Think of the software lock as another unique physical passcode. If your phone is stolen or lost, nobody would be able to pop a new home button in and bypass your Touch ID.

The other possibility is that Apple is tightening the scope of its proprietary components and tools to grab a larger share of the repair market. Apple makes all the money on iPhone 7 home button repairs, at the expense of third-party repair companies.

What Are Other Options for iPhone 7 Home Button Replacement?

If your iPhone 7 home button no longer works, it must be taken to an official Apple store. The repair technicians at this store will use the Calibration Machine, which is shrouded in secrecy. Without AppleCare+ or a warranty, the repair will cost $319 for an iPhone 7 and $349 for an iPhone 7 Plus.


If you are in need of help with your iPhone 7 or iPhone 7 Plus, visit iFixYouri for an iphone repair. If you need iPhone 7 or iPhone 7 Plus Parts for DIY repair, click here.

iPhone 6 Lightning Port Replacement: How To

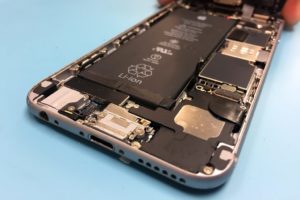
iPhone 6 lightning port repair is a moderately difficult DIY repair. In other words, some smartphone repair experience
helps. However, a patient hand can complete the repair successfully with these instructions. Above all, have fun. Let’s
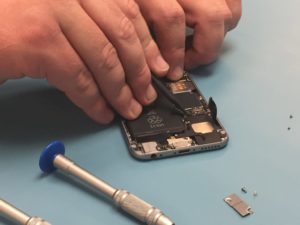
get to it!

Tools Needed

Recommended: Magnetic mat [BUY NOW], screw capsules [BUY NOW]

Parts Needed:

General Repair Guidelines:

  • Always use good lighting – smart device components
    are small and you’ll need plenty of light to see what you are doing.
  • Maintain a clean, organized workspace so you don’t
    lose or confuse any components.
Introduction

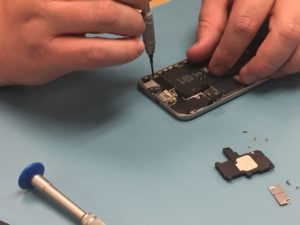
Lightning port for the iPhone 6 is relatively easy, but it is buried under several components that must be removed in
sequence. This is an important repair because the lightning port component also holds the headphone jack and
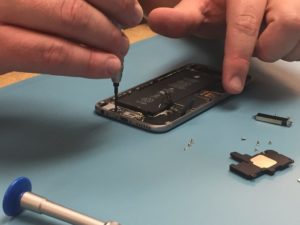
microphone. The clasps holding the screen onto the body near the top are at an angle. The flex cable for the screen is
also towards the top. Keep track of your screws as there are quite a few different ones. Let’s do this.

iPhone 6 Lightning Port Removal Steps

Remove the Screen

  1. After that, unscrew the two pentalobe screws on either side of the lightning dock on the bottom edge of the iPhone 6.
  1. Use the metal spudger to slowly and carefully separate the glass screen of the iPhone from the body. Start on
    the bottom edge of the device and proceed slowly. The flex cable for the screen is at the top.
  2. Slowly pull the top of the screen away from the body and locate the EMI (electromagnetic interference) shield located by the bottom right of the battery.
  3. Unscrew the two screws securing the EMI shield to the logic board and remove it.
  4. Using a spudger, disconnect the battery cable from the logic board.

Remove Loudspeaker, Vibrator

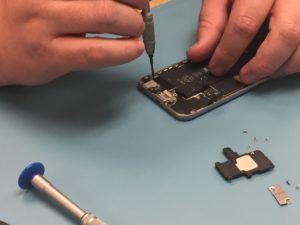
  1. Right next to the lightning port connection there is a small black circle connected by a gold contact to a
    black wire. This is the antenna and it should be disconnected using the spudger.
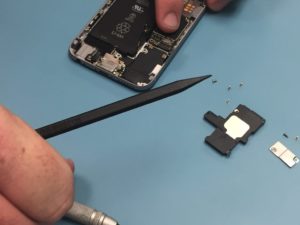
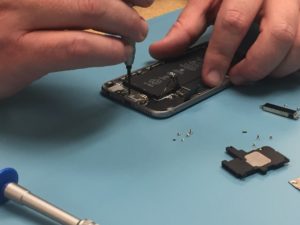
  2. In the bottom right of the iPhone 6, the loudspeaker sits. It is a larger black component held in place by Four
    Phillips head screws hold it in place. It should be removed next. Unscrew the four screws and gently pry it
    out, using caution to not catch the antenna while you are pulling it out.
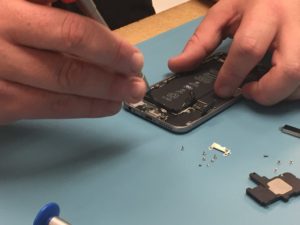
  3. After that, we will remove the vibrator, a black rectangle. It runs horizontally under the battery, on the bottom left of the phone. Two Phillips head screws hold it in place.

Remove Microphone Brace, Unscrew Lightning Port

  1. Remove the small black plastic brace that holds the microphone in place between the lightning port and the
    headphone jack.
  2. After that, remove the two screws on the top edge of the headphone jack component, the light grey square in the
    bottom left of your iPhone (above the headphone jack hole).
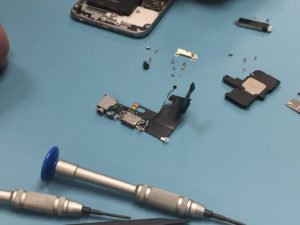
  3. Next, unscrew the six screws on the sides of the lightning port. They sit symmetrically, three on each side.
  4. You have now completed detaching the lightning port assembly. After that, it can be removed from the housing.
    However, if the microphone sticks, gently pry it with your spudger.
  5. Voila! You completed the mission. Work through
    the steps in reverse to install a new lightning port.

For Help, Repairs, or Parts

In conclusion, if you need parts or tools for this repair, or if this repair is too much to attempt on your own and you
need professional help with your iPhone 6 repair,
contact iFixYouri at 888-494-4349or www.ifixyouri.com.