Category Archives: DIY Fix

All of the DIY fix advise needed for Apple iPhone repair, iPad, iTouch and more!

Tablet Troubleshooting 101: How to Fix Common Problems in Schools and Businesses

In schools and businesses, where efficiency is paramount, common tablet issues should be addressed quickly and effectively. In this guide, we’ll explore some of the most common problems encountered with tablets in educational and corporate environments and provide tablet troubleshooting solutions to resolve them. You should also check out our post about Deciding to Repair an Older Smartphone or Tablet.
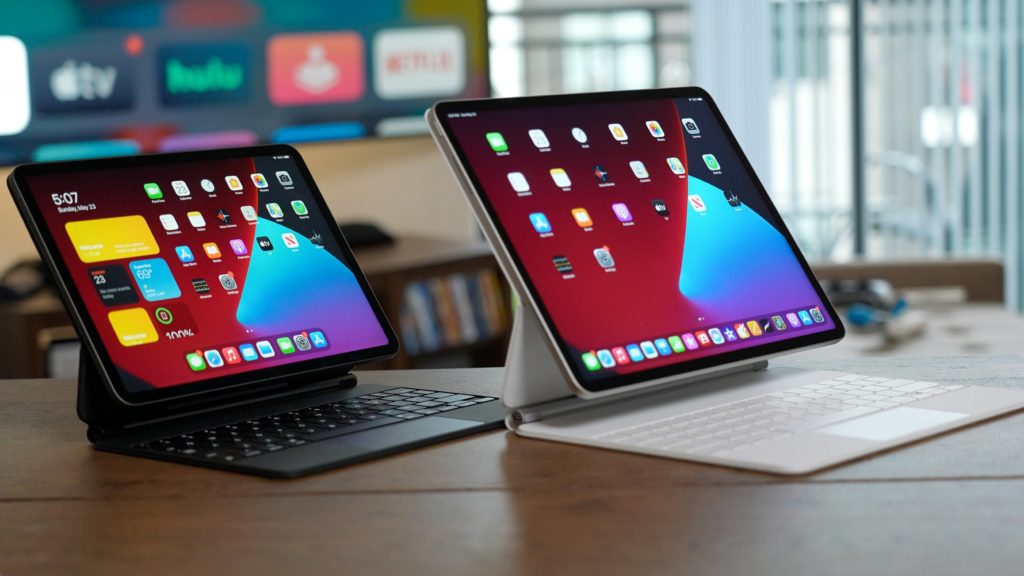
Tablet Troubleshooting Tips
Photo by Daniel Romero on Unsplash

Frozen Screen or Unresponsive Touchscreen

Solution: Perform a Hard Reset

To resolve a frozen screen or an unresponsive touchscreen, press and hold the power button and the volume down button simultaneously for about 10-15 seconds until the device restarts. This action will force the tablet to reboot and can often resolve such issues. If the screen continues to be unresponsive, an LCD assembly replacement may be required. 

Battery Drainage

Solution: Check Battery Usage and Close Background Apps

To address battery drainage, start by checking battery usage in Settings > Battery. Close any unnecessary background apps by swiping them away from the multitasking screen. Additionally, adjust the device’s brightness and disable features like Bluetooth and location services when not in use to conserve battery life. A repair company like iFixYouri should be able to tell you if your battery is past its prime and needs replacement.

Wi-Fi Connectivity Problems

Solution: Restart the Wi-Fi Router and Tablet

Turn off the Wi-Fi router and wait for a few seconds before turning it back on. Similarly, toggle the Wi-Fi setting on the tablet off and then on again to reconnect to the network. If the issue persists, forget the Wi-Fi network on the tablet and re-enter the credentials to establish a fresh connection.

Tablet Troubleshooting Slow Performance

Solution: Clear Cache and Optimize Storage

To improve performance, navigate to Settings > Storage and clear cache data accumulated by apps. Uninstall unnecessary apps and delete files or photos that are no longer needed to free up storage space. Consider installing a reputable optimization app to streamline performance and improve responsiveness.

App Crashes or Errors

Solution: Update Apps and Operating System

Ensure that all apps are up to date by visiting the respective app stores and installing available updates. Similarly, check for system updates in the device settings and install any pending updates. If a specific app continues to crash, try uninstalling and reinstalling it to resolve any software conflicts.

Screen Display Issues

Solution: Adjust Display Settings and Perform Calibration

Enhance visibility and reduce eye strain by adjusting the screen brightness and color settings. If the screen appears distorted or unresponsive to touch gestures, perform a screen calibration through the device settings to recalibrate the touchscreen sensitivity.  If the screen continues to have issues, an LCD assembly replacement may be required. 

Security Concerns

Solution: Implement Device Security Measures

Protect the tablet with a strong password, PIN, or biometric authentication method to prevent unauthorized access. Enable encryption to safeguard sensitive data stored on the device and install reputable antivirus software to protect against malware and phishing attacks.

By following these tablet troubleshooting tips and employing proactive maintenance measures, schools and businesses can minimize downtime caused by tablet-related issues. Regular updates, user education on proper device usage and care, and a vigilant approach to security can further ensure smooth operations and optimal performance.

With the right knowledge and strategies in place, tablets will continue to serve as valuable tools for learning and productivity in any environment. When your tablets do need professional repair, contact iFixYouri.

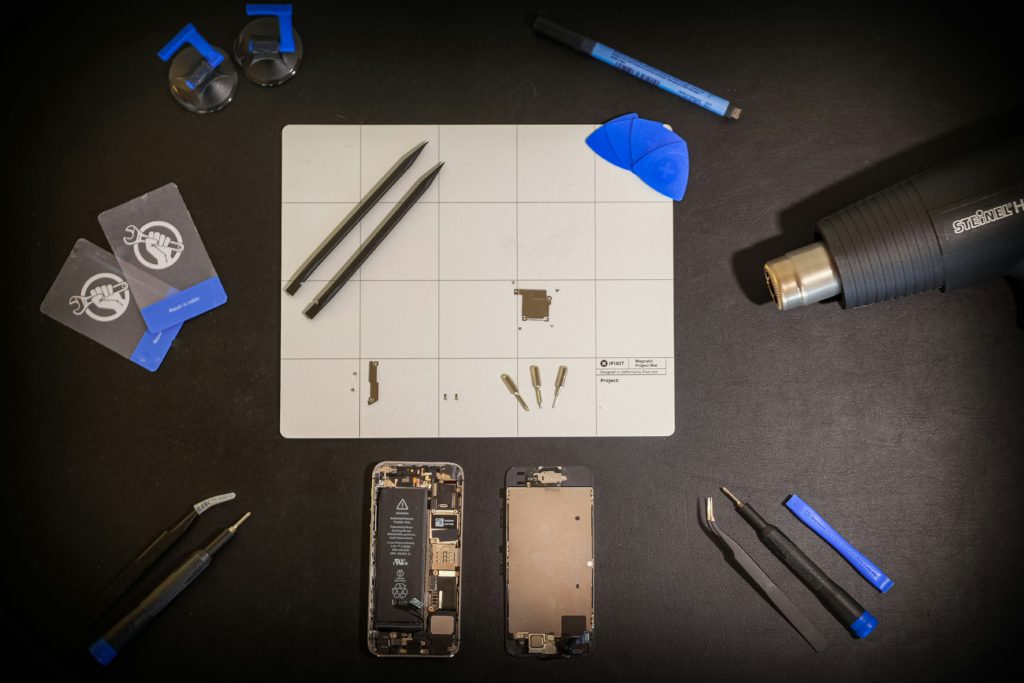
Top Repair Tools Every Tech Needs to Work On Smartphones and Computers

Smartphones and computers have become indispensable in our daily lives, but they’re prone to malfunctions and breakdowns. To repair these devices efficiently, technicians require the right tools. In this blog post, we’ll explore the essential tools every technician needs for smartphone and computer repair. If you’d rather just leave it to the pros, visit a trusted repair shop like iFixYouri. You may also want to check our post about Common Smartphone Repairs.

top repair tools
Photo by Joel Rohland on Unsplash

Top Repair Tools: Precision Screwdriver Set

Smartphones and computers contain numerous small screws of varying sizes and shapes. Therefore, technicians must utilize a precision screwdriver set with interchangeable tips to disassemble these devices safely and efficiently. Some technicians prefer dedicated, fixed-head screwdrivers rather than the interchangeable tip version. It’s important to remember that you will probably need more than just a precision Phillips head, as different phones may use different types of screws.

Spudger Set

A spudger is a versatile tool for prying open electronic devices without causing damage. It’s particularly useful for separating tightly-fitted components like smartphone screens or laptop casings. Thus, having a set of plastic spudgers in different shapes and sizes is indispensable for any repair technician.

Suction Cup

Many smartphones and tablets feature glass screens held in place with adhesive. You may have to preheat the adhesive with hot air or a heating pad; there is more on that below. Consequently, a suction cup provides technicians with a secure grip for safe screen removal without damage to the device or its components.

Opening Picks

Opening picks are thin, flexible tools that aid in separating glued or tightly-fitted components. They are invaluable for disassembling devices such as smartphone screens or laptop casings. With a variety of opening picks available, technicians can safely dismantle devices without risking damage.

Heat Gun or Hot Air Rework Station

For screen repairs on tablets or other devices assembled with adhesives, you can start simply with a heating pad. For repairs involving soldering or reworking components, a heat gun or hot air rework station is essential. These tools allow precise application of heat to solder joints and components, facilitating successful repairs without collateral damage. Whether replacing a smartphone charging port or reflowing a laptop motherboard’s graphics chip, a heat gun or rework station is indispensable.

Anti-Static Wrist Strap:

Electrostatic discharge (ESD) poses a risk to sensitive electronic components. Wearing an anti-static wrist strap helps dissipate static electricity safely, protecting both the technician and the devices being repaired. Whether working on smartphones or computers, employing an anti-static wrist strap minimizes ESD-related damage during repairs.

Lighting and Safety Equipment

Good lighting is always important. Electronic components and screws are small, and you need to be able to see what you are doing. Plan some good overhead and task lighting; you’ll be glad you did. Also, don’t skip the safety equipment like gloves, eye protection, and a plan for those rare but serious battery puncture fires. Typically this includes pouring sand, not water, on the fire.

Repairing smartphones and computers demands technical expertise, precision tools, and attention to detail. By equipping themselves with this list of top repair tools, technicians can efficiently handle a wide range of repair tasks.

Whether professionals or DIY enthusiasts, investing in quality tools is crucial for successful smartphone and computer repair endeavors. Of course, if tools and DIY repair are not your thing, you can always bring your devices to a reputable electronics repair shop like iFixYouri.

Unresponsive Computers: a Complete Troubleshooting Guide

In our modern, technology-driven world, computers are essential for work, communication, and entertainment. Unresponsive computers can become a source of frustration and anxiety. However, there’s no need to worry. In this blog post, we’ll walk you through a series of troubleshooting steps to help you diagnose and potentially fix the issue. You may also want to check out our post about Simple Computer Tweaks.

Unresponsive computers
Photo by Elisa Ventur on Unsplash

Start with the Basics

Before delving into complex solutions, begin with the fundamentals:
a. Ensure the power source functions: Make sure your computer is connected to a working power outlet. Verify the outlet’s functionality by testing it with another device.
b. Examine the power cable and connections: Inspect the power cable for visible damage or loose connections. Sometimes, a loose cable can lead to power issues.
c. Check the power button: Confirm that the power button operates correctly. Occasionally, power buttons can become stuck or unresponsive.

For Laptop Users

If you’re dealing with a laptop, the issue might be related to the battery:
a. Plug it in. If your laptop battery is completely drained, it might not turn on. Plug it into the charger and wait a few minutes before attempting to power it up.
b. Check the battery status LED: Most laptops feature an LED that indicates the battery status. If it’s blinking, consult your laptop’s manual to interpret the code.
c. Remove the battery: In some instances, removing the laptop’s battery and holding the power button down for 10-15 seconds can reset the system and help it start.

Troubleshooting the Display

Sometimes, the computer may be turning on, but you can’t see anything on the screen. Here’s what you can do:
a. Check the monitor: Ensure the monitor is powered on, correctly connected to the computer, and set to the correct input source.
b. Adjust brightness and contrast: Modify the monitor’s brightness and contrast settings to ensure the display isn’t too dim.
c. Try an external monitor: Connect your computer to an external monitor to determine if the issue is with the built-in screen or the computer itself.

Exploring Safe Mode and Recovery

If you still have an unresponsive computer after the above tips, try these advanced troubleshooting steps:
a. Boot in Safe Mode: For Windows users, attempt to boot your computer in Safe Mode. This mode only loads essential drivers, and if your computer starts, it may be a software issue causing the problem.
b. Boot from a recovery USB/CD: If you possess a recovery drive for your operating system, you can attempt to boot from it to access repair options.

Addressing Hardware Issues

If none of the previous steps revive your unresponsive computer, the issue may be hardware-related. In this case, it’s advisable to contact professional technicians at iFixYouri or the manufacturer for assistance.
a. RAM and motherboard: Problems with your computer’s RAM or motherboard can be difficult to diagnose and resolve independently.
b. Power supply unit (PSU): A failing PSU can also result in power issues, potentially necessitating replacement.
c. Overheating: Excessive heat can lead to your computer shutting down unexpectedly. Ensure the cooling system operates correctly.

Facing unresponsive computers can be a daunting experience, but with these troubleshooting steps and a systematic approach, you can potentially identify and resolve the issue. If you’re uncomfortable with these steps or the problem persists, seek professional help.

To prevent future problems, remember that regular maintenance and backups are essential for keeping your computer in good working order. This can help you avoid unresponsive computers and keep your productivity and enjoyment high. For help with computer-related issues, please bring your computer to iFixYouri.

How to Identify Signs of Malware on Your Smartphone

The smartphone has become an indispensable tool for communication, productivity, and entertainment. Although these devices are convenient and powerful, cybercriminals also target them because of their power and convenience. Malware, which is short for malicious software, can infect your smartphone and cause a range of problems, from data theft to performance issues.

To protect your device and personal information, it’s crucial to learn how to spot signs of malware on your smartphone. In this blog post, we’ll guide you through the common indicators that suggest your smartphone might be infected. If your issue is serious, please visit us at iFixYouri.

You may also want to check out our post about Simple Computer Tips to Enhance Your Speed and Performance.

Malware on your Smartphone
Photo by Growtika on Unsplash

Common Indicators of Smartphone Malware

Unexplained Battery Drain: 

If your smartphone’s battery life suddenly plummets, it could be an indication of malware. Malicious software can run in the background, consuming battery power without your knowledge.

Sluggish Performance: 

Malware can significantly slow down your smartphone. Consequently, if you notice that your device takes more time to open apps, respond to touch commands, or load web pages, it might be time to investigate.

Unwanted Pop-Up Ads: 

Be wary of pop-up ads that appear on your smartphone, particularly when you’re not using a specific app or browsing the web. These ads may lead to malicious websites or fraudulent offers.

Increased Data Usage: 

Malware can run data-intensive tasks in the background, leading to unusually high data usage. If your data plan usage has spiked without any obvious reason, malware could be to blame.

Mysterious Apps: 

Regularly scrutinize your smartphone for unfamiliar apps or apps you don’t remember installing. Some malware disguises itself as legitimate applications, so exercise caution regarding what you download and routinely review your app list.

Overheating: 

If your smartphone becomes unusually hot during regular use, it might indicate a malware infection. Malicious software can strain your device’s resources, causing it to heat up.

Mysterious Charges: 

Stay vigilant about your phone bill. Malware can send premium-rate SMS messages or make unauthorized calls, resulting in unexpected charges.

Privacy Invasion:

Malware can access your personal data, such as contacts, messages, and photos. If you notice suspicious or unauthorized access, it’s a strong indication of a security breach.

Frequent Crashes:

Frequent app crashes, system crashes, or unresponsiveness can be attributed to malware interfering with your device’s normal operations.

Changes in Settings: 

Malware can alter your smartphone’s settings, such as changing your homepage or default search engine. Be mindful of any unauthorized changes.

Increased Heat and Power Usage: 

If your smartphone feels hot even when you’re not using it, and its battery is draining quickly, it could be a sign of malware running in the background.

Follow These Tips If You Suspect Malware On Your Smartphone

  1. Utilize a Mobile Security App: Install a reputable mobile security app that can scan and remove malware from your device. Ensure it’s kept up to date.
  2. Keep Your Smartphone Updated: Ensure your device’s operating system and apps are kept updated to patch any security vulnerabilities.
  3. Review App Permissions: Regularly review the permissions granted to apps and revoke any that seem unnecessary for their function.
  4. Uninstall Suspicious Apps: If you identify any suspicious or unfamiliar apps, uninstall them immediately.
  5. Change Your Passwords: Change your device passcode and consider changing your passwords for sensitive accounts, such as email and banking, in case they were compromised.
  6. Back-Up Your Data: Regularly back up your data to a secure location to ensure you don’t lose important information in the event of a malware infection.
  7. Contact iFixYouri: If the issue persists or is severe, reach out to us at iFixYouri for assistance.

Malware on your smartphone can pose a significant threat to your device and your personal information. Being vigilant, practicing good digital hygiene, and knowing how to spot the signs of malware are essential for keeping your device and data safe. Stay informed and take action promptly if you suspect any suspicious activity on your smartphone. Your digital security is in your hands.

Android Troubleshooting Tips: The Top 10 Every User Should Know

Android smartphones have become an integral part of our lives, serving as our communication hubs, entertainment centers, and productivity tools. However, like any other technology, Android devices can encounter issues from time to time. Whether it’s a frozen screen, battery drain, or app crashes, knowing how to troubleshoot common problems can save you time and frustration. In this blog post, we’ll explore the top 10 Android troubleshooting tips every user should know to keep their devices running smoothly. You may also want to check out our post about The Best Android Smartphones.

Android Troubleshooting Tips
Photo by Denny Müller on Unsplash

Restart Your Device

It may sound simple, but often, a quick restart can resolve many common Android issues. To do this, press and hold the power button until the power menu appears, then select “Restart.” This action clears out temporary files and refreshes the system, often resolving minor glitches.

Clear App Cache and Data

If a specific app is misbehaving or crashing frequently, clearing its cache and data can help. Go to Settings > Apps, select the troublesome app, and tap on “Storage.” From there, you can clear the cache and data, potentially resolving any app-related issues.

Keep Your Device and Apps Updated

Android updates, as well as app updates, often include bug fixes and performance improvements. Make sure your device is running the latest version of Android by going to Settings > System > Software updates. Similarly, update your apps through the Google Play Store to ensure you have the most stable versions.

Check for Rogue Apps

Sometimes, a single app can cause havoc on your device. To identify problematic apps, boot your device into Safe Mode by holding the power button and then long-pressing the “Power Off” option. In Safe Mode, only pre-installed apps will run. If your device works fine in Safe Mode, a third-party app may be the culprit.

Manage Battery Drain

Excessive battery drain can be frustrating. To tackle this, go to Settings > Battery to identify apps and services consuming the most power. You can limit background activity for power-hungry apps and enable battery-saving modes when necessary.

Solve Connectivity Issues

If you’re experiencing Wi-Fi or mobile data connectivity problems, try toggling Airplane Mode on and off, forgetting and reconnecting to Wi-Fi networks, or resetting your network settings in Settings > System > Reset > Reset network settings.

Clear Your Device’s Cache Partition

Over time, your Android device accumulates cached files that can slow it down. Clearing the cache partition can help improve performance. The process may vary slightly between devices, so check your manufacturer’s instructions for guidance.

Address Storage Problems

Running out of storage can lead to sluggish performance and app crashes. Regularly clear unnecessary files, photos, and apps, and consider moving data to an external SD card or cloud storage to free up space.

Address Overheating Issues

Android devices can overheat, which can cause performance issues and potentially damage the device. Avoid using your device in direct sunlight and close background apps that may be using too much processing power. You can also remove the case to help with heat dissipation.

Factory Reset as a Last Resort

If you’ve tried everything and your device is still plagued by issues, a factory reset may be your last resort. Be sure to back up your data first, as this will erase all content and settings on your device. You can initiate a factory reset in Settings > System > Reset > Factory data reset.

Android troubleshooting doesn’t have to be a daunting task. By following these top 10 Android troubleshooting tips, you can resolve many common issues. Regular maintenance and device updates are keys to a smooth Android experience. With these troubleshooting tricks in your toolkit, you’re equipped to handle any challenges that come your way and keep your Android device running smoothly for years to come.

For help with your Android device, please contact or visit iFixYouri.

Installing a Solid State Drive (SSD) to Enhance Your PC’s Performance

Regarding computer hardware, few upgrades rival the impact of installing a Solid State Drive (SSD) on your system. SSDs have revolutionized computing by offering lightning-fast speed, enhanced reliability, and superior energy efficiency compared to traditional Hard Disk Drives (HDDs). In this blog post, we will describe why you should consider incorporating an SSD into your computer and provide a step-by-step guide for the installation process.

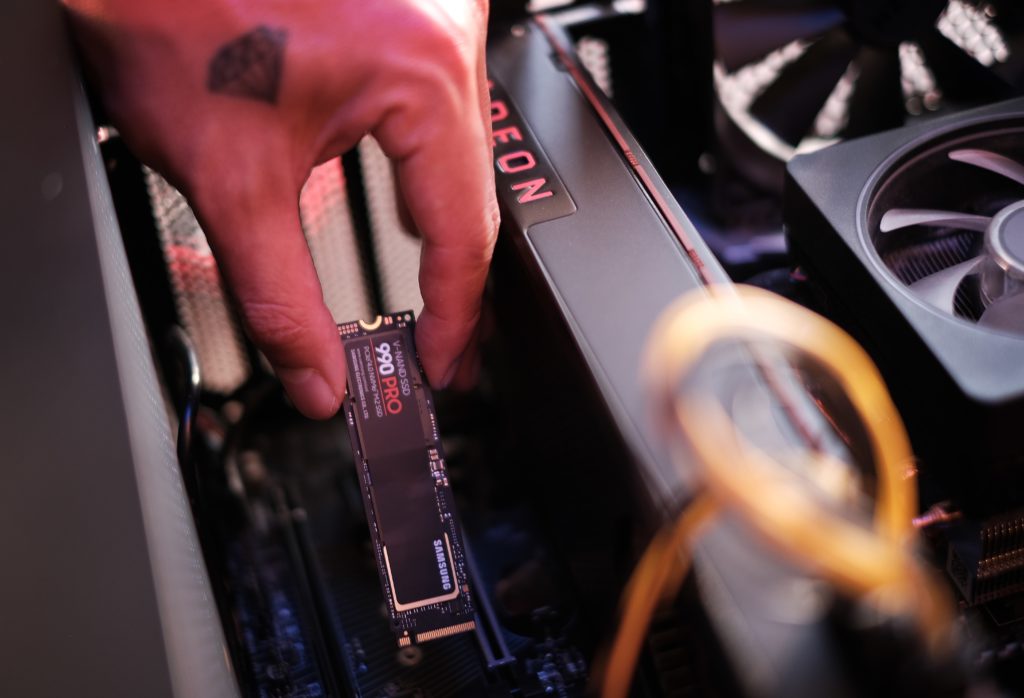
Installing a solid state drive
Photo by Samsung Memory on Unsplash

Why Should You Upgrade to an SSD?

  1. Speed and Responsiveness: SSDs are renowned for their remarkable read and write speeds. Unlike traditional HDDs, which rely on spinning disks for data access, SSDs utilize flash memory, resulting in almost instantaneous data retrieval and storage access. Consequently, your computer becomes considerably more responsive.
  2. Improved Boot Times: One of the most noticeable advantages of incorporating an SSD is the substantial reduction in boot times. Your computer can start up within seconds, allowing you to dive into work or leisure activities without the frustrating wait associated with HDDs.
  3. Enhanced Multitasking: SSDs excel at handling multiple tasks concurrently. Whether running resource-intensive applications, multitasking, or gaming, an SSD ensures your system operates smoothly, minimizing lag and load time.
  4. Durability and Reliability: SSDs lack moving parts, rendering them more resilient to physical shock and less susceptible to failure than HDDs. This heightened durability can extend the lifespan of your data and your computer.
  5. Energy Efficiency: SSDs consume less power than HDDs, resulting in extended laptop battery life and reduced electricity bills for desktop users. This eco-friendly aspect provides another compelling reason to make the transition.
  6. Quieter Operation: SSDs produce virtually no noise during operation since they lack spinning disks. You may also want to check our post about How to Get A Quieter PC.

Installing Your SSD

Incorporating an SSD into your computer is a relatively straightforward process. However, it is crucial to follow these steps carefully to ensure a seamless installation:

  1. Backup Your Data: Before making any hardware changes, ensure you have a current data backup. Although the risk of data loss during installation is minimal, it is always prudent to err on the side of caution.
  2. Select the Appropriate SSD: Determine the type and capacity that suits your requirements. SATA SSDs provide a cost-effective option for most users, while NVMe SSDs offer even faster speeds for demanding tasks. Ensure that your computer supports the chosen SSD type.
  3. Prepare Your Computer: Power down your computer, disconnect it from the power source, and ground yourself to prevent static discharge. For laptops, refer to your device’s manual for specific instructions.
  4. Install the SSD: In desktops, locate an available drive bay and connect the SSD using SATA data and power cables. For laptops, replace the existing drive or use an available M.2 slot. Follow your computer’s documentation for precise instructions.
  5. Clone or Perform a Fresh Install: Either clone your existing drive to the SSD or do a fresh installation of your operating system and applications. Cloning retains your current setup, while a fresh install ensures maximum performance gains.
  6. Designate the SSD as the Boot Drive: In your computer’s BIOS/UEFI settings, set the SSD as the primary boot drive to fully leverage its speed during startup.
  7. Update Firmware and Drivers: After installation, ensure that your SSD’s firmware is up to date and that you have the latest drivers installed for optimal performance.

Incorporating a Solid State Drive (SSD) into your computer is one of the most effective methods to breathe new life into it. The speed, responsiveness, and reliability enhancements are well worth the investment, regardless of whether you have a laptop or a desktop PC. Follow the installation steps meticulously, and soon, you will enjoy a faster and more efficient computing experience.

Don’t let your outdated hard drive hinder your productivity—get started with installing a solid state drive today! iFixYouri has SSDs for sale and we would be more than happy to do the install if this sounds too complicated to you.

Computer Hardware Upgrades: Harness the Full Potential of Your PC

In today’s fast-paced digital world, our computers serve as indispensable companions for work, entertainment, and everything in between. However, as technology continues to advance, our once-powerful PCs may start feeling a bit sluggish. The good news is that there’s no need to replace your entire computer when it starts showing signs of aging. Instead, you can rejuvenate your machine with a few computer hardware upgrades. 

In this blog post, iFixYouri explores the benefits of upgrading your PC hardware and provides some tips on how to do it effectively. Remember we are always here to help; our repair technicians can perform any of these upgrades for you if they are above your ability.

Reasons to do Computer Hardware Upgrades

  1. Boost Performance: Your computer’s performance may gradually decline over time. Tasks that used to execute smoothly and promptly might now frustrate you with their sluggishness. Upgrading your hardware, such as adding more RAM, upgrading your CPU, or installing a faster SSD, can substantially amplify your PC’s speed and responsiveness.
  2. Enhance Gaming Experience: For gamers, upgrading PC hardware can be a game-changer. A more robust graphics card, for instance, empowers you to play the latest games at higher resolutions and with better frame rates, delivering a more immersive gaming experience.
  3. Extend the Lifespan: Regularly upgrading your PC hardware can prolong your computer’s lifespan. Instead of overhauling your entire system every few years, you can make incremental upgrades to keep it contemporary and capable of handling modern tasks.
  4. Improve Multitasking: If you frequently run multiple applications simultaneously, boosting your PC’s RAM can make a significant difference. Having more RAM enables your computer to adeptly manage multiple tasks without slowing down, making multitasking effortless.
  5. Stay Current: As technology progresses, software and applications become more demanding. Upgrading your hardware ensures that your computer can smoothly run the latest software without struggling.

Now that we’ve discussed why upgrading your PC hardware can be a good move, let’s delve into some key hardware components you can consider upgrading:

Key Computer Hardware Upgrades

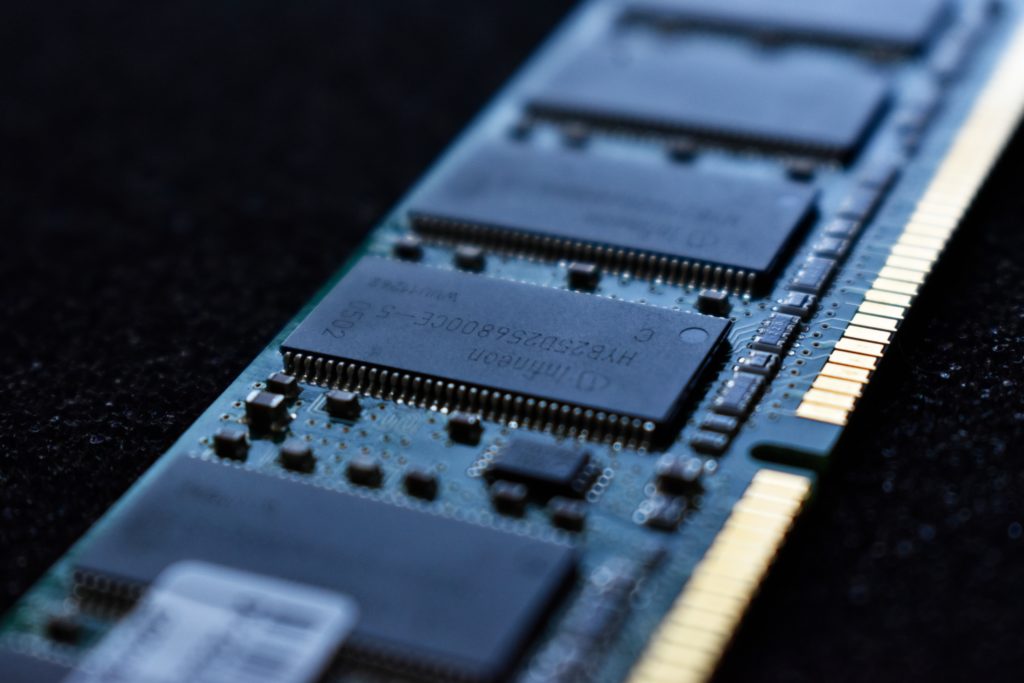
Computer Hardware Upgrades- RAM
Photo by Liam Briese on Unsplash
  1. RAM (Random Access Memory): Upgrading your RAM represents one of the easiest and most cost-effective ways to enhance your computer’s performance, particularly if you frequently work with memory-intensive applications like video editing software or virtual machines.
  2. CPU (Central Processing Unit): If you aim to achieve a noticeable performance boost, upgrading your CPU can be a game-changer. Newer CPUs not only perform faster but also consume less energy.
  3. GPU (Graphics Processing Unit): Gamers and content creators can derive significant benefits from a more potent graphics card. A high-end GPU can proficiently handle demanding graphics tasks and deliver superior gaming experiences.
  4. Storage: Elevating your storage drive to a Solid State Drive (SSD) can make your computer feel considerably more responsive. SSDs outpace traditional Hard Disk Drives (HDDs) in speed and reliability.
  5. Motherboard: If you’re upgrading multiple components, it may be necessary to contemplate upgrading your motherboard to ensure compatibility. A newer motherboard can also provide additional features and connectivity options.
  6. Power Supply Unit (PSU): When upgrading to more power-hungry components like a high-end GPU, it’s essential to verify that your PSU can accommodate the increased power requirements.
  7. Cooling System: Upgrading your CPU cooler or incorporating additional case fans can help maintain lower temperatures and enhance overall system stability.

Enhancing your PC hardware can rejuvenate your computer and unlock its full potential. Whether you’re looking to amplify performance, enrich your gaming experience, or simply stay abreast of the latest technology, computer hardware upgrades offer a cost-effective avenue to achieve these objectives. 

Remember to research compatibility, allocate a budget for your upgrades, and adhere to safety precautions when handling computer components. Armed with the right upgrades, your computer can continue to serve you diligently for years to come, meeting your needs and surpassing your expectations.

Laptop users may also want to check out our post about Upgrading Your Laptop. Visit iFixYouri for help with computer hardware upgrades.

How to Get A Quieter PC: Achieving a Peaceful Computing Experience

Are you fed up with the incessant noise from your PC’s fans and hard drives? Noisy computers can be not just distracting but also extremely irritating when you’re trying to focus or relax. However, you can take several steps to reduce the noise generated by your PC without compromising its performance.

In this guide, we’ll explore practical tips and tricks to help you create a quieter computing environment. The professional repair technicians at iFixYouri can help with any PC upgrades or repairs.

Keep Your PC Clean

Dust and dirt accumulation inside your PC can force fans to work harder, resulting in increased noise. To combat this issue, routinely clean the internals of your PC. Turn off your computer, unplug it, and open the case.

Use compressed air to gently blow away dust and debris from components like the CPU cooler, GPU, and fans. Ensure that the power supply unit (PSU) fan remains clean as well. A clean PC will run cooler and quieter.

Upgrade or Replace Fans

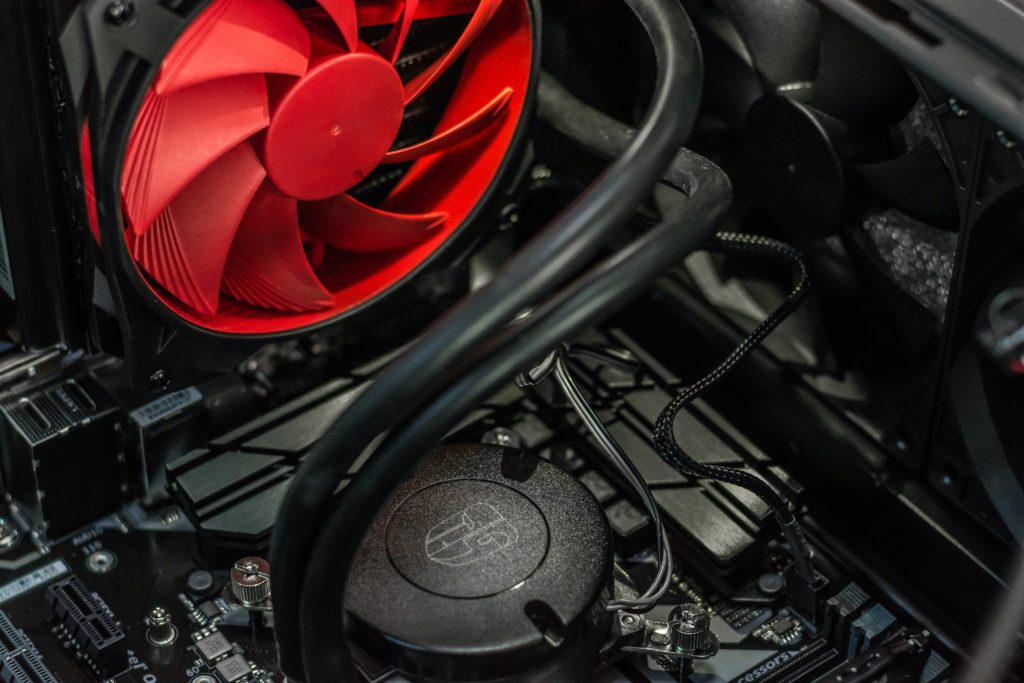
quieter pc - cooling fans
Computer Cooling Fan – Photo by Alexandru-Bogdan Ghita on Unsplash

Fans inside your computer case represent one of the primary sources of noise. If you have outdated or low-quality fans, consider swapping them out for quieter alternatives. Seek fans with higher airflow-to-noise ratios and those designed for silent operation. Renowned brands such as Noctua and Be Quiet! offer excellent options for quieter fans.

Furthermore, contemplate investing in larger fans, which can move the same amount of air at lower RPMs, resulting in reduced noise levels. Remember to check compatibility with your case, as larger fans may not fit all cases.

Enhance Acoustic Dampening

While many cases come equipped with acoustic-dampening materials, you can further reduce noise by adding more. These materials, often composed of foam or rubber, effectively absorb sound vibrations and minimize noise levels. Attach them to the inner panels of your case or around noisy components like hard drives.

Transition to Solid-State Drives (SSDs)

Traditional hard disk drives (HDDs) can generate noise due to their spinning disks and moving parts. Replacing your HDD with an SSD not only boosts your computer’s speed but also eliminates the noise linked to spinning disks. SSDs have become more cost-effective and come in various storage capacities, making them a valuable investment for noise reduction.

Customize Fan Speeds and Profiles

Most modern motherboards include software that empowers you to adjust fan speeds and profiles. By configuring your fans to operate at lower speeds during idle periods and increase speed as needed, you can strike a balance between cooling and noise reduction. Experiment with different settings until you discover the optimal balance for your PC.

Utilize a Quiet CPU Cooler

Stock CPU coolers included with processors can produce noise when subjected to heavy loads. Consider investing in an aftermarket CPU cooler specifically designed for quiet operation. Brands like Noctua and Be Quiet! offer excellent choices that can substantially diminish CPU fan noise.

Mindful PC Placement

The positioning of your PC can also influence its noise level. Avoid placing it on a carpeted floor, as this can obstruct airflow and force fans to work harder. Instead, position your PC on a hard, stable surface with ample room for airflow. Additionally, make certain that the case vents remain unobstructed.

A noisy PC doesn’t have to disrupt your productivity or leisure time. With a few straightforward steps and some thoughtful upgrades, you can significantly reduce the noise generated by your computer.

From cleaning your PC to upgrading fans, and using acoustic-dampening materials, these tips will help you achieve a quieter and more serene computing experience. So, silence those irritating fan noises and embrace a quieter PC! You may also want to check out our post about Simple Computer Tweaks to Enhance Your Speed and Performance.