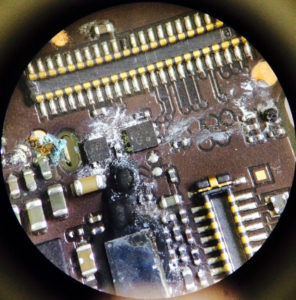
iPad Mini 1st Gen Glass Removal can be completed yourself if you have the right tools and know-how. It just takes a little care and following the steps detailed in this guide. If you have trouble, you can visit iFixYouri for professional iPad Repair services.
Before we begin, there are some tips to keep in mind to keep the repair going smoothly. The heat pad is required to loosen the adhesive. Take your time getting the spudger in and you can complete the removal pretty easily. Keep your screws organized.
The real challenge is removing the digitizer clip and flex. You have to angle your spudger in, along with the lines of the edge of the iPad, so you don’t damage the connector. Use the spudger, not your fingernails.
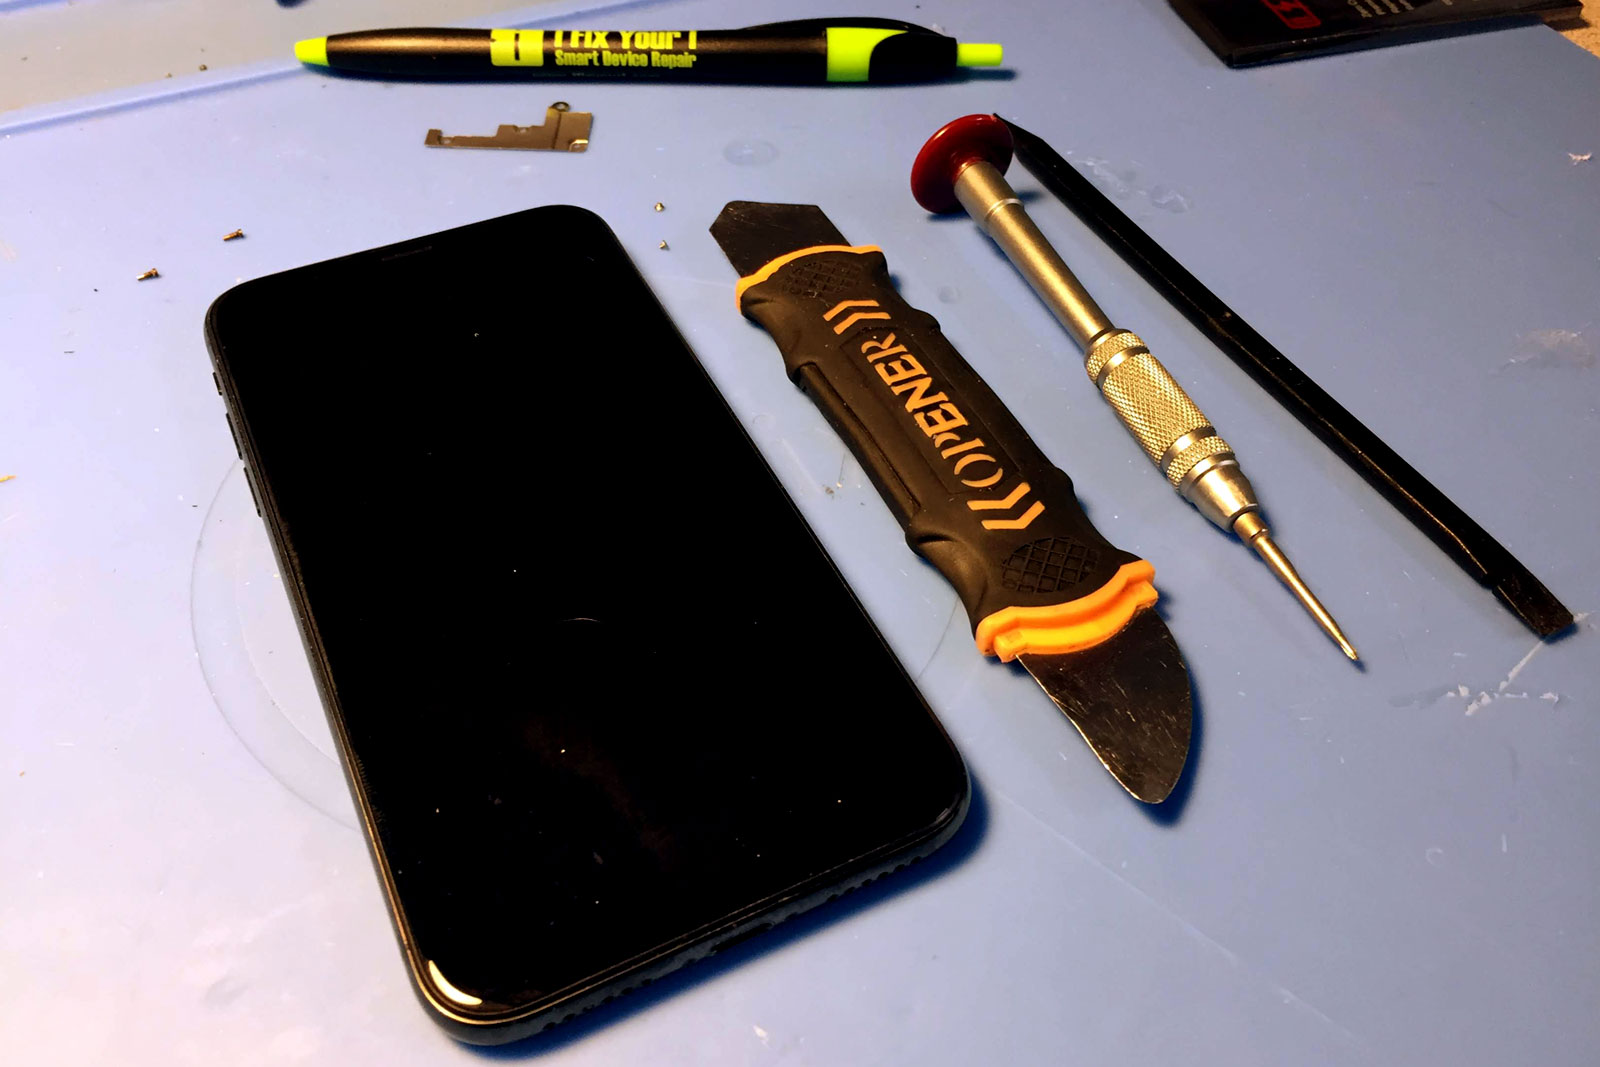
Tools Required
Heat Pad – soft mat with a variable temp electrical heating element
iSesamo, or metal spudger – used for prying device exteriors, never internal electronics
S6 Edge rear glass removal can be completed without damage. It just takes a little care and following the steps detailed in this guide. If you have trouble, you can visit iFixYouri for professional Galaxy S6 Edge Repair services.
Before we begin, there are some tips to keep in mind to keep the repair going smoothly. The heat pad is required to loosen the adhesive. Take your time getting the spudger and guitar picks in and you can complete the removal pretty easily.
Tools Required
Heat Pad
Metal Spudger
Guitar Picks
Heat Pad – soft mat with a variable temp electrical heating element
iSesamo, or metal spudger – used for prying device exteriors, never internal electronics
Guitar Picks – used as wedges for prying, playing cards can be used as well
S6 Edge Rear Glass Removal Instructions
Turn heat pad on, set to 80°C and place device backside down for 5-10 minutes.
Insert a metal spudger into the bottom between the back glass and the body to begin separation.
Fig 1. Using the metal spudger
Insert a guitar pick in place of the metal spudger.
Fig 2. Use guitar pick as a wedge.
Slowly keep adding guitar picks around the edge of the glass.
Once you have added enough guitar picks around all the edges, remove the rear glass with care and ease.
Fig 5. Remove the rear glass from the body.
S6 Edge Rear Glass Removal FAQ
Is the heat pad required?
The back glass is held on by a strong adhesive. If you don’t use a heating pad before attempting to remove the glass, you will just shatter the glass (even further) and have a big mess that can potentially cut you. Be patient, give it a good 5 to 10 minutes to heat up and work its magic.
Why do you use guitar picks?
Guitar picks are a pretty ideal thickness to act as a wedge. Without the picks, the glass will reseat itself down into the adhesive and you are back where you started. Also, rock stars use guitar picks. Some people like playing cards instead of picks; your mileage may vary.
What’s the difference between plastic and metal spudgers?
They’re made of two different materials. Duh. Actually, the main difference is that metal is a conductor. Therefore, metal spudgers should not be used for internal smartphone or tablet repairs, where they could cause a short. Use metal spudgers for the exterior glass, where you may need the extra strength. Use plastic spudgers for internal components.
What can I do if I can’t do it?
If you have trouble performing S6 Edge rear glass removal, just take a breath. It isn’t going to render your phone useless. Brush the excess bits of broken glass and shame off the device and contact a professional repair company who performs smartphone repair.
iPhone 6s Plus Home button replacement is moderately challenging. The screen must be removed and several components and cables must be disconnected. You will note be able to use Touch ID after this repair – a note worth repeating.
Keep in mind that a home button replacement will eliminate the ability to use Touch ID.
iPhone 6s Plus Plus Home Button Assembly [BUY NOW]
General Repair Guidelines:
To reduce losing and confusing things, keep your workplace clean and organized.
Most screws cannot be interchanged. Group or strategically place your screws (in screw capsules) so you can track them.
Work in a well-lit space – smart device components are tiny. You’ll thank yourself for good lighting.
iPhone 6s Plus Home Button Repair Steps
Remove the Screen
Unscrew the pentalobe screws on both sides of the lightning port on the bottom of the iPhone.
Using the metal spudger, pry the screen away from the body, starting at the bottom edge of the phone.
A flex cable near the top of the phone connects the screen and body, so open it carefully like a notepad.
Undo the Flex Cables
Unscrew the silver rectangular shield near the bottom right of the battery. This shield covers the battery cable, which should be disconnected for practically every repair.
Disconnect the display flex cable using a plastic spudger. Plastic spudgers, rather than metal spudgers, should always be used for removing items on the inside of the phone.
Remove the Home Button
Unscrew the two screws which hold down the home button bracket.
Use a spudger to disconnect the home button connector.
Push up slowly on home button from the front. Use your spudger to assist in loosening the rubber gasket that holds the button on the screen.
Nice work! You have removed the home button on the iPhone 6s Plus.
iPhone 6s Home button repair is moderately challenging. The screen must be removed and several components and cables must be disconnected. Doing this repair will remove functionality of the Touch ID, and I may repeat that.
Keep in mind that a replacement home button will eliminate the ability to use Touch ID.
Always use good lighting – smart device components are small and you’ll need plenty of light to see what you are
doing.
Maintain a clean, organized workspace so you don’t lose or confuse any components.
Group your screws so you can keep track of where they came from. Most screws can not be interchanged.
iPhone 6s Home Button Replacement Steps
Remove the Screen
Remove the two pentalobe screws on either side of the lightning port on the bottom of the iPhone.
Starting at the bottom edge of the phone, use the metal spudger to pry the screen away from the body.
A flex cable near the top of the phone is connected to the body, so open the screen carefully like a
notepad.
Undo the Flex Cables
Unscrew the silver rectangular shield near the bottom right of the battery. This shield covers the battery cable, which should be disconnected for practically every repair.
Disconnect display cable flex using a plastic spudger. Plastic spudgers, rather than metal spudgers, should always be used for removing items on the inside of the phone.
Remove the iPhone 6s Home Button
Unscrew the three screws which hold down the home button bracket.
Use a spudger to disconnect the home button connector.
Push up slowly on home button from the front. Use your spudger to assist in loosening the rubber gasket that holds the button on the screen.
That’s it! You have removed the home button on the iPhone 6s.
In this post, the iPhone 7 is mentioned, but the information applies to the iPhone 7 Plus as well.
In previous versions of the iPhone, home button replacement was a simpler repair. The screen gets removed, a flex cable is disconnected, depending on the model, a shield is removed, and then the home button can be unscrewed and popped out. A replacement home button can then be installed and your phone is back to work. There were some earlier versions of iOS that locked phones with home button repairs done by a third party repair companies, displaying Error 53, but backlash forced Apple to eliminate this behavior in later updates. So let’s learn more about the iPhone 7 home button.
How is the iPhone 7 Home Button Different?
iPhone 3gs Home Button
The home button has long been a part of the iPhone, since the first generation. It offered a quick escape option to get back to the home screen from wherever you may have navigated. Traditionally it was an actual physical button that had a click reaction when depressed. This physical motion was translated into an electronic signal which then traveled to the motherboard, letting it know it was time to leave the current app. In the hands of a professional, replacing these buttons was as simple as if they were buttons on your shirt. In the hands of a professional, replacing these buttons was as simple as sewing buttons on your shirt.
iPhone 7 Home Button
The iPhone 7 home button works in tandem with the logic board (Apple’s name for motherboards) and a software lock. So there’s not only hardware design involved with this component; it can be paired only with one specific logic board, as defined by unique coding. Additionally, the iPhone 7 home button is not truly a mechanical button at all. It is an indented fingerprint sensor which provides physical feedback via the Taptic Engine, Apple’s component for providing tactile sensations in the form of vibrations.
Starting with the Samsung Galaxy S8 and the LG G6, and now the iPhone X, phone manufacturers will most likely continue to omit a physical home button to fit more screen within the dimensions of the phone.
What Happens When You Replace an iPhone 7 Home Button?
If you replace the iPhone 7 home button with an after-market replacement part or even a different OEM replacement, you will see a message after booting up, “The home button may need service.” After displaying this message, a temporary fix on-screen home button appears. You can navigate using this on-screen button, but after you’ve grown accustomed to using the actual button, it feels like a compromise. This Accessibility setting can be activated on any iPhone at any time by turning on AssistiveTouch.
Why Does Apple Make Home Button Repair Difficult?
There are two possible schools of thought about why Apple would make the home button unique to each phone. Since the button is software controlled, the software lock closes a security hole. Think of the software lock as another unique physical passcode. If your phone is stolen or lost, nobody would be able to pop a new home button in and bypass your Touch ID.
The other possibility is that Apple is tightening the scope of its proprietary components and tools to grab a larger share of the repair market. Apple makes all the money on iPhone 7 home button repairs, at the expense of third-party repair companies.
What Are Other Options for iPhone 7 Home Button Replacement?
If your iPhone 7 home button no longer works, it must be taken to an official Apple store. The repair technicians at this store will use the Calibration Machine, which is shrouded in secrecy. Without AppleCare+ or a warranty, the repair will cost $319 for an iPhone 7 and $349 for an iPhone 7 Plus.
If you are in need of help with your iPhone 7 or iPhone 7 Plus, visit iFixYouri for an iphone repair. If you need iPhone 7 or iPhone 7 Plus Parts for DIY repair, click here.
iPhone 6 lightning port repair is a moderately difficult DIY repair. In other words, some smartphone repair experience
helps. However, a patient hand can complete the repair successfully with these instructions. Above all, have fun. Let’s
get to it!
Always use good lighting – smart device components
are small and you’ll need plenty of light to see what you are doing.
Maintain a clean, organized workspace so you don’t
lose or confuse any components.
Introduction
Lightning port for the iPhone 6 is relatively easy, but it is buried under several components that must be removed in
sequence. This is an important repair because the lightning port component also holds the headphone jack and
microphone. The clasps holding the screen onto the body near the top are at an angle. The flex cable for the screen is
also towards the top. Keep track of your screws as there are quite a few different ones. Let’s do this.
iPhone 6 Lightning Port Removal Steps
Remove the Screen
After that, unscrew the two pentalobe screws on either side of the lightning dock on the bottom edge of the iPhone 6.
Use the metal spudger to slowly and carefully separate the glass screen of the iPhone from the body. Start on
the bottom edge of the device and proceed slowly. The flex cable for the screen is at the top.
Slowly pull the top of the screen away from the body and locate the EMI (electromagnetic interference) shield located by the bottom right of the battery.
Unscrew the two screws securing the EMI shield to the logic board and remove it.
Using a spudger, disconnect the battery cable from the logic board.
Remove Loudspeaker, Vibrator
Right next to the lightning port connection there is a small black circle connected by a gold contact to a
black wire. This is the antenna and it should be disconnected using the spudger.
In the bottom right of the iPhone 6, the loudspeaker sits. It is a larger black component held in place by Four
Phillips head screws hold it in place. It should be removed next. Unscrew the four screws and gently pry it
out, using caution to not catch the antenna while you are pulling it out.
After that, we will remove the vibrator, a black rectangle. It runs horizontally under the battery, on the bottom left of the phone. Two Phillips head screws hold it in place.
Remove Microphone Brace, Unscrew Lightning Port
Remove the small black plastic brace that holds the microphone in place between the lightning port and the
headphone jack.
After that, remove the two screws on the top edge of the headphone jack component, the light grey square in the
bottom left of your iPhone (above the headphone jack hole).
Next, unscrew the six screws on the sides of the lightning port. They sit symmetrically, three on each side.
You have now completed detaching the lightning port assembly. After that, it can be removed from the housing.
However, if the microphone sticks, gently pry it with your spudger.
Voila! You completed the mission. Work through
the steps in reverse to install a new lightning port.
For Help, Repairs, or Parts
In conclusion, if you need parts or tools for this repair, or if this repair is too much to attempt on your own and you
need professional help with your iPhone 6 repair,
contact iFixYouri at 888-494-4349or www.ifixyouri.com.
Group your screws so you can keep track of where they came from. Most screws cannot be interchanged.
Apply enough heat to loosen adhesive. However, take care not to overdo it and damage the device.
At any point, if the adhesive becomes hard to separate, apply more heat.
After separating adhesive, keep the housing and screen in close proximity until flex cable is disconnected.
Introduction
iPhone 7 screen repair is moderate in difficulty. Several flex cables can be torn easily. Above all, use caution. For
instance, loosening the adhesive that keeps the screen sealed to the body requires properly heating them with a
dehydrator or heat gun. Let’s get to it!
iPhone 7 Screen Repair Step by Step
Before beginning, heat up the device’s interior adhesive strips with a dehydrator, heat gun, or heat mat. Heat guns are
the quickest. However, use caution. It can be easy to overdo it and damage the device.
Open the iPhone 7
Unscrew the two pentalobe screws on the bottom edge of the phone on either side of the lightning port.
Use the metal spudger to slowly and carefully separate the screen of the iPhone from the body. Start on the bottom
edge of the device and proceed slowly.
Continue using the metal spudger or use playing cards or guitar picks to gently separate the adhesive up the sides
and top. Don’t push too deeply towards the center of the device.
The left side of the screen will open off the body; like a book opened from the back cover. The flex cable
connecting the screen to the battery will still be attached so open it carefully.
Disconnect the Cables
A silver EMI shield on the mid-right side of the phone needs to be removed. It is held in place by four tri-point
screws.
After removing the shield, use a spudger to disconnect the battery from the logic board.
Use the spudger to disconnect the display connector flex cable.
Remove the two Philips head screws on the shield over the front panel sensor assembly connector. It is the silver
shield near the top of the phone with the flex cable coming out of the bottom.
With your spudger, disconnect the black front panel sensor assembly connector cable from the logic board. It is
the one that connects the screen to the body.
You can now remove the LCD assembly of the iPhone 7 from the body.
Remove the Front Camera and Earpiece
Next, we will remove the three Phillips head screws that hold the silver earpiece bracket on the top of the LCD
assembly.
Pull the front camera up and out of the way with your spudger or tweezers. Remove the two Phillips head screws
attached to the earpiece speaker. You can now also remove the earpiece speaker.
Use your spudger to remove the ambient light sensor and proximity sensor. This is a thin cable that is easy to
tear so use caution.
Remove the Touch ID/Home Button
NOTE: The touch ID must be removed carefully. Failing to remove it safely or breaking it will require visiting
an Apple store. The touch ID must be removed carefully. Failing to remove it safely or breaking it will
require visiting an
Apple store.
Remove the four pentalobe screws holding the touch ID/home button bracket.
Work your way around the side brackets on the both sides of the assembly, unscrewing all 6 tri-point screws.
Peel the large LCD shield away, starting from the top.
Use your spudger to disconnect the home button cable connector.
Disconnect the underlying connection with caution.
Pry the adhesive holding the touch ID/home button to the back of the digitizer.
The home button is now unattached and can be removed but pushing it forward through the front of the screen.
iFixYouri has multiple Florida locations, which means we are no strangers to being in hurricane watch and warning zones. We’ve put together this list of hurricane preparedness tech guide that relate to you being able to use your technology to communicate and stay safe during a hurricane or other emergencies.
Phones and Tablets
Charge all laptops and turn them off. Laptops can be used to charge phones.
Limit use of your phone for entertainment.
Turn down phone brightness to conserve battery life. For some phones (AMOLED screens), switching to greyscale mode conserves more energy.
Invest in a water proof case. In a pinch, you can use a heavy duty Ziploc to keep your tech dry.
Save emergency numbers in your phone if you haven’t already.
Save the following PDFs to your phone in case you lose reception:
Phones can also be used before emergencies for documentation. Scan or take photos of important personal documents. You can also record videos of your personal belongings for insurance purposes.
Computers
Back up your data either to external storage or a cloud service. Keep external copies in as watertight of a place as you can manage.
Shut down your computer and turn off your monitor. Turn off any peripherals, such as printers and external drives.
Unplug the power cords from all devices. Surges can happen when power is restored. Unplugging from the wall will help ensure the devices will be protected.
Unplug the network cable going to your computer, as well as your printer. Lightning can send voltage through these lines, possibly damaging your network cards.
Do you have any other hurricane preparedness tech guide pointers emergency situations? Please share them in the comments and share this post with your friends and loved ones. Stay safe.
Smartphone, Tablet and Computer Repairs and News
Cookie Consent
We use cookies to improve your experience on our site. By using our site, you consent to cookies.
Contains information about the traffic source or campaign that directed user to the website. The cookie is set when the GA.js javascript is loaded and updated when data is sent to the Google Anaytics server
6 months after last activity
__utmv
Contains custom information set by the web developer via the _setCustomVar method in Google Analytics. This cookie is updated every time new data is sent to the Google Analytics server.
2 years after last activity
__utmx
Used to determine whether a user is included in an A / B or Multivariate test.
18 months
_ga
ID used to identify users
2 years
_gali
Used by Google Analytics to determine which links on a page are being clicked
30 seconds
_ga_
ID used to identify users
2 years
_gid
ID used to identify users for 24 hours after last activity
24 hours
_gat
Used to monitor number of Google Analytics server requests when using Google Tag Manager
1 minute
_gac_
Contains information related to marketing campaigns of the user. These are shared with Google AdWords / Google Ads when the Google Ads and Google Analytics accounts are linked together.
90 days
__utma
ID used to identify users and sessions
2 years after last activity
__utmt
Used to monitor number of Google Analytics server requests
10 minutes
__utmb
Used to distinguish new sessions and visits. This cookie is set when the GA.js javascript library is loaded and there is no existing __utmb cookie. The cookie is updated every time data is sent to the Google Analytics server.
30 minutes after last activity
__utmc
Used only with old Urchin versions of Google Analytics and not with GA.js. Was used to distinguish between new sessions and visits at the end of a session.
End of session (browser)
Marketing cookies are used to follow visitors to websites. The intention is to show ads that are relevant and engaging to the individual user.
A video-sharing platform for users to upload, view, and share videos across various genres and topics.
This cookie is used to play YouTube videos embedded on the website.
2 years
VISITOR_PRIVACY_METADATA
Youtube visitor privacy metadata cookie
180 days
GPS
Registers a unique ID on mobile devices to enable tracking based on geographical GPS location.
1 day
VISITOR_INFO1_LIVE
Tries to estimate the users' bandwidth on pages with integrated YouTube videos. Also used for marketing
179 days
PREF
This cookie stores your preferences and other information, in particular preferred language, how many search results you wish to be shown on your page, and whether or not you wish to have Google’s SafeSearch filter turned on.
10 years from set/ update
YSC
Registers a unique ID to keep statistics of what videos from YouTube the user has seen.
Session
DEVICE_INFO
Used to detect if the visitor has accepted the marketing category in the cookie banner. This cookie is necessary for GDPR-compliance of the website.