iFixYouri iPhone SE Back Glass Repair: How To

If you own an iPhone SE with broken back glass, here is a repair tutorial demonstrated by an iFixYouri repair expert. 

  1. Chip away any broken glass from the iPhone using a flathead screwdriver. 
  2. Thoroughly clean out any excess glass from the top portion of the iPhone.
  3. Repeat the steps above for the bottom portion of the iPhone. 
  4. Use a straightening tool, such as a gTool, to straighten the iPhone housing.
  5. Apply a light amount of B7000 before inserting a new piece of glass to each end.*Make sure to test fit the glass before gluing it to the iPhone.
  6. Gently apply the new pieces of glass to the iPhone. Set it aside for at least an hour to dry. 

Rather than going through the trouble of repairing your phone by yourself, have one of our experienced technicians do all the work for you! 

At iFixYouri, we repair almost every kind of smartphone, computer, and tablet in any condition. 

  • Broken glass repair 
  • Water damage repair 
  • Battery replacement 
  • Speaker repair 
  • Volume button repair 
  • Camera repair 
  • Microphone repair 
  • Charging port repair 

If you cannot determine your phone’s exact problem, there is nothing to worry about! iFixYouri also offers a free device diagnostic service. 

Still not convinced? At iFixYouri we:

Promise fast and secure shipping

We ship exclusively with UPS to make sure your device travels safely and quickly. Ground, 2-Day, and Overnight shipping options available.

Have a warranty on all repairs

We stand behind all our repairs. We offer a 1 year warranty on all screen repair services and 90 days on all other repair services.

Provide expert tech support

Have a question? We’re here to help. Our live support is online 7 days a week 9am-7pm. If we’re not online, leave your email and we’ll get right back to you!

Gaurantee secure payment methods

All payments are safe and secure. We use the most secure level of encryption available.

Let us help you make your device work as good as new again. To find out more about our services and prices, visit ifixyouri.com or call 1-888-494-4349.

iFixYouri iPhone SE Back Glass Repair: How To

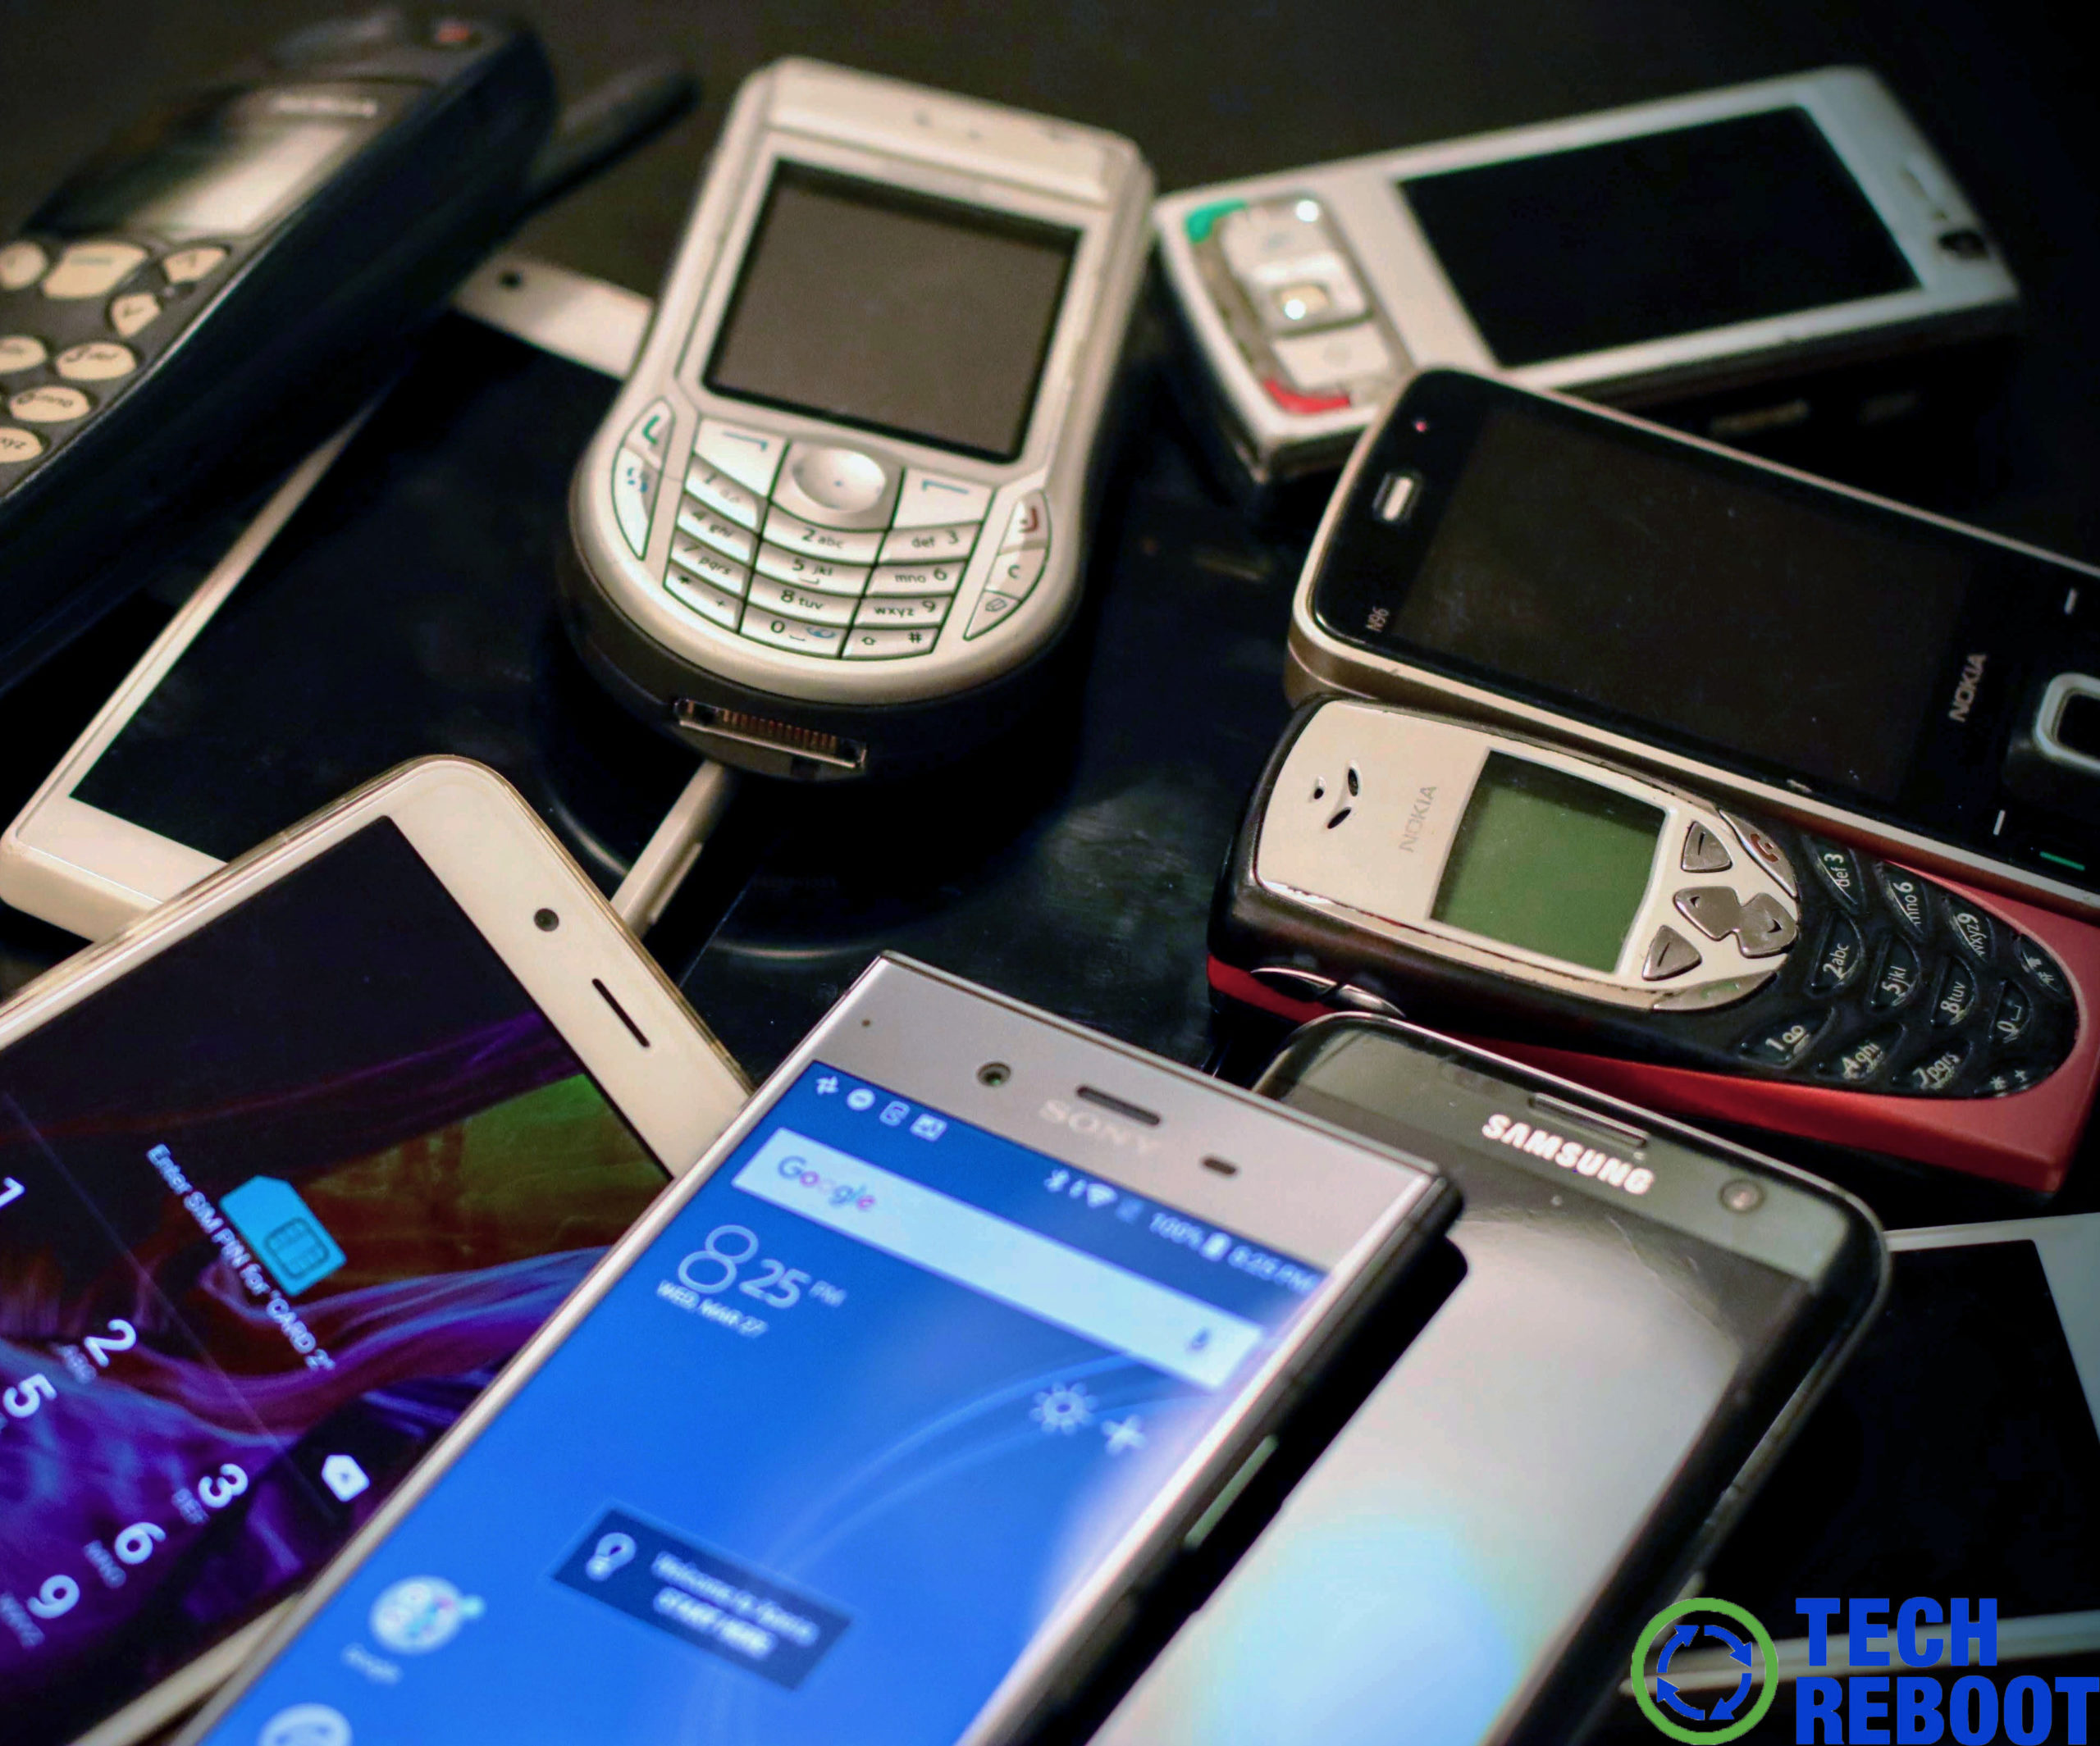
Popular Discontinued Phones and How to Repair Them

Ever so often, smartphones are permanently axed once a newer model hits the market. Throughout the years, many well-known phones have come and gone. Here’s the rundown of popular phones that are now discontinued and how to repair them.  

Apple iPhone 1st Gen, iPhone 11 Pro, and in Between

In the last decade, over 25 iPhone models have been released. Apple has done a great job releasing new models and keeping its inventory fresh. With this being said, its older models are no longer available for purchase.

The first iPhone was released in June 2007 and discontinued in July 2008. In its lifetime, 6 million units were sold. 

This device was revolutionary for its ability to play music, browse the web, and access different forms of content. Unfortunately, the fad died once the iPhone 3G and 3GS became available. 

Since then, this pattern has repeated itself over again. As of now, the only models for sale at Apple is the iPhone 12 series, iPhone SE, iPhone 11, and iPhone XR

Discontinued models such as the iPhone 5, iPhone 7, and iPhone 11 Pro can still be purchased at third-party stores though. 

Blackberry, the First Smartphone

The Blackberry first hit the market in 1999 and had a successful run up until 2016.

Blackberries have the title as the first smartphone because of their ability to access emails and provide restricted web access. 

Even though it did not have a touchscreen like today’s modern smartphones, its QUERTY keyboard appealed to business people and made it appear as a mini-computer in the palms of one’s hands. 

In the beginning, Blackberry did a decent job of evolving with the modern smartphone by releasing its first touchscreen device to compete with the iPhone. 

Due to its failure to further adapt and change its overall design, the Blackberry failed to appeal to its target audience. 

TCL, the tech company that produced the Blackberry, officially announced the end of its license and rights to design, produce, or sell the device on August 31 via Twitter. 

The company says it will honor any warranties until 2022. But what happens afterward? 

The Google Nexus

From the moment it was released, Google Nexus had a difficult time finding success in the industry. 

According to an analytic firm Flurry, only 135,000 units were sold within the first 74 days of its release, compared to 1 million iPhones that were sold within the same time period. 

What the Nexus had gong for itself was that it was its fast processor, bright display, and voice command features similar to other smartphones. 

Unfortunately, Google got in the way of itself when it released new Android and Pixel models. 

 Because Nexus did not meet the raised hardware and performance requirements set by Google, they decided to get rid of the lineup altogether in October 2016. 

Google Pixel 4 and Later Models 

The Google Pixel 4 and later models did not age too well either. 

The Pixel 1st Gen lasted from October 2016 to April 2018, Pixel 2 from October 2017 to April 2019, Pixel 3 from October 2018 to March 2020, and the Pixel 4 from October 2019 to August 2020. The Pixel 4 didn’t even make it an entire year. 

According to Google, the Pixel 4 will continue to receive updates until October 2022. 

This leaves people wondering how long the Pixel 5, which was released October 15, will be available for purchase in stores.

Just because a phone is discontinued does not mean that it can never be found again. As long as a third-party store still has the discontinued device in stock, you can make the purchase.

But what if your phone breaks or needs repairs that are no longer covered by the company? 

No need to worry about that. If you own a discontinued phone, iFixYouri has a team of repair experts who can fix almost any device, no matter how old or new it is.

If you would rather upgrade your device, you can always sell it to iFixYouri’s sister company, Tech Reboot. Tech Reboot takes pride in guaranteeing the most amount of money possible for your device, no matter its condition or novelty.

iFixYouri Company History: How a Cracked Screen Became an Opportunity

Even though all of life’s problems can’t be fixed, at least your devices’ can with iFixYouri. This is the iFixYouri company history.

Founded in 2010, iFixYouri quickly became known for its expert service of nearly every type of smartphone, tablet, and personal computer.

From phones placed in toaster ovens to fix water damage to iPads dropped from five-story buildings by clumsy owners, we have seen and repaired them all. 

Our Story 

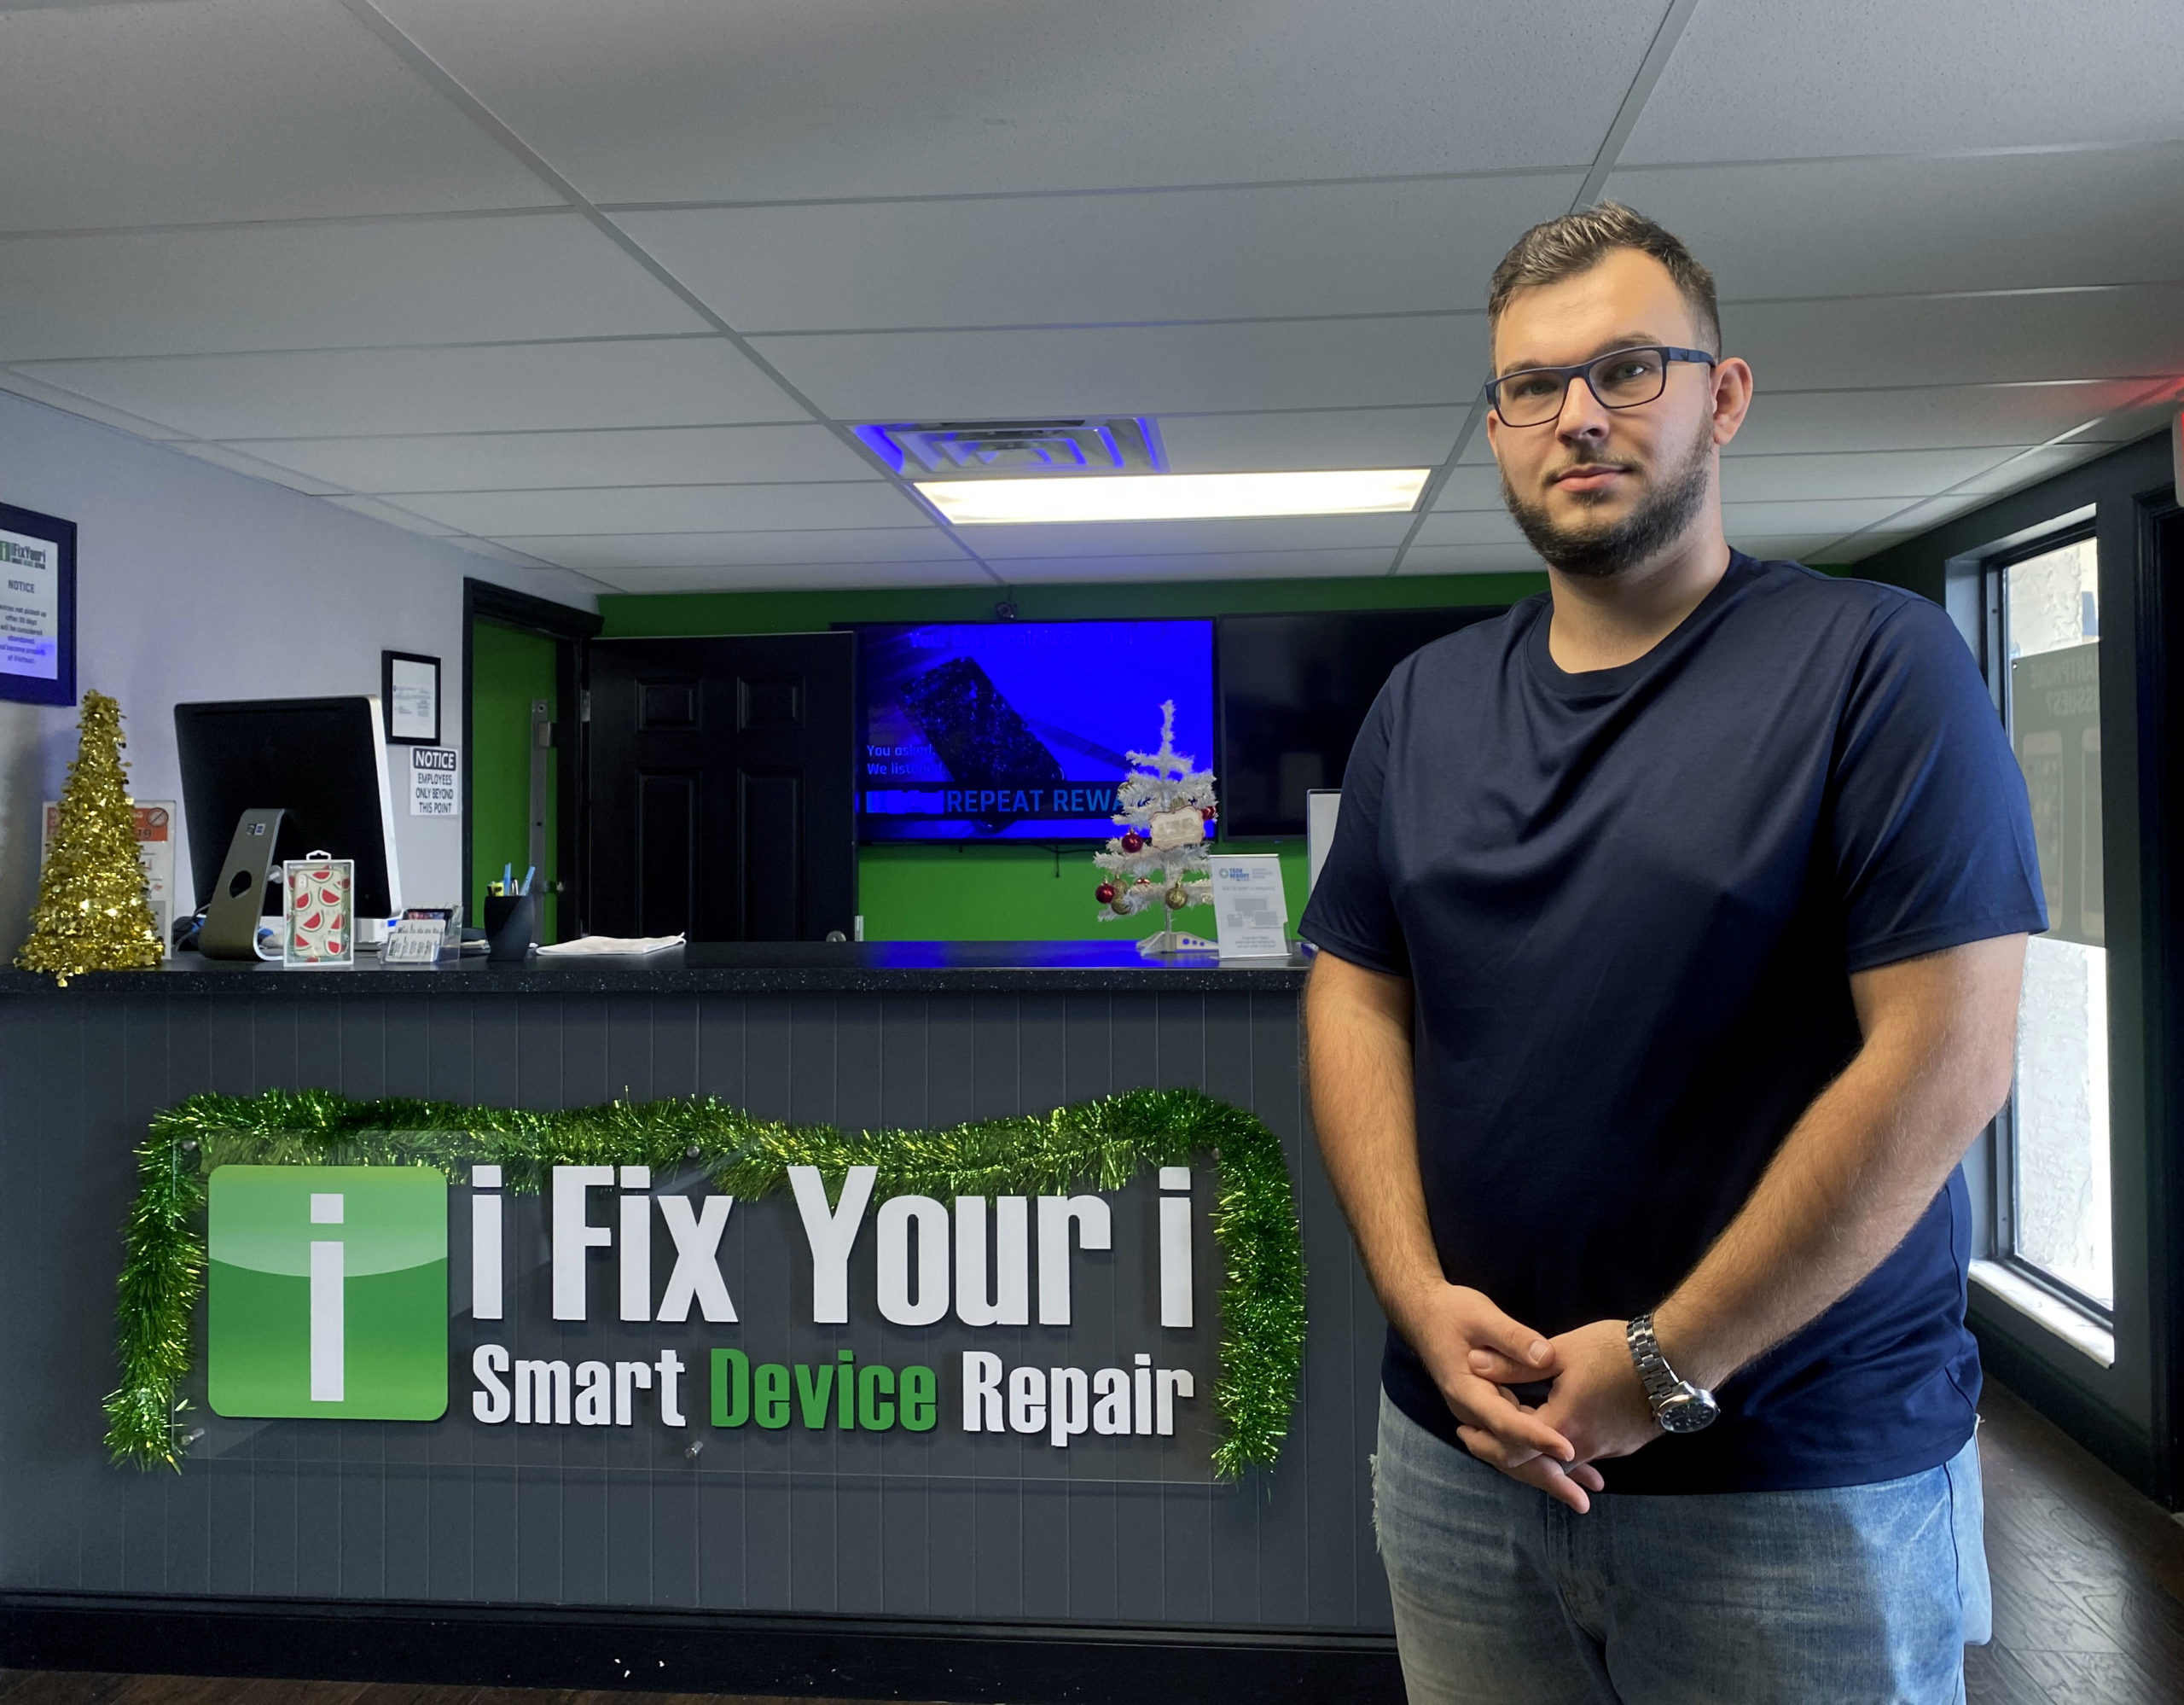
After being laid off from a large high-tech engineering firm, iFixYouri founder Christopher Johncke needed work and began fixing computers for family and friends. 

Despite his ability to fix other people’s tech issues, Christopher faced his own when his iPhone dropped and shattered one day while out with friends. 

Beside himself and with limited options, he did exactly what any other iPhone owner would do: go to the Apple Store. 

Once there, Apple quoted him a $200 repair fee that he could not afford .

With no affordable solution in sight, Christopher’s search for a fix began. Little did he know he was the solution all along. 

Because computer and handheld tech repairs were like second nature to him, he tested his skills and successfully repaired his phone. 

Christopher began marketing his services after realizing that there was a high demand for iPhone repair services, and the rest is history.

“I did this to make some money on the side, and it kept getting busier and busier to the point where I needed to have people come to me instead,” he said. “From there, I tried to grow [iFixYouri] organically.” 

Thousands of iPhones later, his business has rapidly expanded and now has a full repair facility servicing customers worldwide.

Our Growth 

After outgrowing the trunk of his car, Christopher opened his first storefront in 2010.

iFixYouri’s first official location was a small 400 square-foot space in Lake Park, Florida. Now, its headquarters is about 20 times that size, with over 7,600 square feet.

Within six years, the once shoebox-like space has evolved into a company recognized twice by Inc. Magazine’s 5,000 Fastest-Growing Private Companies, with 10 walk-in locations, in three metropolitan cities, and two states.

Two more stores will be added to the list soon. 

iFixYouri Company History: Our Mission 

We are your go-to, one-stop-shop for professional tech repair services, parts, tools, and how-to tutorials. 

Our skilled technicians and friendly operators are here for you no matter what your gadget problem is. 

iFixYouri offers a wide range of repair services for many different devices.

We repair nearly all major brand tablets, smartphones, and computers. Don’t see a repair listed? Give us a call, chances are we can fix it! Our customer support staff is standing by to help you out.

Our repair services encompass everything from seamless glass repair for your cracked iPhone glass, to the high success rate of severely water damaged devices. 

At iFixYouri we stand proudly behind all fixes and services we provide and exclusively use high-quality parts for all iPhone repair, iPad repair, and all other device repairs. We carry 1-year warranties on all screen replacements and strive for 100% customer satisfaction.

Beyond the success of his company, Christopher believes the most satisfying part about working for iFixYouri is being able to work with a great team to help solve people’s tech issues similar to the one he had ten years ago.

How to Properly Disinfect Your Devices

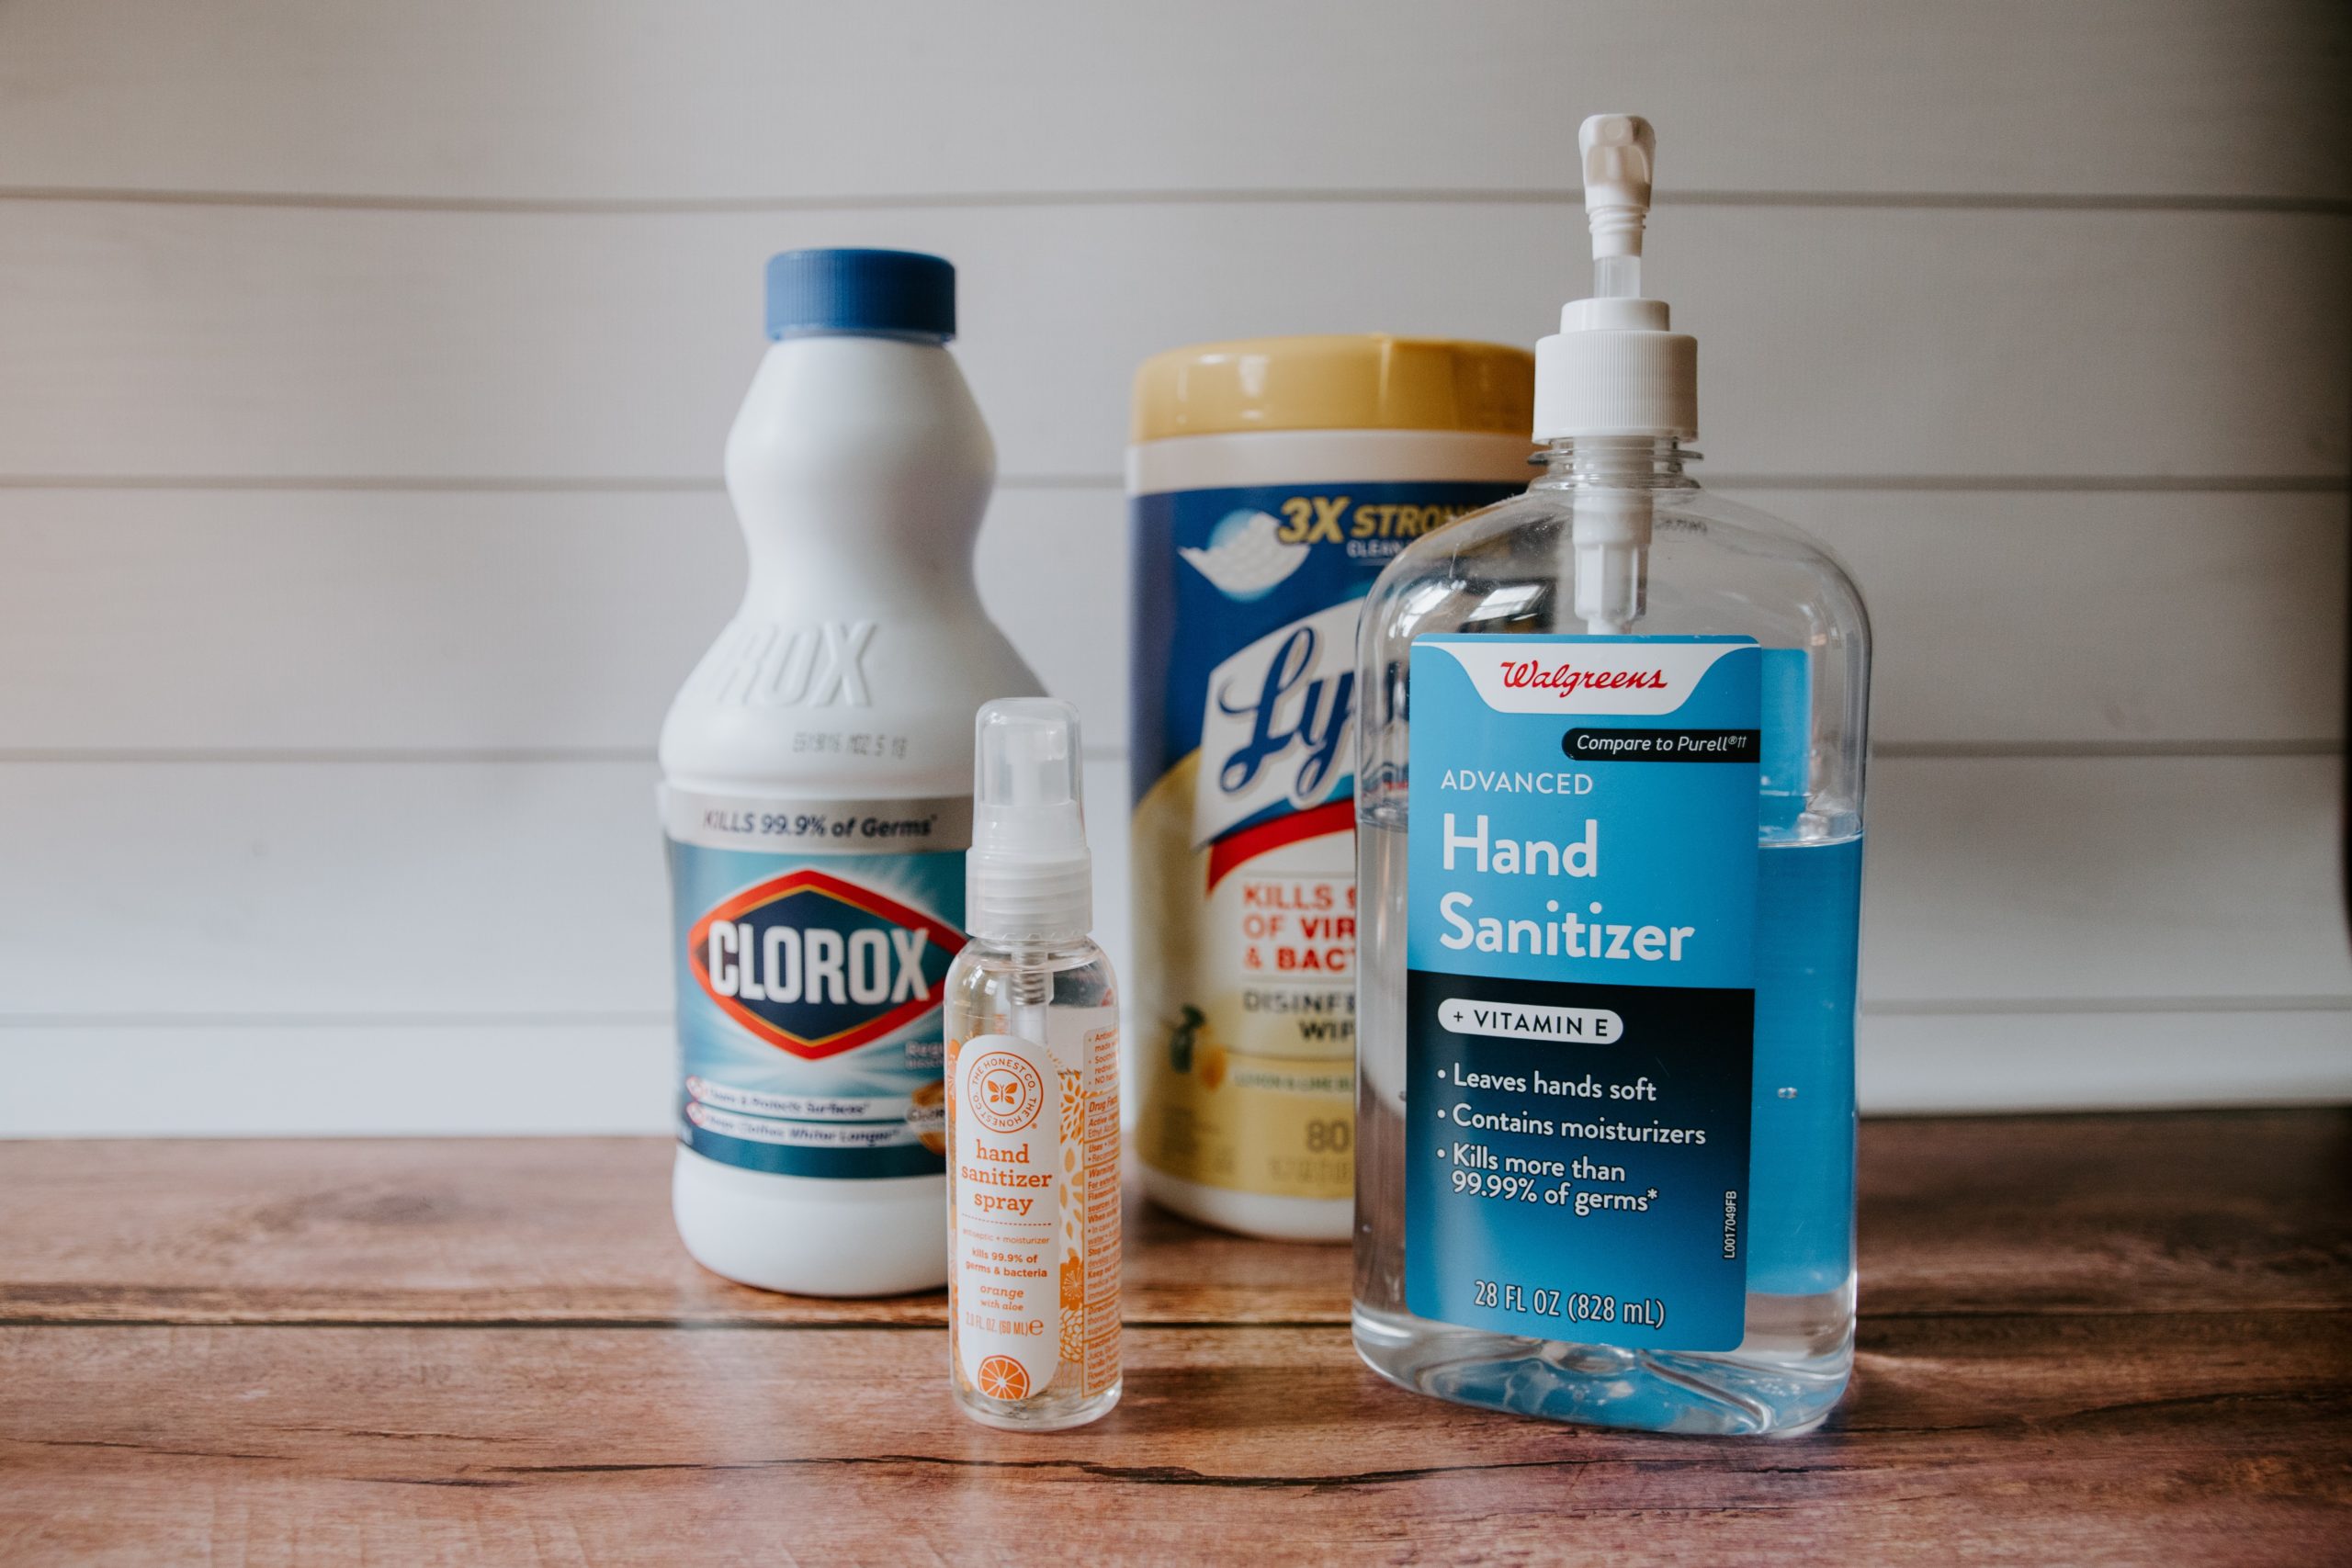
Just admit it. Sometimes you spend longer than needed in the bathroom because you get carried away scrolling through your social media feeds and reading your emails. Even though this is a harmless act, millions of germs collect on the surface of devices. To ensure that your business does not follow you outside of the bathroom here’s how to properly disinfect your devices. 

Why Should I Care? 

Viruses and germs such as COVID-19 can live on commonly touched surfaces for up to three days according to the CDC.

Think about every surface you intentionally touch every single day. You touch the screen of your phone, your laptop’s keyboard, your remote control. As you go throughout your day, disinfecting your hands is not enough to prevent further spread. 

These germs are not like a software virus you can get on your phone or computer. Rather, they can make you sick if they happen to enter your system. 

What is Living on My Device? 

To put everything into perspective, here are stats provided by Seatle Times Journalist Bobby Caina and Mashable. 

  • Toilet seats: 1,201 bacteria per square inch
  • Kitchen counter: 1,736 bacteria per square inch 
  • DoorKnobs: 8,643 bacteria per square inch 
  • Phones: 25,127 bacteria per square inch

These stats show that phones carry about 20 times more bacteria than the surface of a toilet seat.

Studies found that phones, tablets, and computers carry bacteria, such as Streptococcus, Staphylococcus, E. coli, Enterococcus feacalis, and MRSA.  

How do I Disinfect My Device? 

So now that you are aware of what is on the surface of your device, here are tips provided by the CDC to ensure that you properly disinfect your device. 

  • Unplug your device before cleaning 
  • Use a slightly damp cloth or wipe 
  • Avoid excessive wiping and submerging 
  • Don’t spray cleaning solution directly onto the device 
  • Avoid bleach and abrasive cleaning solutions 
  • Avoid any openings of your device when using liquids 

Failing to properly clean your device can result in a lot of damage. If your device has water damage, is no longer charging, or not powering on after you disinfected it, you can visit or send it to iFixYouri to have it repaired for an affordable price. 

How to Minimize the Germs

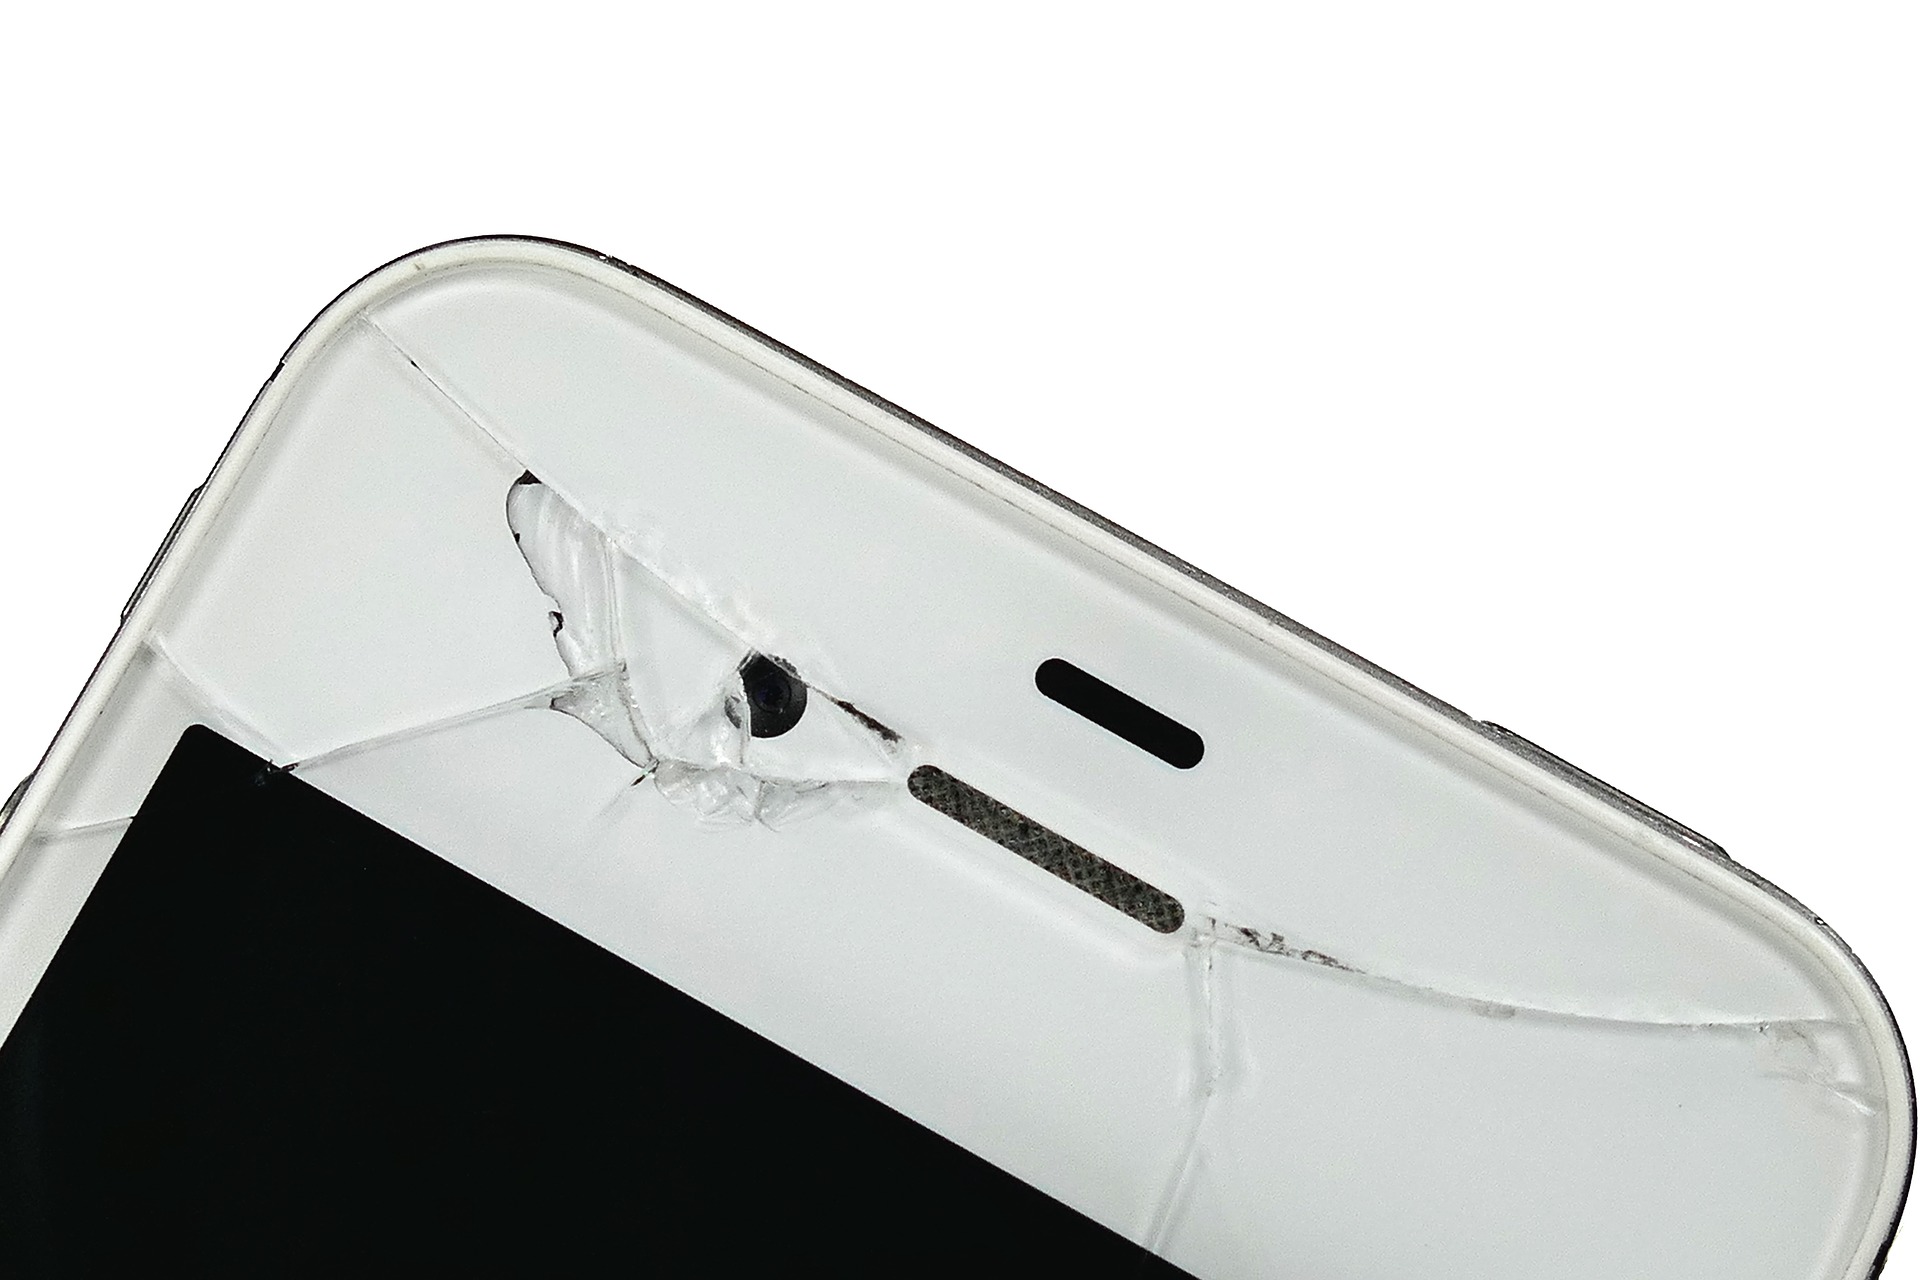
If your device has a cracked screen, wiping its surface may not be enough because bacteria can still collect in the cracks. The best solution is to get your screen repaired to prevent any further spread of germs. 

To minimize the germs, the CDC also recommends that you: 

  • Keep your phone in your pocket or purse when outside of your home 
  • Use a physical shopping list rather than your phone when grocery shopping 
  • Use a credit card rather than mobile pay 
  • Only touch your phone after you have washed your hands
  • Use hands-free devices when making a call so your phone is not pressed against your face 

https://www.ifixyouri.com/pages/supportYou won’t be able to prevent germs from getting onto the surface of items you use every single day, but what you can do is be mindful of where, when, and how you use and disinfect your devices. If you still have questions about how to properly disinfect your devices, contact iFixYouri.

Photo Credit: Kelly Sikkema Via Unsplash.com

How to Successfully Repurpose Your Broken IOS Device

What makes an iPhone a great smartphone is its LCD touch screen, battery life, camera, and many other features. But if one of these elements becomes damaged, this does not mean you can’t successfully repurpose your broken iOS device.

As a result, there are several creative ways to repurpose your device and give it a whole new purpose. 

Repurpose Your Device as A New Game System

Let’s say your iPhone or iPad has a poor speaker, and a broken rare camera.

Even though it may be inconvenient at first, this is the perfect opportunity to use your device exclusively for gaming.

Rather than having to save storage space for important data, you can finally download that one game you’ve always wanted to.

Here’s a plus: You won’t have to worry about conserving your battery to do other tasks on your phone like making a phone call or checking your email. 

Repurpose Your Device as A High-Quality Camera

If your phone has a damaged volume button or a cracked screen, focus on using it for its camera.

Rather than spend hundreds or even thousands on a handheld or DSLR, use your phone to capture an image.

For instance, the new iPhone 12 has a night mode and Smart HDR 3 camera features, which allows it to enhance and balance elements such as color, sharpness, and texture.

Depending on your device, you could already own a studio-quality camera.

Repurpose Your Device as Extra Data Storage

You should still keep your broken device handy, especially if it stores important data.

Depending on the damages, continue to use your device to save contacts, store passwords and organize files.

If you have data on your computer that you‘d like to store on another device, you can also load information directly to your phone. 

Once you have all of the important information needed, be sure to back everything up on iCloud so you can have it forever.

Repurpose Your Device as a New Home Appliance

Are you constantly losing your remote control? Consider turning your damaged device into one. 

The App Store has several universal remotes that are compatible with smart TVs. 

If you need help getting up in the morning, use your phone as an alarm clock. If you need to keep track of your time in other ways, use your phone as a stopwatch or timer. 

Even though home phones are not as common as they once were, if you are ever in need of one, just use your unused or damaged device. A typical home does not have many features besides displaying caller ID, so using a damaged iPhone won’t feel any different. 

Depending on the damages, owning an unused or broken iPhone can still be useful in so many ways. But if you want your phone to actually function the way it’s meant to, there is always an option to get it repaired. 

Repair services such as iFixYouri can fix your device while saving you money and time. If you are not sure what exactly is wrong with your phone, a free diagnostic service is also provided. 

For the iPhone specifically, iFixYouri repairs:

  • Broken glass
  • LCD 
  • Batteries 
  • Water damage
  • Vibrate switch 
  • Ear speaker 
  • Volume button 
  • Front/ Rare camera 
  • Power button 
  • Microphone 
  • Speaker 
  • Charging port

After this is all said and done, if you are still not able to successfully repurpose your broken iOS device, or you don’t think it’s worth it, you can always sell your device to a buy-back company in the condition that it is in.

Photo Credit: Agê Barros via Unsplash 

How to Repair Your Damaged Phone Case or Smartphone

OtterBox and its sister company LifeProof have definitely made a name for themselves as some of the most reliable and durable phone cases for smartphones. Even though they seem to be the perfect accessory for clumsy owners of fragile phones, they occasionally break, or even worse- your phone breaks. So here’s how to repair your damaged phone case or smartphone.

Luckily, Otter Box and LifeProof have a one-year warranty. This means that if you have purchased a case from an authorized retailer, you are eligible to receive a replacement. To submit a warranty claim you can visit their sites or call 1-855-688-7269/ 1-888-533-0735.

Unfortunately the same cannot be said in the case that your phone was also damaged. Otter Box’s or LifeProof’s warranty does not take responsibility for your device. 

Phone carriers typically sell Accidental Damage warranties when you first purchase your phone. But if you chose not to purchase the warranty, you are not out of luck. 

Repair companies such as iFixYouri will fix your device for a reasonable price and will run a diagnostic service for free. 

Repair Services for your smartphone:

  • Glass repair 
  • Glass and LCD repair 
  • Battery replacement 
  • Water damage repair 
  • Vibrate switch repair 
  • Ear speaker repair 
  • Volume button repair 
  • Rear camera repair 
  • Power button repair 
  • Microphone repair 
  • Loudspeaker repair 
  • Front camera repair 
  • Charging port repair 
  • Backglass repair 

Not only does iFixYouri offer affordable prices and save you time from repairing the device yourself, but it also offers a warranty to an extent. 

With glass repairs, a one-year parts and labor warranty is included, which means that if you have any issues regarding your repair within one year, iFixYouri will take of it free of charge. This warranty does not cover accidental damage. 

If your high-quality phone case has failed you and you need to know how to repair your damaged phone case or smartphone, there are several solutions to ensure that they remain in the best condition possible.

How to Fix Your Smartphone or Tablet and What to Avoid

I bet you were told once or twice to never believe everything you see online. This is the case when it comes to tech hacks and DIY repairs. There are hundreds of videos online claiming to be the answer needed to fix your smartphone. In reality, they only offer temporary fixes and can cause further harm to your device.

One of the most popular “hacks” circulating the web and cited by many sources is applying toothpaste to your cracked screen. Allegedly once toothpaste fills the cracks of a screen, they suddenly smooth out and disappear. Don’t do this.

Even if your phone does appear smoother, there are still cracks that need to be fixed and you are left with a sticky, minty mess. If a hack seems too good to be true, take it with a grain of salt.

Rather than relying on videos that can be misleading, turn your device issues over to a tech repair service like iFixYouri.

iFixYouri specializes in repairing phones, tablets, computers, game consoles, and accessories.

Specifically for phones, iFixYouri offers:

  • Glass repair
  • LCD repair
  • Battery Replacement
  • Water damage repair
  • Vibrate switch repair
  • Ear speaker repair
  • Volume button repair
  • Front/ Rare camera repair
  • Power button repair
  • Microphone repair
  • Loudspeaker repair
  • Charging port repair
  • Backglass repair

All of the following is done at a reasonable price, but if you want to take things into your own hands, you’ll need to use the proper tools and follow the right steps.

Fix your Smartphone: iPhone 6 Battery Replacement

If your device has poor battery life, the video and steps below may help:

Unscrew the two pentalobe screws on either side of the lightning dock on the bottom edge of the iPhone 6.

Use the isesamo to slowly and carefully separate the glass screen of the iPhone from the body. Start on the bottom edge of the device and proceed slowly. The flex cable for the screen is at the top.

Slowly pull the top of the screen away from the body and locate the EMI (electromagnetic interference) shield located by the bottom right of the battery.

Unscrew the two screws securing the EMI shield to the logic board and remove it.

Using a spudger, disconnect the battery cable from the logic board.

The next steps involve removing the adhesive tape underneath the battery to make it easier to remove. Slide one tip of your tweezers under the black adhesive strip at the bottom of the battery. Each black strip runs halfway across the bottom of the battery.

Now roll your tweezers away from the battery while simultaneously pull the tape out from underneath the battery.

Continue to pull the tape out from underneath the battery and roll it around the tweezers. It may help to pull diagonally out from the corner as the tape runs up the full height of the battery.

If the white tape snaps apart you may need to use a spudger to carefully pry the battery up. Continue using a combination of tweezers and the spudger to separate the battery from the body of the iPhone. You will have to repeat the process to remove the second strip of tape.

Now you can remove the battery. Use a small length of some adhesive tape to secure the new battery in place. Reconnect the battery cable to the motherboard and screw the EMI shield back on.

Reattach the screen by angling the top in first and then clicking the side clasps into place. Replace the two screws near the lightning dock. That’s it! You’re done.

Fix your Tablet: iPhone Mini Screen Replacement

If you ever want to remove your tablet’s glass and LCD, here’s another helpful video:

Tools Required

Instructions

  • Loosen adhesive with the heating pad (10min @ 75°C)
  • Pry with a metal spudger slowly and gently.
  • Lift glass from the bottom to avoid damage to the flex cable.
  • Unscrew the screen from the body with a Phillips head screwdriver. Keep your screws organized.
  • Be extremely careful while removing the screen. Go gently around all the edges to loosen the LCD.
  • Unscrew the metal shield with your Phillips head screwdriver. Keep your screws organized.
  • IMPORTANT: Disconnect the battery.
  • Disconnect the LCD Flex.
  • BE EXTREMELY CAREFUL. Separate the backside of the digitizer flex from the housing.
  • Then, USING A PLASTIC SPUDGER, remove the digitizer clip evenly from the logic board.
  • If the end of the flex cable is still attached, align your spudger with the side of the iPad and disconnect it.

Needless to say, several helpful tutorials can be found on iFixYouri’s YouTube page.

If you ever have trouble while attempting to fix your smartphone, feel free to visit iFixYouri for further assistance!

Image by InspiredImages from Pixabay

Smartphone, Tablet and Computer Repairs and News