Mac vs PC: Your Ultimate Guide to Choosing

In today’s technology-driven era, the ongoing debate between Mac and PC users remains a hot topic. Enthusiasts on both sides passionately advocate for their chosen platform, often engaging in heated discussions regarding superiority. Nevertheless, before making a decision, it is crucial to consider your lifestyle and repair needs. In this blog post, iFixYouri will delve into the key factors that should influence your choice. You may also want to check out our post iPad vs Android Tablet.

Mac vs PC: The Mac Advantage

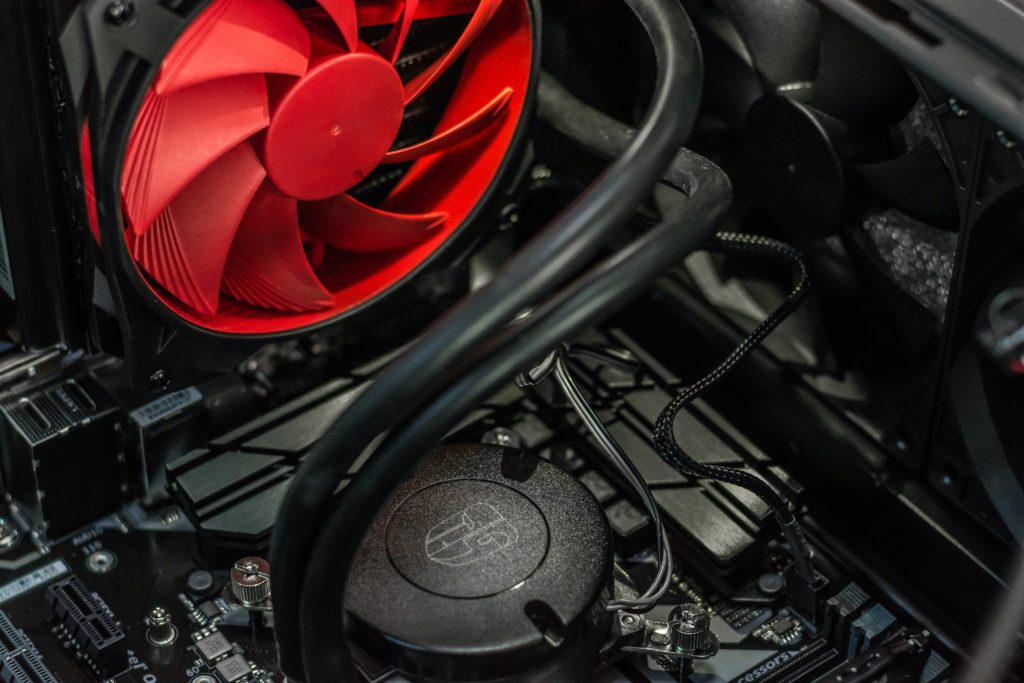
Mac vs PC
Photo by Mia Baker on Unsplash

Elegance and Design

Apple is well-known for its commitment to sleek, minimalist design. Macs are renowned for their beautiful aesthetics and premium build quality. If you value a device that not only performs well but also looks stunning on your desk, a Mac might be your best bet.

User-Friendly Experience

Mac operating systems, such as macOS, are highly regarded for their user-friendly interfaces. The seamless integration between hardware and software ensures a smooth user experience. This makes Macs an excellent choice for individuals who prefer a straightforward and intuitive computing experience.

Reliability and Durability

Mac users often praise the reliability and durability of their devices. Apple’s quality control and build materials contribute to a longer lifespan for Macs compared to some PC counterparts. If you seek a computer that can withstand years of use without significant issues, investing in a Mac may be a prudent decision.

Customer Support

Apple is renowned for its exceptional customer support, including the AppleCare program. With AppleCare, you can receive prompt assistance and repairs for your Mac. This often reduces downtime and frustration when issues arise. Those without AppleCare can always visit a trusted repair center like iFixYouri. iFixYouri is part of Apple’s Independent Repair Program.

The PC Advantage

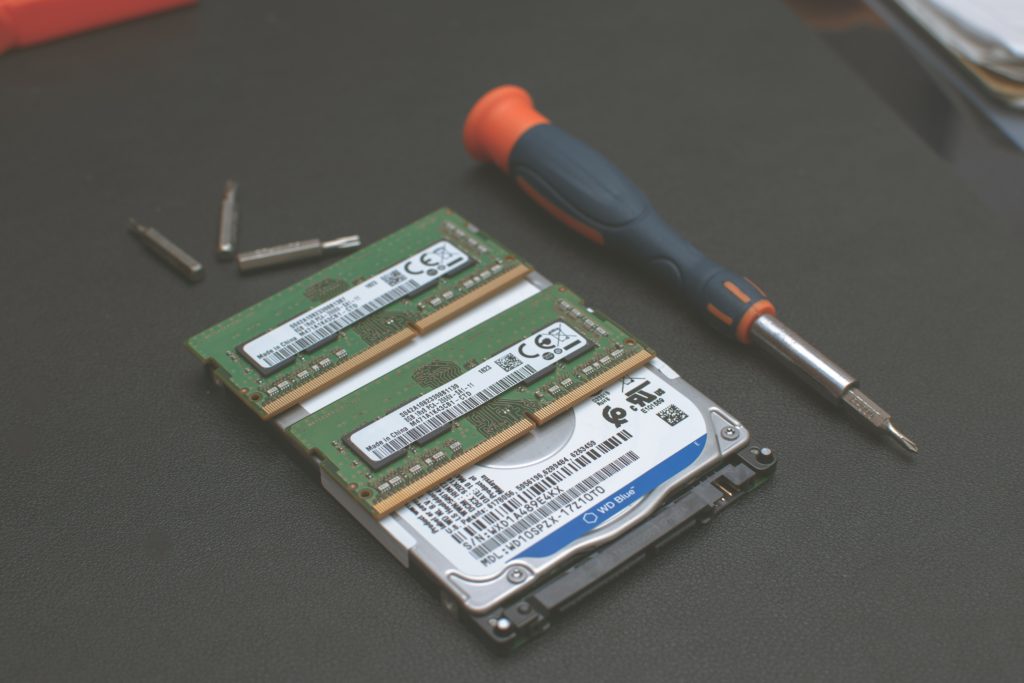
Photo by Vishnu R Nair on Unsplash

Customization Options

PCs offer a wide range of customization options, allowing you to build a system that precisely suits your needs. Whether you’re a gamer, a content creator, or a business professional, you can tailor a PC to meet your exact requirements. This flexibility may not be as easily achievable with a Mac.

Cost Considerations

PCs often come with a more budget-friendly price tag than Macs. If you are mindful of your budget, you will generally find more affordable options among PCs. This makes them a compelling choice for many users.

Reparability and Upgradeability

One significant advantage of PCs lies in their reparability and upgradeability. PC components are often more accessible and replaceable than those in Macs. If you are tech-savvy or merely wish to extend your computer’s life with hardware upgrades, a PC provides more flexibility in this regard.

Software Compatibility

While Macs excel in user-friendly design, some professional software applications are more readily available and optimized for Windows PCs. If you rely on specific software for your work or hobbies, compatibility might be a critical factor in your decision-making process.

Mac vs PC: Repair Needs

Concerning repair needs, both Macs and PCs have their pros and cons.

Macs are known for their reliability and durability, but repairing them can be more expensive, especially without AppleCare. The tightly integrated design of Macs can also complicate DIY repairs. That being said, the repair technicians at iFixYouri are more than capable of repairing your Mac computer. 

PCs, conversely, often feature more accessible internal components, making repairs and upgrades simpler and cost-effective. However, the quality and durability of PC components can vary depending on the manufacturer, underscoring the importance of selecting a reputable brand.

In summary, your choice between Mac vs PC should align with your lifestyle, preferences, and repair needs. If you value elegance, a user-friendly experience, and reliable customer support, a Mac might be your ideal choice. On the other hand, if customization, cost-effectiveness, and hardware flexibility are more important to you, a PC could be the better option.

Ultimately, there’s no one-size-fits-all answer, and the “Mac vs PC” debate will continue to evolve as both platforms improve and adapt to the ever-changing tech landscape. Therefore, carefully evaluate your priorities, consider your specific needs, and make an informed decision that suits your lifestyle and repair preferences.

How to Identify and Resolve Common iPhone Charging Problems

What do you do when your trusty iPhone starts experiencing charging issues? Such problems can be frustrating but fret not – many of them have straightforward solutions you can tackle independently. In this guide, we’ll walk you through identifying and addressing common iPhone charging problems. You may also want to check out our post: The Ultimate Guide to Smartphone Battery Care and Maintenance.

Examine the Charging Cable

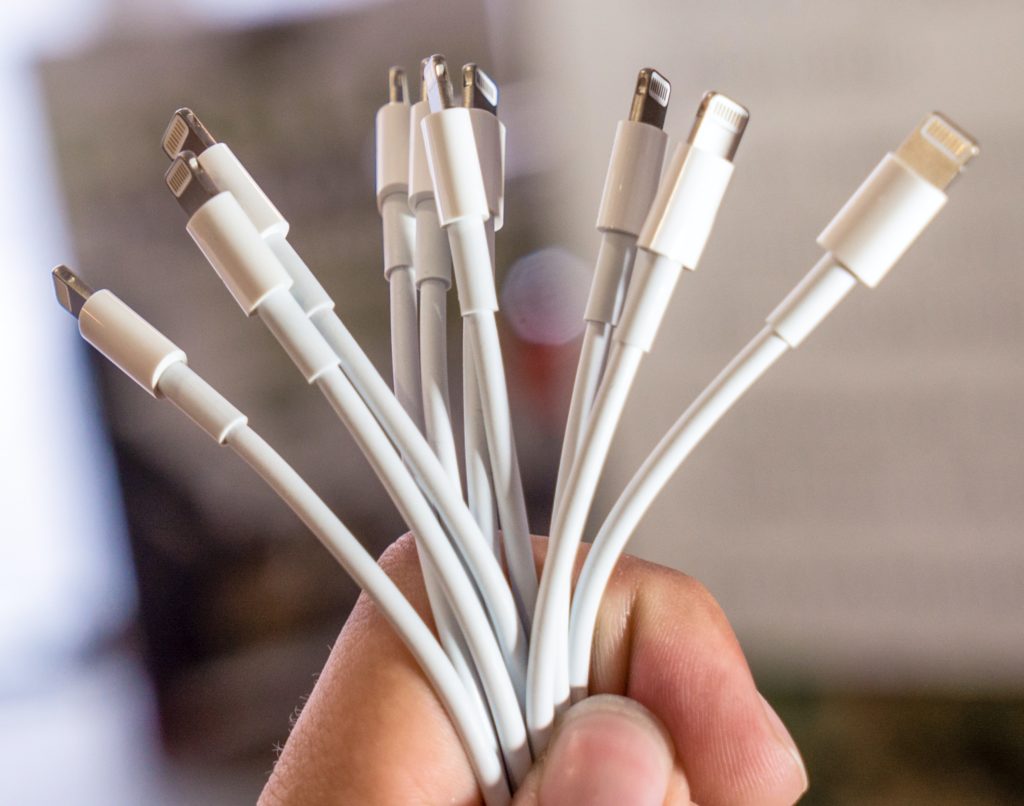
Photo by Mika Baumeister on Unsplash

Before delving into more intricate troubleshooting, let’s start with the fundamentals. A malfunctioning charging cable frequently lies behind charging problems. Here’s what to consider:

  1. Physical Damage: Carefully inspect your charging cable for frayed wires, exposed metal, or bent connectors. Any of these issues can disrupt the charging process.
  2. Confirm Authenticity: Ensure that you use only genuine Apple-certified cables and adapters. Knockoff or third-party accessories may not work reliably.
  3. Try a Different Cable: If you suspect that your cable is at fault, test it with another working cable.

Clear Your Charging Port

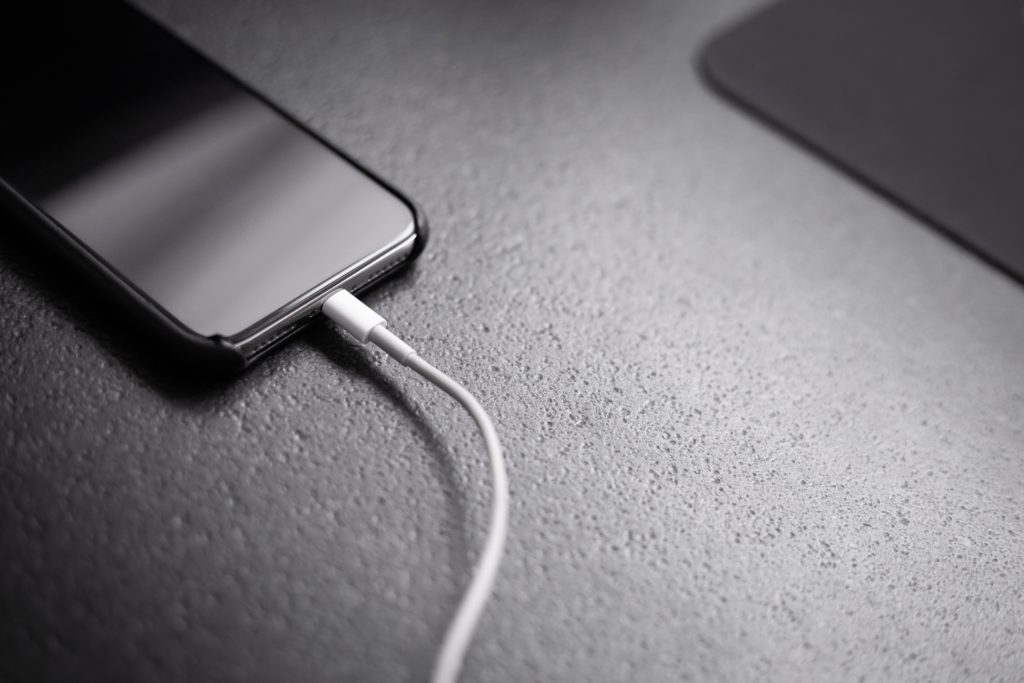
iPhone charging problems - charger cable
Photo by Andreas Haslinger on Unsplash

Over time, your iPhone’s charging port can accumulate dust, lint, or debris, hindering the connection between the cable and your device. To rectify this:

  1. Turn Off Your iPhone: To prevent damage to the port or your device, ensure that it is powered off.
  2. Use a Soft Brush or Compressed Air: Gently eliminate any visible debris from the charging port, taking care not to damage the pins.
  3. Avoid Metal Objects: Refrain from using metal objects like pins or paper clips to clean the port, as this can lead to damage.

Reboot Your iPhone

Occasionally, software glitches may impede your iPhone’s charging. Restarting your device can help:

  1. Press and hold the power button until the “Slide to power off” slider appears.
  2. Slide the slider to turn off your iPhone.
  3. After it’s off, press and hold the power button again until you see the Apple logo.

Keep iOS Up to Date

Apple regularly releases software updates that may encompass bug fixes and enhancements. An outdated operating system could contribute to charging problems:

  1. Access “Settings.”
  2. Scroll down and tap “General.
  3. Tap “Software Update” to check for and install any available updates

Monitor Background Apps or Processes

Apps running in the background can deplete your battery faster than it charges. To identify and close these apps:

  1. Double-click the Home button (or swipe up from the bottom on newer models) to view your open apps.
  2. Swipe up on each app to close it.

Reset All Settings

If none of the above steps prove effective, consider resetting all settings on your iPhone. This action won’t erase your data but will restore all settings to their default values:

  1. Navigate to “Settings.”
  2. Scroll down and tap “General.
  3. Scroll to the bottom and select “Reset.
  4. Choose “Reset All Settings.

Contact Our Support

If you’ve attempted all the above measures and your iPhone still fails to charge correctly, it may be advisable to reach out to our repair technicians at iFixYouri. There might be an underlying hardware issue that necessitates professional attention.

Confronting iPhone charging problems can be vexing, but in many instances, you can diagnose and address the issue independently by following these troubleshooting steps. 

Always commence with the basics, such as inspecting your cable and cleaning the charging port, before proceeding to more advanced solutions. With a little patience and some know-how, you can keep your iPhone charged and ready for action. Visit iFixYouri for any iPhone charging problems; battery tests are always free.

The Significance of ESD Safety in Device Repairs

From smartphones and laptops to smart home appliances and medical equipment, electronic devices have become an integral part of our daily routines. However, what many people often overlook is the importance of Electrostatic Discharge (ESD) safety when repairing and maintaining these devices.

ESD can have detrimental effects on electronic components, and neglecting proper precautions can result in costly damage. In this blog post, we’ll delve into why ESD safety should be a top priority for both professionals and DIY enthusiasts and explore the consequences of disregarding it. Repair technicians may also want to check out our post about The Future of Computer Repair.

Understanding Electrostatic Discharge (ESD)

ESD is the sudden flow of electricity between two electrically charged objects caused by contact, an electrical short, or the discharge of a charged object. This phenomenon can occur without warning, and it typically happens when there is a difference in electrical potential between two objects. Although you may not feel or see it, ESD can reach thousands of volts and cause damage to sensitive electronic components.

Why ESD is a Concern in Device Repairs

Delicate Electronic Components:

Modern electronic devices contain intricate and delicate components, such as microchips, transistors, capacitors, and resistors. These components are extremely sensitive to ESD. Even a small discharge of static electricity can disrupt their operation, leading to device malfunction or failure.

Hidden Damage:

One of the most insidious aspects of ESD is that it can cause latent or hidden damage. This means that a device may appear to function correctly immediately after an ESD event but fail or become unreliable over time due to the cumulative effects of repeated discharges. This can make troubleshooting and diagnosing issues more challenging and costly.

Costly Repairs and Replacements:

ESD damage often necessitates costly repairs or replacements of damaged components. This not only increases the overall cost of the repair but also extends the downtime of the device, causing inconvenience to the user.

The Importance of ESD Safety in Device Repairs

Protecting Your Investment:

Whether you’re a professional technician or a DIY enthusiast, you’ve likely invested a significant amount of money in your electronic devices. Implementing proper ESD safety measures during repairs ensures that you protect your investment and extend the lifespan of your gadgets.

Maintaining Reliability:

For professionals, maintaining the reliability and performance of repaired devices is crucial to their reputation and business success. ESD safety measures help ensure that devices continue to function as intended, reducing the risk of warranty claims or customer dissatisfaction.

Minimizing Costs:

Taking proactive steps to prevent ESD damage can save you money in the long run. Avoiding the need for costly component replacements and rework due to ESD damage reduces repair expenses and increases your overall profitability.

ESD Safety Best Practices

ESD safety

Now that we’ve established the importance of ESD safety in device repairs, let’s explore some best practices to follow:

  1. Use ESD-safe workstations and equipment, including ESD mats, wrist straps, and conductive containers.
  2. Ground yourself properly using wrist straps or heel straps to discharge any built-up static electricity.
  3. Store sensitive components and devices in ESD-safe packaging when not in use.
  4. Keep your workspace clean and free of materials that generate static electricity, such as plastic bags or foam packaging.
  5. Educate yourself and your team about ESD safety protocols and regularly reinforce their importance.

In the world of electronics, where devices are becoming more complex and sensitive, understanding and implementing ESD safety measures is non-negotiable. Whether you’re repairing your own gadgets or offering professional repair services, neglecting ESD precautions can result in avoidable damage, increased costs, and unhappy customers.

By prioritizing ESD safety in device repairs, you not only protect your investments but also contribute to the longevity and reliability of the electronic devices that have become so integral to our lives. If you do have any issues with an electronic device, please visit iFixYouri – We Can Fix That!

The Ultimate Guide to Taking Professional-Looking Smartphone Photos

In today’s smartphone-dominated era, photography has become an art accessible to all. Armed with just a smartphone, we can effortlessly capture cherished moments. While traditional cameras still hold their allure, technology has evolved and we can now take professional-looking smartphone photos with just a tap.

In this article, we’ll delve into ingenious hacks that can elevate your smartphone photography skills, enabling you to produce images that rival those taken with high-end cameras. Let’s explore these hacks, which will transform your smartphone photos into professional-grade masterpieces. You may also want to check out our post about The Best Android Phones for Photography.

Professional-Looking Smartphone Photos
Photo by Explore with Joshua on Unsplash

Grasp Composition and Framing Techniques

Before delving into advanced techniques, it’s crucial to grasp the basics of composition and framing. Firstly, the rule of thirds is a guiding principle; position your subject at the intersections of these lines or use the grid feature found in most smartphones for precise composition. Additionally, experimenting with angles and perspectives introduces depth and visual allure to your photos.

Harness the Beauty of Natural Lighting

Lighting is the backbone of photography, and this holds true for smartphone photography. Natural light is your greatest ally in capturing captivating images. To avoid harsh midday sunlight, opt for the gentle warmth of the golden hour – the period shortly after sunrise or before sunset. By aligning your subject with the light source, you’ll bathe your photo in exquisite luminance.

Master Focus and Depth of Field

Smartphones empower you to control the focal point, enabling you to achieve a pleasing depth of field. Simply tap on your subject to focus while gently blurring the background, directing attention to the main subject and imparting a professional touch to your photo. This technique works wonders for portraits and close-up shots.

Keep Your Lens Crystal Clear

Maintaining a clean lens might seem obvious, but it significantly affects photo quality. Regularly employ a microfiber cloth to wipe your smartphone’s lens. By keeping your lens clean, you guarantee sharpness and freedom from unintended distortions.

Editing Apps: Your Creative Partners

The plethora of editing apps available is one of smartphone photography’s greatest assets. These apps facilitate color enhancement, exposure adjustment, and creative effects. Renowned choices like Adobe Lightroom, Snapseed, and VSCO offer powerful editing capabilities. However, remember that restraint is key – subtle edits often yield the most impactful results.

HDR and Panorama for Dynamic Scenes

The High Dynamic Range (HDR) mode excels in capturing scenes with stark contrasts between light and shadow. By amalgamating multiple exposures, it crafts a harmonious image. Similarly, the panorama mode is tailor-made for capturing sweeping landscapes or expansive architectural wonders. Remember to maintain a steady pace while moving your phone for optimal results.

Embrace Stabilization Techniques

Blurry images, particularly in low-light conditions, can be frustrating. Combat this challenge by employing various stabilization techniques. You can brace your phone against a stable surface, invest in a smartphone-compatible tripod, or simply adopt the two-handed grip method.

Embrace Modes and Settings Experimentation

Modern smartphones offer an array of modes and settings to enhance your photographic endeavors. Dive into features like Portrait Mode, Night Mode, Pro Mode (for manual adjustments), and even monochrome shooting. Acquiring an understanding of when and how to utilize these modes enhances the diversity and quality of your shots.

The era where an expensive camera was the sole gateway to professional-looking photos is history. Armed with the right techniques and a discerning eye, your smartphone becomes your artistic instrument. By mastering composition, harnessing lighting, experimenting with modes, and making the most of editing apps, you’ll be taking professional-looking smartphone photos in no time.

Remember, practice is key; don’t shy away from experimenting, learning from missteps, and, above all, enjoying the process of capturing extraordinary moments. Your smartphone, when wielded adeptly, holds the power to weave captivating visual tales that resonate with professionalism.

Visit iFixYouri for any smartphone or digital camera issues.

iFixYouri’s Expert Advice: 5 Essential Tips to Recover Your Water-Damaged Smartphone

The seamless integration of smartphones into our lives has made them indispensable tools for communication, entertainment, and productivity. However, a water-damaged smartphone can disrupt this seamless experience. Whether it’s an unexpected rain shower or an inadvertent plunge into a pool, water damage can wreak havoc on your device.

Fortunately, actionable steps can be taken to recover your water-damaged smartphone and prevent enduring harm. In this article, we’ll delve into iFixYouri‘s top 5 proactive tips for reclaiming your water-damaged smartphone.

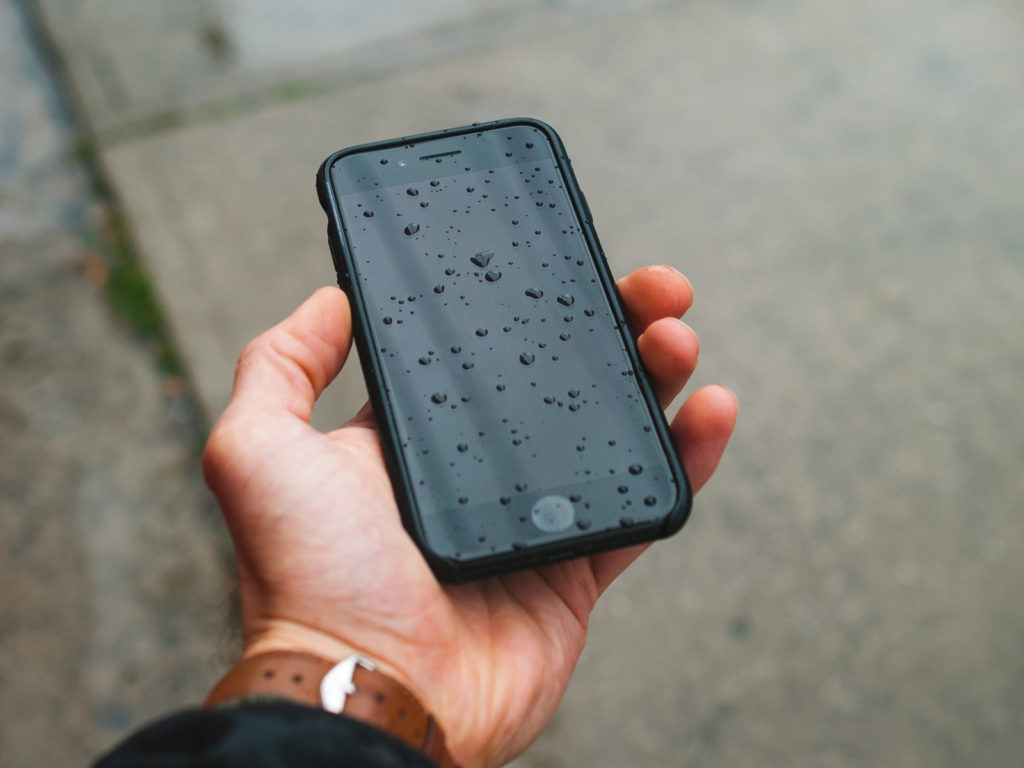
Water-Damaged Smartphone
Photo by Bannon Morrissy on Unsplash

Swift Action and Powering Down

To effectively recover from water damage, time is of the essence. Retrieving your phone from the water source promptly is essential. Prolonged submersion increases the risk of irreversible harm.
Immediately after retrieving your device, power it down. This action is critical to avert potential short circuits that moisture can trigger when it contacts the electrical components. To avoid exacerbating the damage, resist the temptation to test if your phone still functions.

Eliminate Excess Moisture

Upon powering down your phone, delicately remove external components like the SIM card, memory card, and case. Gently shaking the device assists in expelling excess water from ports, speakers, and crevices. Moreover, employ a soft, lint-free cloth to gently absorb moisture. However, steer clear of utilizing a hairdryer, as the heat generated may inflict further harm on internal elements.

Facilitate Drying and Absorption

The subsequent step involves expediting the drying process. Place your smartphone in a receptacle or bag filled with uncooked rice, silica gel packets, or a designated desiccant product. These materials proficiently absorb moisture from the device over a duration of time. Seal the container or bag, and allow your smartphone to remain within for no less than 24 to 48 hours. While this technique may not yield results in all scenarios, it significantly contributes to moisture eradication.

Avoid Heat Sources

Despite the allure of hastening the drying process using heat, this approach must be resisted. Refrain from utilizing direct heat sources like hairdryers, ovens, or microwaves. Elevated temperatures can inflict damage upon delicate internal components and escalate the predicament. Adhere to the gradual drying techniques previously mentioned.

Water-Damaged Smartphone? Enlist Professional Assistance

Should your smartphone exhibit no signs of improvement following the above steps, it’s prudent to contemplate professional intervention. Specialized repair shops like iFixYouri possess expertise in smartphone repairs, encompassing water damage recovery. Their proficiency, tools, and experience enable them to evaluate the extent of the damage and conduct requisite repairs. Experts frequently salvage devices that may appear irreparable to the layperson.

Water damage to smartphones is undoubtedly distressing, yet swift action and diligent care can potentially reverse the situation. iFixYouri’s top 5 tips for water damage recovery underscore the importance of swift response, powering down the device, eliminating excess moisture, adopting safe drying practices, and enlisting professional aid when warranted. Remember, preventive measures offer the ultimate shield, so contemplate investing in waterproof cases or pouches to forestall potential mishaps in the future.

10 Practical Tips to Extend Your MacBook SSD Lifespan

In today’s digital age, laptops have become indispensable tools for work, communication, and entertainment. Among the critical components that significantly impact performance, the Solid State Drive (SSD) stands out. To ensure your MacBook SSD lifespan is long and healthy, consider implementing the following 10 practical tips.

MacBook SSD Lifespan
Photo by Giorgio Trovato on Unsplash

MacBook SSD Lifespan: Enable TRIM

How to Enable TRIM on a MacBook

To begin, enable TRIM—an essential command that assists your SSD in efficiently managing storage space. This optimization not only improves performance but also prolongs the SSD’s life. By enabling TRIM, your MacBook can effectively clean unnecessary data, prevent write amplification, and optimize overall performance.

Avoid Overfilling

Although SSDs are more durable than traditional hard drives, it’s wise to avoid filling them to their maximum capacity. Aim for maintaining around 10-20% of SSD space free. This practice ensures optimal performance and extends the drive’s lifespan.

Activate Power Nap

Next, consider activating Power Nap. This feature allows your MacBook to complete background tasks such as update checks and data syncing while in sleep mode. By reducing the need for constant wake-ups, Power Nap minimizes unnecessary write cycles on the SSD.

Manage Temporary Files

Regularly clearing out temporary files, caches, and logs is crucial. These files tend to accumulate over time, consuming valuable SSD space and affecting overall performance. Leveraging built-in utilities like “Disk Utility” facilitates the removal of unnecessary clutter.

Utilize Optimized Storage

Leverage macOS’s “Optimized Storage” feature. This feature automatically removes old files and transfers infrequently used items to iCloud. The result? Not only do you free up space, but you also reduce SSD wear by offloading less-used data.

Adjust Virtual Memory

Virtual memory, also known as swap space, plays a crucial role in multitasking. However, excessive swapping can contribute to SSD wear. Consider upgrading your RAM to reduce reliance on virtual memory, thereby preserving your SSD’s longevity.

Keep macOS Updated

Apple’s frequent release of macOS updates containing bug fixes and optimizations is a boon. By keeping your operating system up to date, you ensure your SSD benefits from the latest performance enhancements and bug fixes.

Minimize Unnecessary Write Operations

Activities such as torrenting or constant video editing involve frequent and large write operations on your SSD. Minimizing these activities or utilizing an external drive for such tasks can significantly reduce wear on your internal SSD.

Prevent Excessive Heat

High temperatures can have adverse effects on SSD performance and lifespan. To counter this, ensure your MacBook enjoys proper ventilation. Avoid using it on soft surfaces that may obstruct airflow and lead to overheating.

Regularly Back Up

While not a direct method to extend SSD life, regular backups are paramount for data security. In the unfortunate event of SSD failure, you can restore your data and settings without fearing data loss.

Your MacBook’s SSD is a remarkable piece of technology. By incorporating these 10 tips, you can ensure it remains in optimal condition for years to come. 

From enabling TRIM to managing temporary files and optimizing storage, these practices collectively contribute to maintaining peak performance and extending your MacBook SSD lifespan. Embracing a proactive approach to SSD care not only benefits your device but also enhances your overall computing experience.

How Does Temperature Affect Smartphone and Laptop Battery Performance?

In the modern whirlwind of life, smartphones and laptops have seamlessly woven into our daily routines, offering connectivity, productivity, and entertainment on demand. However, amidst our appreciation for these devices, we often overlook a pivotal aspect: the formidable influence of temperature on smartphone and laptop battery performance and longevity. 

In this insightful blog post, iFixYouri will explore the intricate relationship between temperature and battery efficiency, exploring how extreme temperatures wield the power to shape battery life, capacity, and overall user experience. You may also want to check out our post on 4 Common Laptop Issues and How to Fix Them.

Laptop Battery Performance
Photo by Ales Nesetril on Unsplash

Understanding Battery Chemistry

Before we embark on the journey through temperature’s effects on batteries, we must cover some fundamental tenets of battery chemistry. Most smartphones and laptops employ lithium-ion (Li-ion) batteries due to their remarkable energy density, lightweight nature, and recharging capabilities. These batteries rely on the movement of lithium ions between positive and negative electrodes during the charge and discharge cycles, a process inherently influenced by various factors, including temperature.

Effects of High Temperatures

The influence of elevated temperatures on battery performance and lifespan is profound. Prolonged exposure to higher temperatures initiates a cascade of adverse effects:

  1. Capacity Loss: The chemical reactions within the battery accelerate under high temperatures, leading to gradual degradation over time. This results in a diminishing capacity, causing the battery to store less charge than its initial state.
  2. Rapid Discharge: Intense heat catalyzes self-discharge, causing the battery to shed charge even during device dormancy. This phenomenon can be frustrating for users confronted with devices that deplete more swiftly than anticipated.
  3. Reduced Lifespan: The amalgamation of diminished capacity and accelerated chemical reactions considerably truncates the battery’s overall lifespan. Batteries that might endure for multiple years under optimal conditions may dwindle to a fraction of that lifespan with recurrent exposure to elevated temperatures.
  4. Safety Concerns: Elevated temperatures render batteries vulnerable, susceptible to thermal runaway—a perilous escalation in temperature that can culminate in fire or explosion. While contemporary devices encompass safety mechanisms, extreme temperatures continue to harbor potential hazards.

Effects of Low Temperatures on Laptop Battery Performance

Much like high temperatures, low temperatures also wield an impact on battery performance:

  1. Capacity Reduction: Cold temperatures decelerate the movement of lithium ions within the battery, momentarily impairing capacity. This can lead to unforeseen device shutdowns, even when the battery retains residual charge.
  2. Sluggish Performance: Chillier climes induce sluggishness in smartphones or laptops, eroding responsiveness due to reduced battery efficiency. Applications and processes that customarily function seamlessly may now grapple with delays.
  3. Recovery upon Warming: Batteries subjected to cold conditions can regain capacity upon exposure to warmer surroundings. Nonetheless, habitual exposure to frigid environments can contribute to gradual capacity loss over time.

Best Practices for Temperature Management

To optimize battery performance and longevity, a strategic approach to temperature management is indispensable. Here are some pragmatic suggestions:

  1. Avoid Extreme Temperatures: Adhere to the recommended temperature range—typically between 0°C and 35°C (32°F to 95°F)—to safeguard your devices.
  2. Limit Exposure: Exercise prudence in minimizing your device’s exposure to scorching or freezing environments. Steer clear of leaving devices under the scalding sun, in parked cars on sweltering days, or amidst freezing temperatures for protracted durations.
  3. Storage Considerations: For extended storage periods, ensure your device is stashed in a temperate, dry location.
  4. Use Insulating Cases: Explore the efficacy of insulating cases, which mitigate temperature fluctuations. However, be cautious of cases that may inadvertently trap the heat generated by the device.

Intricately woven into the tapestry of smartphone and laptop battery performance, temperature emerges as a preeminent factor. The repercussions of high and low temperatures are unequivocal: diminished capacity, curtailed lifespan, and latent safety perils. 

By fostering an awareness of temperature’s sway over your devices and embracing the outlined best practices, you stand poised to nurture batteries that perform optimally and persist for an extended duration. The care you invest in your device’s battery transcends routine maintenance; it manifests as an investment in elevating usability and enhancing your holistic user experience.

Laptop Keyboards: The Ultimate Guide to Types, Repairs, and Solutions

Laptops have seamlessly integrated into our lives, serving as indispensable tools for work, communication, and entertainment. A fundamental component of these devices is the keyboard. However, laptop keyboards come in various designs and configurations, catering to diverse preferences and needs. 

Understanding the distinct types of laptop keyboards and the potential repairs they might necessitate is crucial for maintaining optimal device functionality. In this article, we will delve into these various keyboard types, discuss common repair issues, and provide insights into effective solutions.

Laptop Keyboards
Photo by rupixen.com on Unsplash

Diverse Types of Laptop Keyboards

Laptop keyboards exhibit a range of designs and functionalities, tailored to individual user requirements. Some prominent types include:

  • Standard Membrane Keyboards: These keyboards incorporate a rubber dome beneath each key. Pressing a key depresses the dome, making contact with the underlying circuit to register the key press. Known for their cost-effectiveness and quieter operation, these keyboards find favor in general-purpose laptops.
  • Mechanical Keyboards: Employing distinct mechanical switches for each key, these keyboards offer tactile feedback and emit a discernible click sound upon key press. Gamers and typists, valuing precision and responsiveness, often gravitate towards mechanical keyboards.
  • Scissor Switch Keyboards: Prevalent in modern laptops, scissor-switch keyboards utilize scissor-like mechanisms beneath keys. This design balances the tactile feel of mechanical keyboards with the compactness of membrane keyboards, ensuring enhanced key stability and durability.
  • Chiclet Keyboards: Recognizable as island-style keyboards, chiclet keyboards sport individual square or rectangular keys with generous spacing. Popular in ultrabooks, they deliver both aesthetics and comfortable typing experiences.
  • Backlit Keyboards: Offering illuminated keys, backlit keyboards facilitate effortless work in low-light settings. Some models even let users personalize lighting colors and patterns for a bespoke touch.

Common Keyboard Issues and Resolutions

Although laptop keyboards are resilient, they may encounter issues over time. Several common problems warrant attention:

  • Sticky or Unresponsive Keys: Key stickiness might result from debris, dirt, or liquid spills. Conversely, unresponsive keys could indicate faulty switches or circuits. Cleaning the affected area can often rectify these issues.
  • Irregular or Loose Keys: Regular usage or physical damage can lead to keys becoming uneven or loose. Addressing such wear and tear ensures consistent performance.
  • Backlight Glitches: Malfunctions in the LED backlighting system can result in improper or incorrect illumination. Troubleshooting and fixing the underlying issue often resolve this.
  • Missing Keys: Accidental breakage or mishandling can cause keys to pop off or disappear. Replacing these keys with available replacements is usually a straightforward solution.

Effective Keyboard Repair Strategies

Depending on the issue’s severity, various strategies exist for rectifying laptop keyboard problems:

  • Thorough Cleaning: Overcoming key stickiness or unresponsiveness often requires meticulous cleaning to eliminate debris or dirt accumulation.
  • Key Replacement: Replacing missing or damaged keys with compatible replacements can swiftly restore the keyboard’s functionality.
  • Software Troubleshooting: Addressing keyboard issues might entail updating or reinstalling keyboard drivers, a process that frequently resolves underlying software-related glitches.
  • Professional Repair: Complex concerns, such as circuitry problems or significant damage, necessitate seeking professional repair services from authorized centers to ensure a comprehensive resolution.

Comprehending the array of laptop keyboard types and potential repair prerequisites is pivotal for sustaining a laptop’s efficiency and lifespan. Whether you’re a casual user, a dedicated gamer, or a professional, maintaining a well-functioning keyboard contributes significantly to your overall computing experience. Promptly addressing keyboard-related issues and employing appropriate solutions empowers you to embrace uninterrupted productivity and seamless computing endeavors. Visit iFixYouri for help with any keyboard-related issues.

Smartphone, Tablet and Computer Repairs and News