
Introduction
iPod Touch 5th gen battery replacement is moderately difficult. The eight clasps holding the screen onto the body will make snap noises when they are unclasped. Don’t immediately pull the screen from the body as you will probably tear the cable to the home button. Step by step instructions are below the video.
Tools Needed
- Razor Blade
- Metal Spudger [BUY]
- Phillips Head Screwdriver #000 [BUY]
- Hot Air Rework Station
- Spudger [BUY]
- Soldering Station
- Flux
Recommended: Magnetic mat [BUY], screw capsules [BUY]
General Repair Guidelines:
- Always use good lighting – smart device components are small and you’ll need plenty of light to see what you
are doing. - Maintain a clean, organized workspace so you don’t lose or confuse any components.
- Apply enough heat to loosen adhesive but not enough to damage the device.
- After separation, keep the back housing and screen in close proximity until all flex cables or other wire
cables are disconnected.
iPod Touch 5th Gen Battery Replacement Steps
- Starting at the bottom near the home button, slide the corner of a razor blade in between the screen and the
bottom frame to begin separating the screen from the body. 
- Use the metal spudger to slowly and carefully separate the glass screen of the iPod from the body. Start on the
bottom edge of the device and proceed slowly. Eight brackets connect the screen to the body.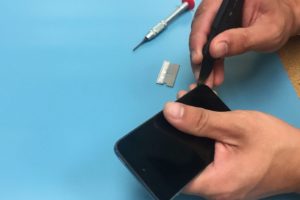
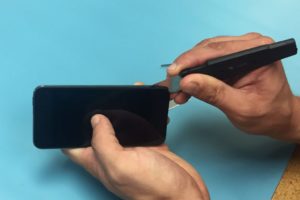
- Continue using the metal spudger to gently separate the glass from the body up the sides and across the top. Don’t
push too deeply towards the center of the device. When all the brackets have been pryed open, slowly pull the
top of the screen away from the body. 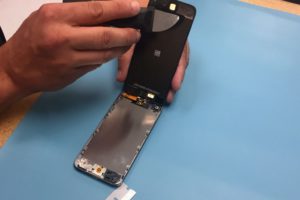
- The home button is connected via an orange flex cable, so do not pull the back glass far from the frame.
Disconnect the cable from the heat shield of the iPod.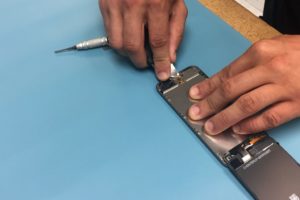
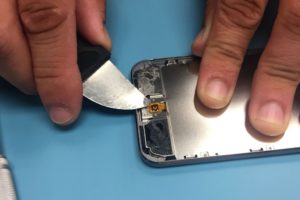
- After disconnecting the home button flex cable, remove the eight screws from the silver heat shield and set to
the side.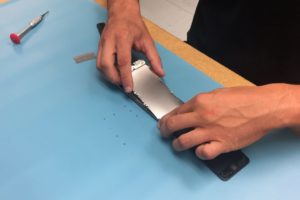
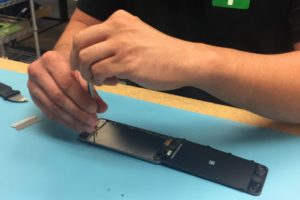
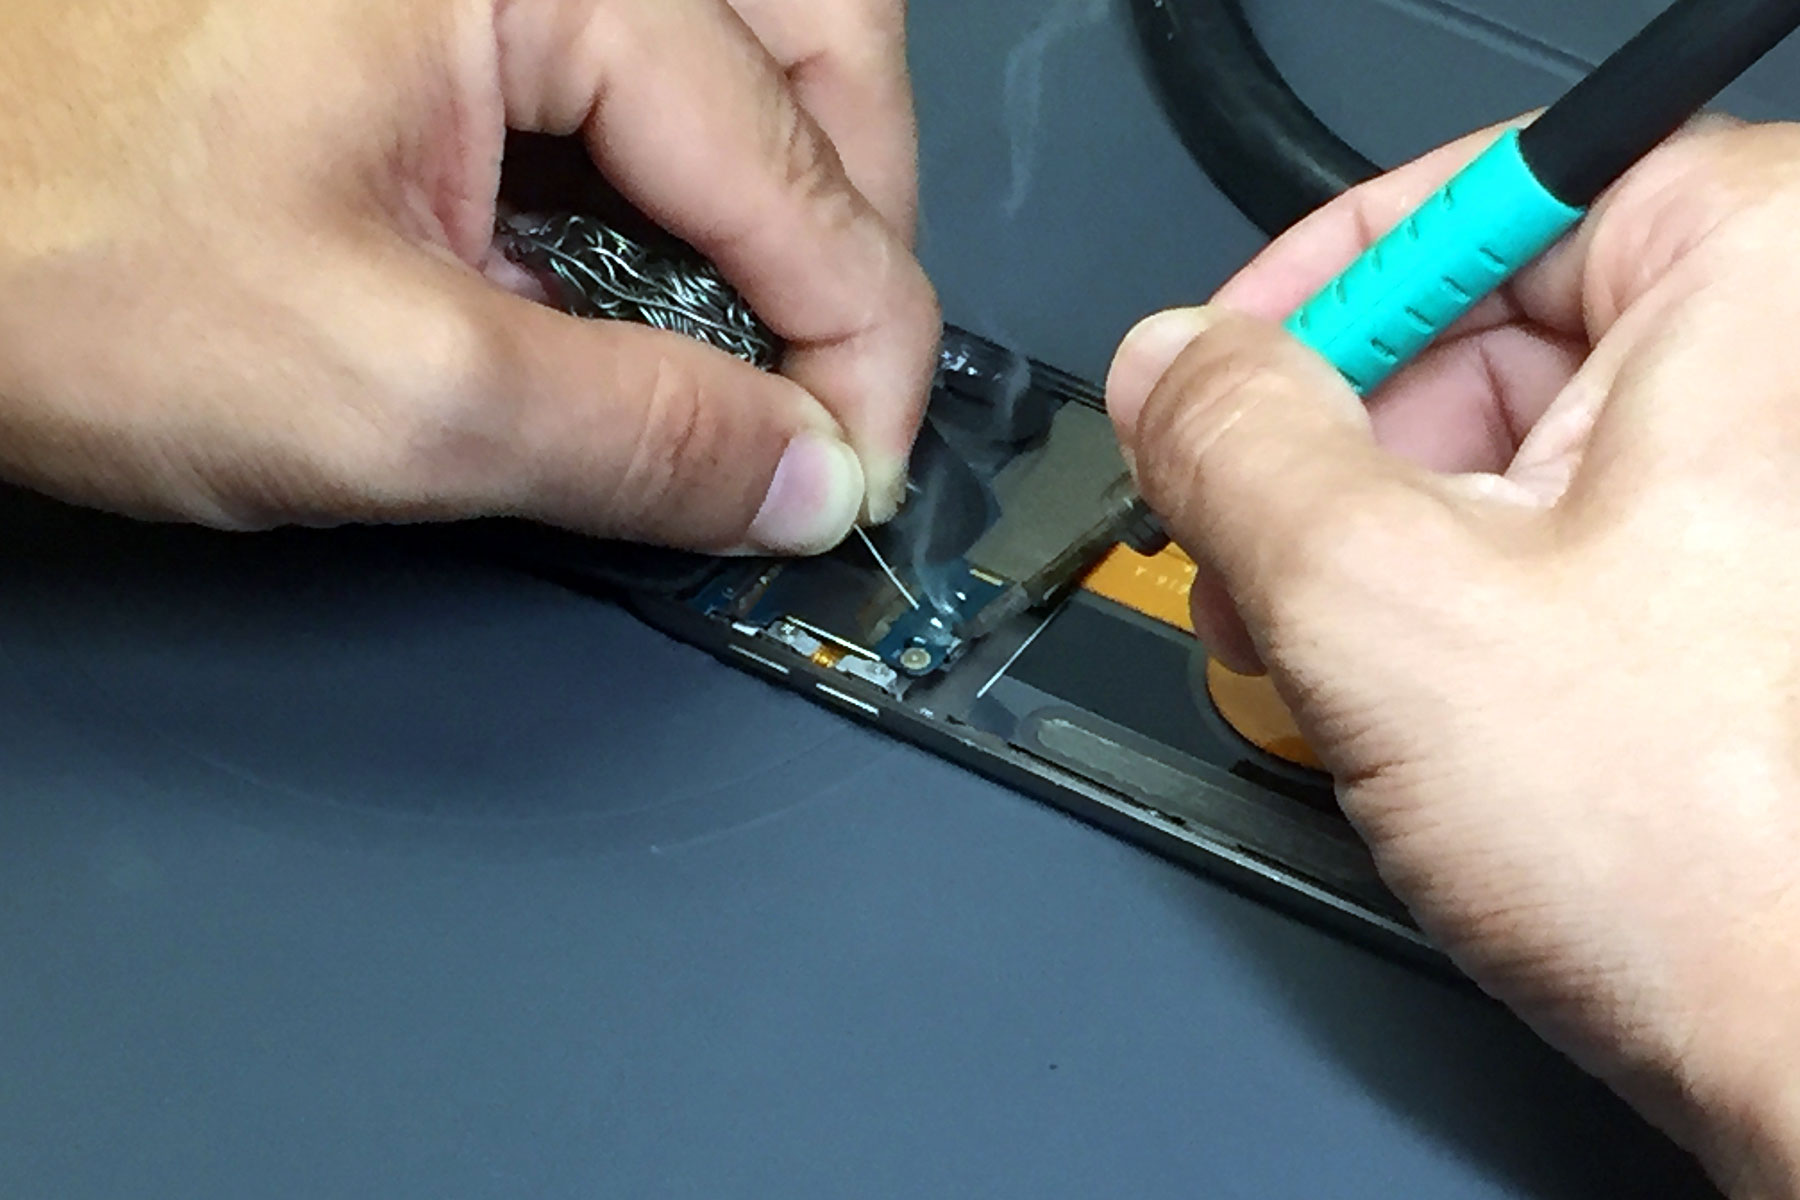
- The next steps involve removing the battery flex cable using a hot air rework station. Focus the heat on the
black film and Kapton tape that needs to be removed while heating. This is located on the left side just above
the battery. 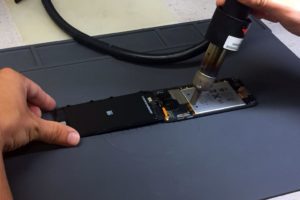
- Once the cable can be removed, pop out the battery with a spudger.
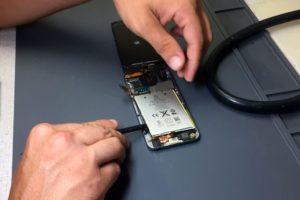
- The replacement battery must be soldered into place using a soldering iron, flux, and tweezers to hold the
cable in place.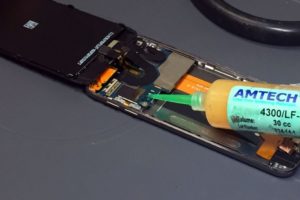

- With your new replacement battery connected, you should now be able to boot up the device. You can work
backward from step 7 to complete the repair. Be sure to cover the new solder points with Kapton tape before
reinstalling the heat shield. If Kapton tape is not added the heat shield could short out the device.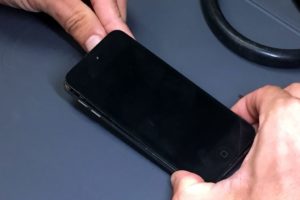
For Help, Repairs, or Parts
If you need parts or tools for this repair, or if this repair is too much to attempt on your own and you need
professional help with your iPod Touch Repair, contact iFixYouri at 888-494-4349 or www.ifixyouri.com.