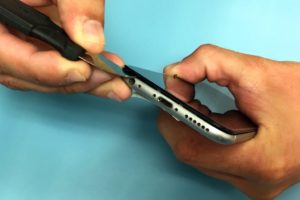
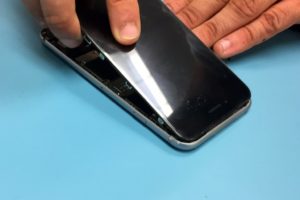
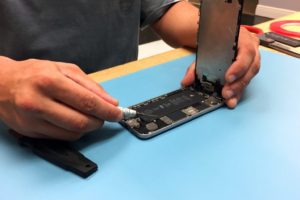
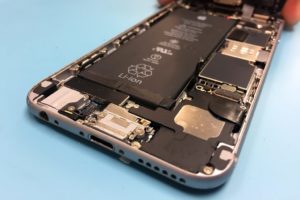
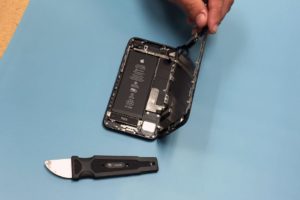
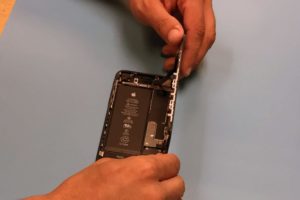
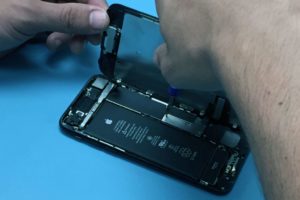
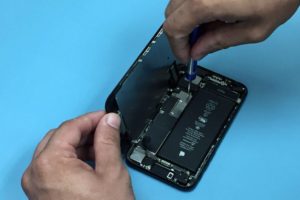
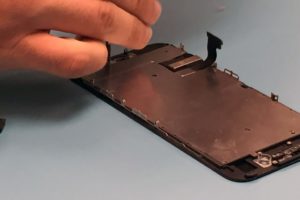
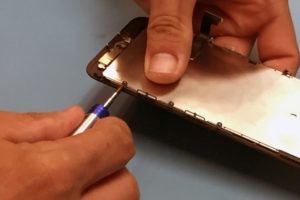
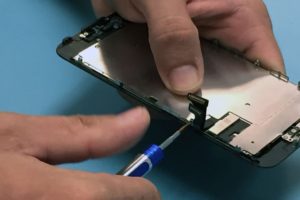
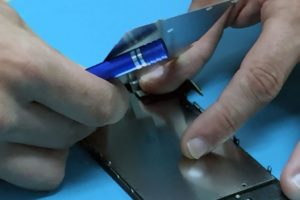
Category Archives: iPhone Repair

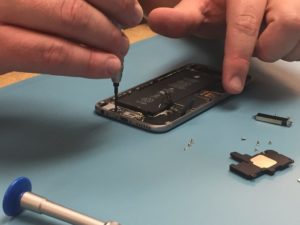
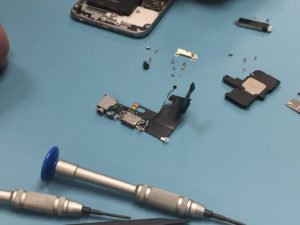
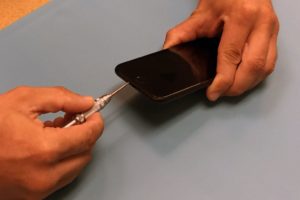
All posts related to iPhone Repair, including repair tips, specific iPhone generation repair details, iPhone parts, and repair news.

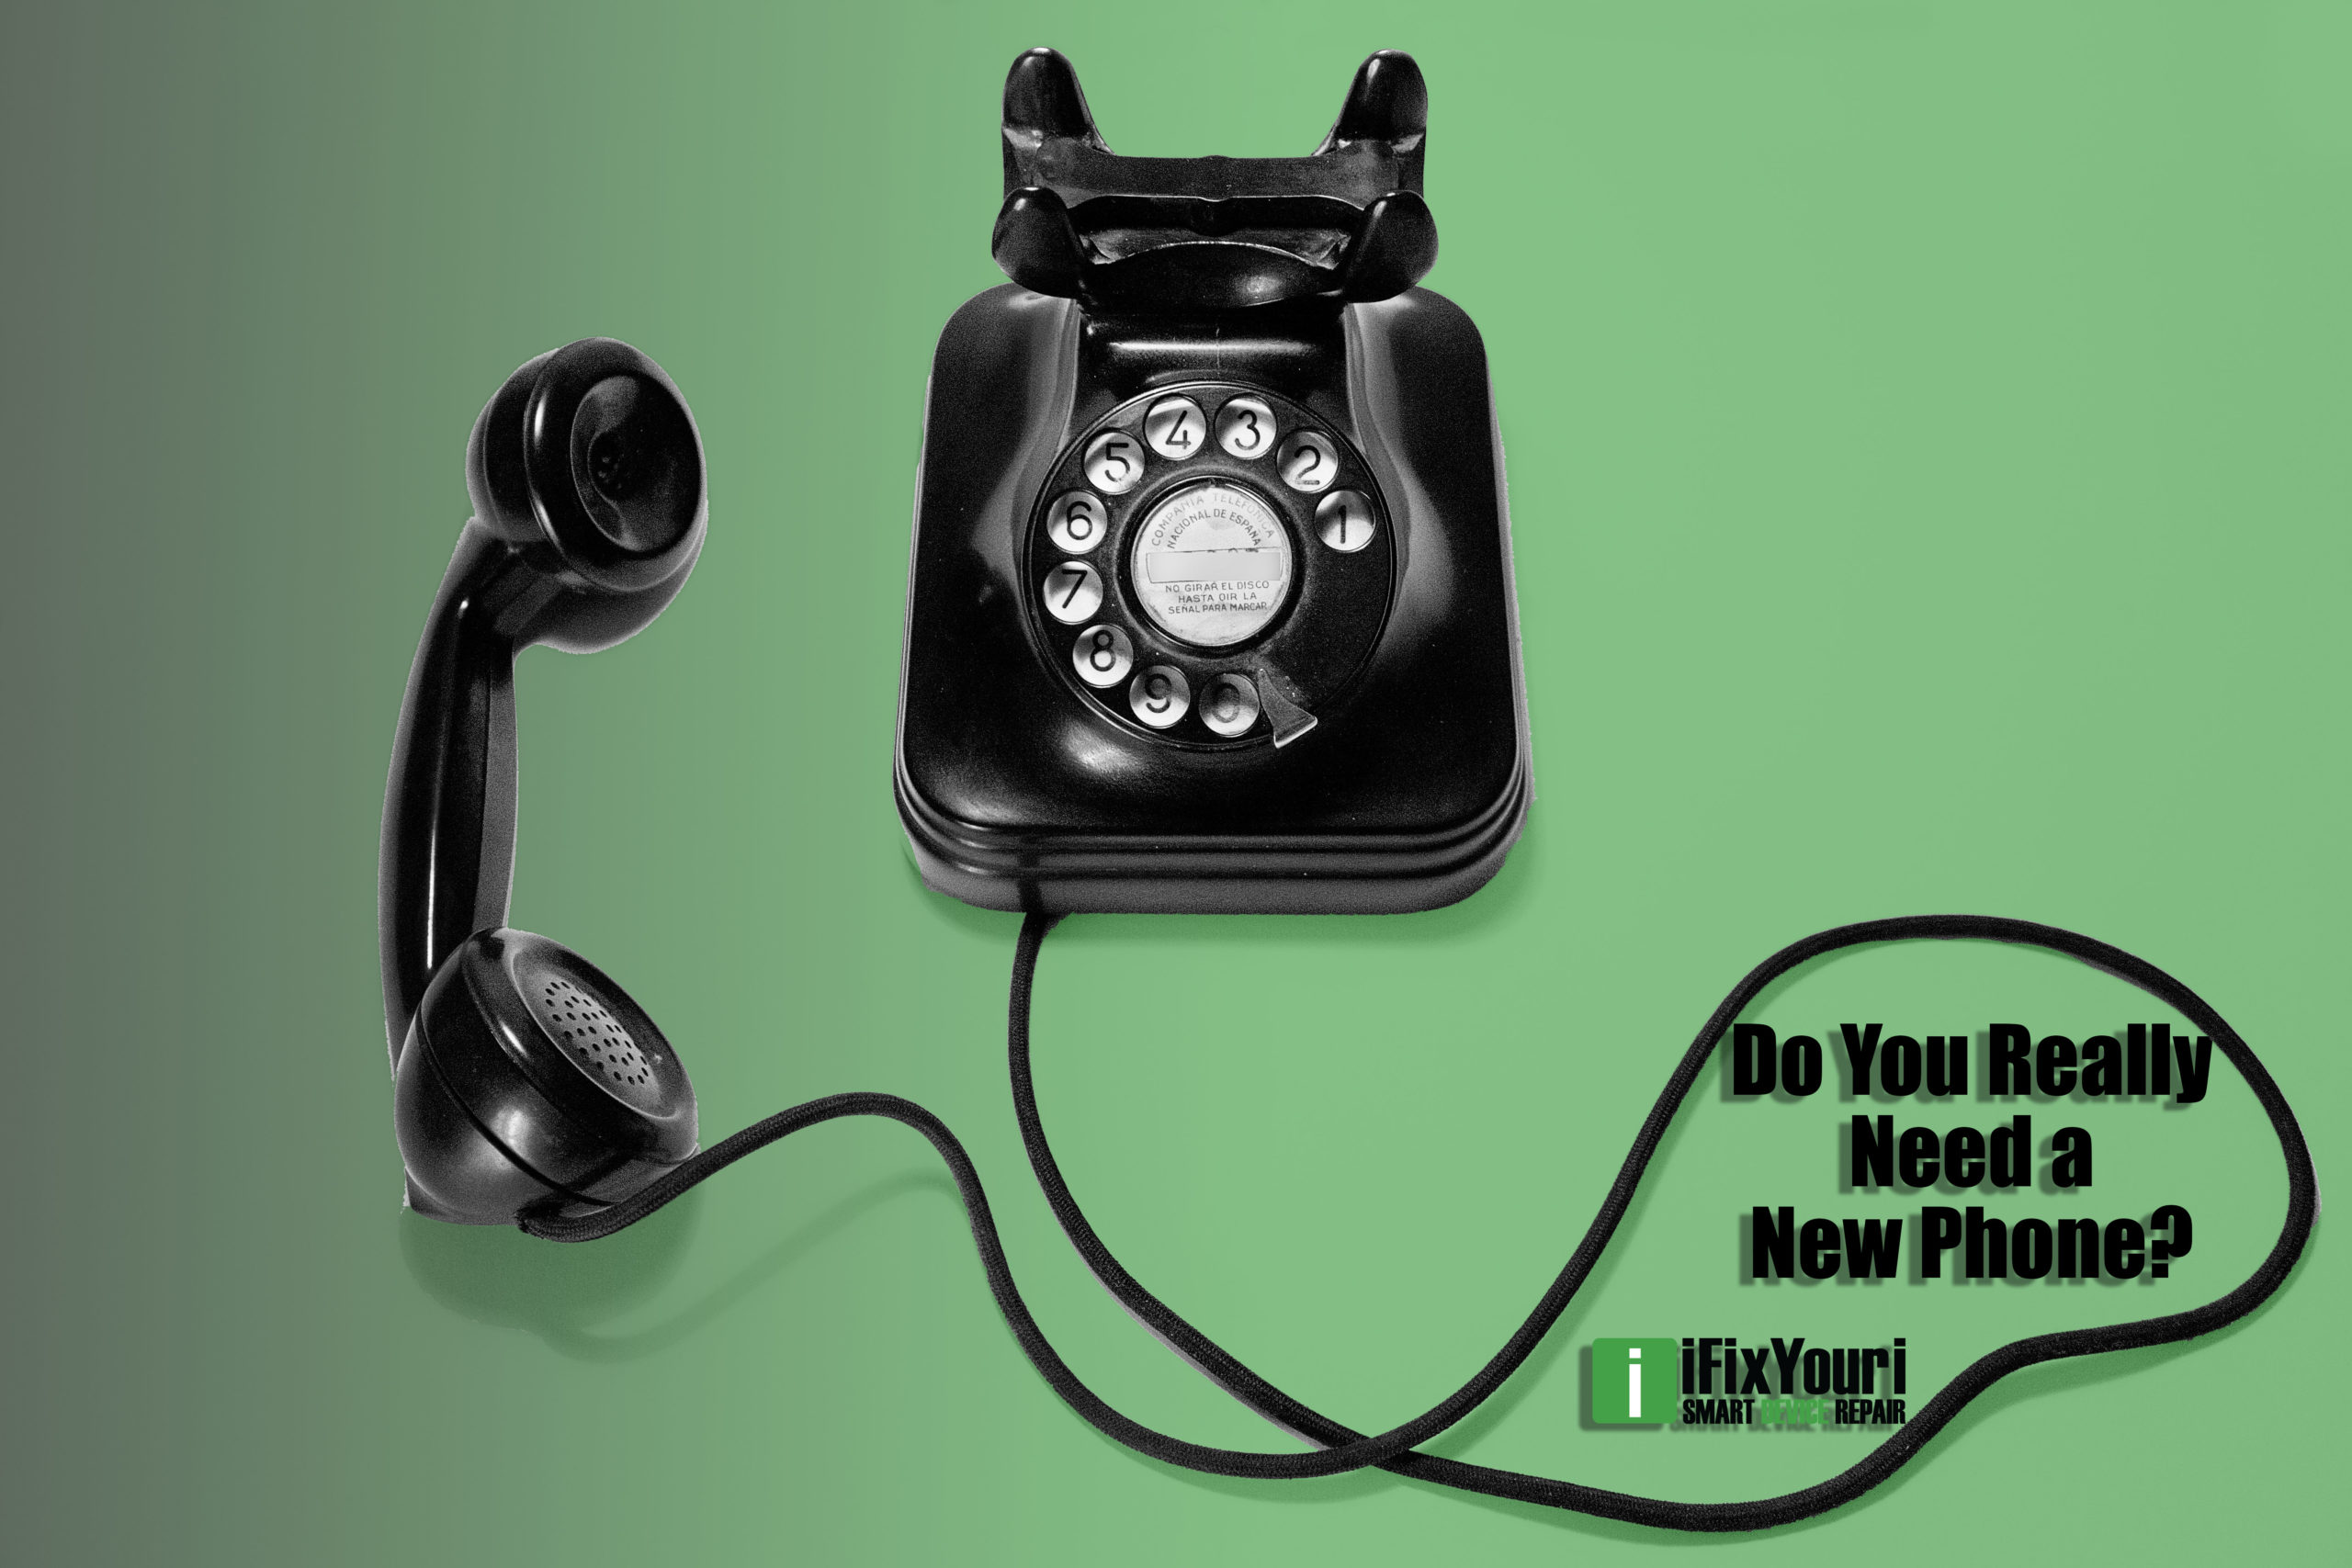
Do You Really Need a New Phone? Not Really.

Typically towards the end of the year, tech companies release their line of new phones. Even though shiny new gadgets are tempting to purchase, especially for the holidays, they are not always worth it or necessary. So, do you really need a new phone? Not really.

Before you read about why a new phone is not necessary, we must acknowledge that there are certain cases in which you really do. 

Why You Need a New Phone

If a tech repair company with expert technicians can’t even fix your device’s problems, it is time to get a replacement. 

Your Phone is Outdated 

The 2000s called and they want their flip phone back (even though they are slowly coming back in style). The same goes for First Gen smartphones that aren’t so smart anymore. 
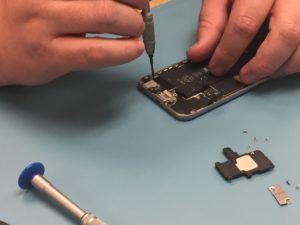
These types of phones are outdated in appearance and performance. Companies such as Apple only support their devices for a certain period of time. For example, iOS 14 is only compatible with the iPhone 12 Series and a few of its predecessors. If you have an iPhone 6 or later, Apple can no longer support it. 
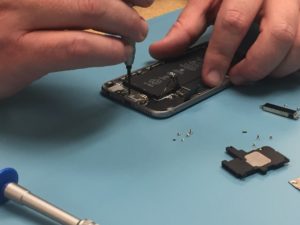
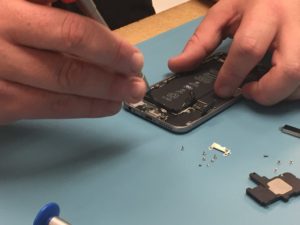
This may not be an issue for you if you don’t mind missing out on the latest features. But not being able to update your device is worrisome because updates help prevent bugs, hacking, and performance issues

Another way to tell if your device is outdated is if you are still using a 3G network. A 4G network is 500 times faster than 3G,  and 5G is at least 10 faster than 4G. 

Your Photos are Videos Are Poor Quality

Many people purchase a phone for its camera and video quality. They can’t be blamed though. The iPhone 12 and other high-end devices have 4K video quality and take HD photos. Older devices were not made popular for their camera quality, being that the end results are grainy and blurry. 

If you want to document events with your camera phone but the quality is too poor, this is the perfect excuse to upgrade! 

You Don’t Have Enough Storage 

If your device can barely manage to store a 30-second video or a couple of photos, you need an upgrade. There are ways to make more space on your phone, but if you want to keep everything close by, 16 GB is not going to cut it. 

Now, many smartphones have up to 256 GB of storage. 

Your Phone Isn’t Your Style Anymore

Whether you have owned your current phone for 5 months or 5 years, if it no longer serves any purpose to you or is simply not your style anymore, you might as well get one that fits you best. You may own a smartphone but now want a flip phone. Yours may be red but you prefer blue. You may even want to switch brands completely. 

Why You Don’t Need a New Phone 

If you damage your device in any way, your first thought may be to replace it with a new one. Rather than waste your money, bring your phone to a tech repair shop such as iFixYouri, where expert technicians will repair your tech efficiently for a great price. 

Repair your phone with iFixYouri if it has: 

  • Poor battery life 
  • Shattered glass
  • Broken buttons 
  • Broken battery 
  • Water damage 
  • Won’t charge properly 

If you are looking to buy a new phone, be sure to check out Tech Reboot for the most money guaranteed. 

Do You Really Need a New Phone? Not Really. By iFixYouri.

iPhone 6s Plus Home Button Repair: How To

Introduction

iPhone 6s Plus Home button replacement is moderately challenging. The screen must be removed and several components and cables must be disconnected. You will note be able to use Touch ID after this repair – a note worth repeating.

Keep in mind that a home button replacement will eliminate the ability to use Touch ID.

Tools Needed

Recommended: Magnetic mat, screw capsules

Parts Needed:

  • iPhone 6s Plus Plus Home Button Assembly [BUY NOW]

General Repair Guidelines:

  • To reduce losing and confusing things, keep your workplace clean and organized.
  • Most screws cannot be interchanged. Group or strategically place your screws (in screw capsules) so you can track them.
  • Work in a well-lit space – smart device components are tiny. You’ll thank yourself for good lighting.

iPhone 6s Plus Home Button Repair Steps

Remove the Screen

  1. Unscrew the pentalobe screws on both sides of the lightning port on the bottom of the iPhone.iPhone 6s Plus Home Button Repair Step 1 -
  2. Using the metal spudger, pry the screen away from the body, starting at the bottom edge of the phone.iPhone 6s Plus Home Button Repair Step 2 -
  3. A flex cable near the top of the phone connects the screen and body, so open it carefully like a notepad.iPhone 6s Plus Home Button Repair Step 3 -

Undo the Flex Cables

  1. Unscrew the silver rectangular shield near the bottom right of the battery. This shield covers the battery cable, which should be disconnected for practically every repair.iPhone 6s Plus Home Button Repair Step 4 -
  2. Disconnect the display flex cable using a plastic spudger. Plastic spudgers, rather than metal spudgers, should always be used for removing items on the inside of the phone.iPhone 6s Plus Home Button Repair Step 5 -

Remove the Home Button

  1. Unscrew the two screws which hold down the home button bracket.iPhone 6s Plus Home Button Repair Step 6 -
  2. Use a spudger to disconnect the home button connector.iPhone 6s Plus Home Button Repair Step 7 -
  3. Push up slowly on home button from the front. Use your spudger to assist in loosening the rubber gasket that holds the button on the screen.iPhone 6s Plus Home Button Repair Step 8 -
  4. Nice work! You have removed the home button on the iPhone 6s Plus.iPhone 6s Plus Home Button Repair Step 9 -

For further help visit the following links:

iPhone 6s Plus repair by iFixYouri Smart Device Repair

iPhone 6s Plus Parts for a DIY repair

iPhone 6s Home Button Repair: How To

Introduction

iPhone 6s Home button repair is moderately challenging. The screen must be removed and several components and cables must be disconnected. Doing this repair will remove functionality of the Touch ID, and I may repeat that.

Keep in mind that a replacement home button will eliminate the ability to use Touch ID.

Tools Needed

Recommended: Magnetic mat, screw capsules

Parts Needed:

General Repair Guidelines:

  • Always use good lighting – smart device components are small and you’ll need plenty of light to see what you are
    doing.
  • Maintain a clean, organized workspace so you don’t lose or confuse any components.
  • Group your screws so you can keep track of where they came from. Most screws can not be interchanged.

iPhone 6s Home Button Replacement Steps

Remove the Screen

    1. Remove the two pentalobe screws on either side of the lightning port on the bottom of the iPhone.
    1. Starting at the bottom edge of the phone, use the metal spudger to pry the screen away from the body.
  1. A flex cable near the top of the phone is connected to the body, so open the screen carefully like a
    notepad.

Undo the Flex Cables

    1. Unscrew the silver rectangular shield near the bottom right of the battery. This shield covers the battery cable, which should be disconnected for practically every repair.
  1. Disconnect display cable flex using a plastic spudger. Plastic spudgers, rather than metal spudgers, should always be used for removing items on the inside of the phone.

Remove the iPhone 6s Home Button

    1. Unscrew the three screws which hold down the home button bracket.
    1. Use a spudger to disconnect the home button connector.
    1. Push up slowly on home button from the front. Use your spudger to assist in loosening the rubber gasket that holds the button on the screen.
  1. That’s it! You have removed the home button on the iPhone 6s.

For further help visit the following links:

iPhone 6s repair by iFixYouri Smart Device Repair

iPhone 6s replacement parts for a DIY repair

iPhone 7 Home Button Repair – The Full Story

In this post, the iPhone 7 is mentioned, but the information applies to the iPhone 7 Plus as well.

In previous versions of the iPhone, home button replacement was a simpler repair. The screen gets removed, a flex cable is disconnected, depending on the model, a shield is removed, and then the home button can be unscrewed and popped out. A replacement home button can then be installed and your phone is back to work. There were some earlier versions of iOS that locked phones with home button repairs done by a third party repair companies, displaying Error 53, but backlash forced Apple to eliminate this behavior in later updates. So let’s learn more about the iPhone 7 home button.

How is the iPhone 7 Home Button Different?

iPhone 7 Home Button Repair - the iPhone 3gs home button
iPhone 3gs Home Button

The home button has long been a part of the iPhone, since the first generation. It offered a quick escape option to get back to the home screen from wherever you may have navigated. Traditionally it was an actual physical button that had a click reaction when depressed. This physical motion was translated into an electronic signal which then traveled to the motherboard, letting it know it was time to leave the current app. In the hands of a professional, replacing these buttons was as simple as if they were buttons on your shirt. In the hands of a professional, replacing these buttons was as simple as sewing buttons on your shirt.

iPhone 7 Home Button Repair - the iPhone 7 home button
iPhone 7 Home Button

The iPhone 7 home button works in tandem with the logic board (Apple’s name for motherboards) and a software lock. So there’s not only hardware design involved with this component; it can be paired only with one specific logic board, as defined by unique coding. Additionally, the iPhone 7 home button is not truly a mechanical button at all. It is an indented fingerprint sensor which provides physical feedback via the Taptic Engine, Apple’s component for providing tactile sensations in the form of vibrations.

Starting with the Samsung Galaxy S8 and the LG G6, and now the iPhone X, phone manufacturers will most likely continue to omit a physical home button to fit more screen within the dimensions of the phone.

What Happens When You Replace an iPhone 7 Home Button?

If you replace the iPhone 7 home button with an after-market replacement part or even a different OEM replacement, you will see a message after booting up, “The home button may need service.” After displaying this message, a temporary fix on-screen home button appears.  You can navigate using this on-screen button, but after you’ve grown accustomed to using the actual button, it feels like a compromise. This Accessibility setting can be activated on any iPhone at any time by turning on AssistiveTouch.

iPhone 7 Home Button Repair - on-screen assistance

Why Does Apple Make Home Button Repair Difficult?

There are two possible schools of thought about why Apple would make the home button unique to each phone. Since the button is software controlled, the software lock closes a security hole. Think of the software lock as another unique physical passcode. If your phone is stolen or lost, nobody would be able to pop a new home button in and bypass your Touch ID.

The other possibility is that Apple is tightening the scope of its proprietary components and tools to grab a larger share of the repair market. Apple makes all the money on iPhone 7 home button repairs, at the expense of third-party repair companies.

What Are Other Options for iPhone 7 Home Button Replacement?

If your iPhone 7 home button no longer works, it must be taken to an official Apple store. The repair technicians at this store will use the Calibration Machine, which is shrouded in secrecy. Without AppleCare+ or a warranty, the repair will cost $319 for an iPhone 7 and $349 for an iPhone 7 Plus.


If you are in need of help with your iPhone 7 or iPhone 7 Plus, visit iFixYouri for an iphone repair. If you need iPhone 7 or iPhone 7 Plus Parts for DIY repair, click here.

iPhone 6 Lightning Port Replacement: How To

iPhone 6 lightning port repair is a moderately difficult DIY repair. In other words, some smartphone repair experience
helps. However, a patient hand can complete the repair successfully with these instructions. Above all, have fun. Let’s
get to it!

Tools Needed

Recommended: Magnetic mat [BUY NOW], screw capsules [BUY NOW]

Parts Needed:

General Repair Guidelines:

  • Always use good lighting – smart device components
    are small and you’ll need plenty of light to see what you are doing.
  • Maintain a clean, organized workspace so you don’t
    lose or confuse any components.

Introduction

Lightning port for the iPhone 6 is relatively easy, but it is buried under several components that must be removed in
sequence. This is an important repair because the lightning port component also holds the headphone jack and
microphone. The clasps holding the screen onto the body near the top are at an angle. The flex cable for the screen is
also towards the top. Keep track of your screws as there are quite a few different ones. Let’s do this.

iPhone 6 Lightning Port Removal Steps

Remove the Screen

  1. After that, unscrew the two pentalobe screws on either side of the lightning dock on the bottom edge of the iPhone 6.
  1. Use the metal spudger to slowly and carefully separate the glass screen of the iPhone from the body. Start on
    the bottom edge of the device and proceed slowly. The flex cable for the screen is at the top.
  2. Slowly pull the top of the screen away from the body and locate the EMI (electromagnetic interference) shield located by the bottom right of the battery.
  3. Unscrew the two screws securing the EMI shield to the logic board and remove it.
  4. Using a spudger, disconnect the battery cable from the logic board.

Remove Loudspeaker, Vibrator

  1. Right next to the lightning port connection there is a small black circle connected by a gold contact to a
    black wire. This is the antenna and it should be disconnected using the spudger.
  2. In the bottom right of the iPhone 6, the loudspeaker sits. It is a larger black component held in place by Four
    Phillips head screws hold it in place. It should be removed next. Unscrew the four screws and gently pry it
    out, using caution to not catch the antenna while you are pulling it out.
  3. After that, we will remove the vibrator, a black rectangle. It runs horizontally under the battery, on the bottom left of the phone. Two Phillips head screws hold it in place.

Remove Microphone Brace, Unscrew Lightning Port

  1. Remove the small black plastic brace that holds the microphone in place between the lightning port and the
    headphone jack.
  2. After that, remove the two screws on the top edge of the headphone jack component, the light grey square in the
    bottom left of your iPhone (above the headphone jack hole).
  3. Next, unscrew the six screws on the sides of the lightning port. They sit symmetrically, three on each side.
  4. You have now completed detaching the lightning port assembly. After that, it can be removed from the housing.
    However, if the microphone sticks, gently pry it with your spudger.
  5. Voila! You completed the mission. Work through
    the steps in reverse to install a new lightning port.

For Help, Repairs, or Parts

In conclusion, if you need parts or tools for this repair, or if this repair is too much to attempt on your own and you
need professional help with your iPhone 6 repair,
contact iFixYouri at 888-494-4349or www.ifixyouri.com.

iPhone 7 Screen Repair: How To Do It Yourself

iPhone 7 screen repair can be accomplished smoothly if you take your time and have the correct tools and equipment.

Tools Needed:

Recommended: Magnetic Mat [BUY NOW],
Screw Capsules [BUY NOW]

Parts Needed:

General Repair Guidelines:

  • Always use good lighting. Smart device components, for instance, are small. You’ll need plenty of light to see
    what you are doing.
  • Maintain a clean,
    organized workspace
    . This prevents losing or confusing any components.
  • Group your screws so you can keep track of where they came from. Most screws cannot be interchanged.
  • Apply enough heat to loosen adhesive. However, take care not to overdo it and damage the device.
  • At any point, if the adhesive becomes hard to separate, apply more heat.
  • After separating adhesive, keep the housing and screen in close proximity until flex cable is disconnected.

Introduction

iPhone 7 screen repair is moderate in difficulty. Several flex cables can be torn easily. Above all, use caution. For
instance, loosening the adhesive that keeps the screen sealed to the body requires properly heating them with a
dehydrator or heat gun. Let’s get to it!

iPhone 7 Screen Repair Step by Step

Before beginning, heat up the device’s interior adhesive strips with a dehydrator, heat gun, or heat mat. Heat guns are
the quickest. However, use caution. It can be easy to overdo it and damage the device.

Open the iPhone 7

  1. Unscrew the two pentalobe screws on the bottom edge of the phone on either side of the lightning port.
  2. Use the metal spudger to slowly and carefully separate the screen of the iPhone from the body. Start on the bottom
    edge of the device and proceed slowly.
  3. Continue using the metal spudger or use playing cards or guitar picks to gently separate the adhesive up the sides
    and top. Don’t push too deeply towards the center of the device.
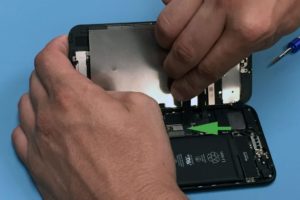
  4. The left side of the screen will open off the body; like a book opened from the back cover. The flex cable
    connecting the screen to the battery will still be attached so open it carefully.

Disconnect the Cables

  1. A silver EMI shield on the mid-right side of the phone needs to be removed. It is held in place by four tri-point
    screws.
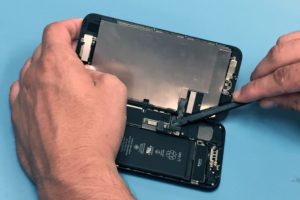
  2. After removing the shield, use a spudger to disconnect the battery from the logic board.
  3. Use the spudger to disconnect the display connector flex cable.
  4. Remove the two Philips head screws on the shield over the front panel sensor assembly connector. It is the silver
    shield near the top of the phone with the flex cable coming out of the bottom.
  5. With your spudger, disconnect the black front panel sensor assembly connector cable from the logic board. It is
    the one that connects the screen to the body.
  6. You can now remove the LCD assembly of the iPhone 7 from the body.

Remove the Front Camera and Earpiece

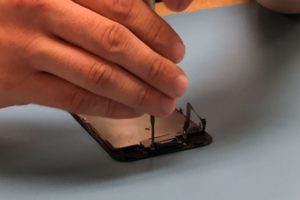
  1. Next, we will remove the three Phillips head screws that hold the silver earpiece bracket on the top of the LCD
    assembly.
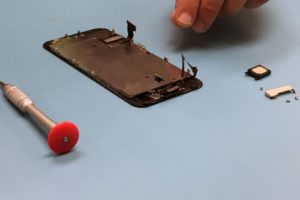
  2. Pull the front camera up and out of the way with your spudger or tweezers. Remove the two Phillips head screws
    attached to the earpiece speaker. You can now also remove the earpiece speaker.
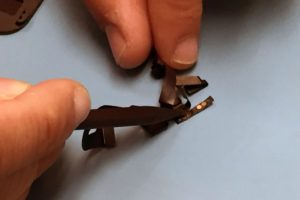
  3. Use your spudger to remove the ambient light sensor and proximity sensor. This is a thin cable that is easy to
    tear so use caution.

Remove the Touch ID/Home Button

NOTE: The touch ID must be removed carefully. Failing to remove it safely or breaking it will require visiting
an Apple store.
The touch ID must be removed carefully. Failing to remove it safely or breaking it will
require visiting an
Apple store.

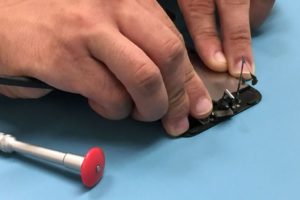
  1. Remove the four pentalobe screws holding the touch ID/home button bracket.
  2. Work your way around the side brackets on the both sides of the assembly, unscrewing all 6 tri-point screws.
  3. Peel the large LCD shield away, starting from the top.
  4. Use your spudger to disconnect the home button cable connector.
  5. Disconnect the underlying connection with caution.
  6. Pry the adhesive holding the touch ID/home button to the back of the digitizer.
  7. The home button is now unattached and can be removed but pushing it forward through the front of the screen.

For Help, Repairs, or Parts

For iPhone 7 Replacement Parts, or if iPhone 7 screen repair
is too much to attempt on your own and you need a repair professional skilled at iPhone
7 Repair
,
contact iFixYouri at 888-494-4349 or www.ifixyouri.com.

iPhone 6 Battery Replacement: How To Guide

Introduction

iPhone 6 Battery replacement is relatively easy. The clasps holding the screen onto the body near the top are at an
angle. The flex cable for the screen is also towards the top but you will not need to disconnect it to replace the
battery.

There are two strips of white adhesive under the battery that are a nuisance to remove but it is much harder to try to
pry the battery out without doing so. Let’s do this.

Exercise caution when working with batteries, especially swollen
ones
.

Tools Needed

  • Metal Spudger [BUY]
  • Pentalobe Screwdriver #000 [BUY]
  • Spudger [BUY]
  • Tweezers [BUY]
  • Tape [BUY]

Recommended: Magnetic mat [BUY],
screw capsules [BUY]

Parts Needed

iPhone 6 Replacement Battery [BUY]

General Repair Guidelines:

  • Always use good lighting – smart device components are small and you’ll need plenty of light to see what you
    are doing.
  • Maintain a clean, organized workspace so you don’t lose or confuse any components.
  • After separation, keep the back housing and screen in close proximity until all flex cables or other wire
    cables are disconnected.

iPhone 6 Battery Removal Steps

  1. Unscrew the two pentalobe screws on either side of the lightning dock on the bottom edge of the iPhone 6.

2. Use the metal spudger to slowly and carefully separate the glass screen of the iPhone from the body. Start on
the bottom edge of the device and proceed slowly. The flex cable for the screen is at the top.

3. Slowly pull the top of the screen away from the body and locate the EMI (electro magnetic interference) shield
located by the bottom right of the battery.

  1. Unscrew the two screws securing the EMI shield to the logic board and remove it.

  1. Using a spudger, disconnect the battery cable from the logic board.

  1. The next steps involve removing the adhesive tape underneath the battery to make it easier to remove. Slide one
    tip of your tweezers under the black adhesive strip at the bottom of the battery. Each black strip runs halfway
    across the bottom of the battery.

  2. Now roll your tweezers away from the battery while simultaneously pulling the tape out from underneath the
    battery.

  3. Continue to pull the tape out from underneath the battery and roll it around the tweezers. It may help to pull
    diagonally out from the corner as the tape runs up the full height of the battery.

  4. If the white tape snaps apart you may need to use a spudger to carefully pry the battery up. Continue using a
    combination of tweezers and the spudger to separate the battery from the body of the iPhone. You will have to
    repeat the process to remove the second strip of tape.

  5. Now you can remove the battery. Use a small length of some adhesive tape to secure the new battery in place.
    Reconnect the battery cable to the motherboard and screw the EMI shield back on.

  1. Reattach the screen by angling the top in first and then clicking the side clasps into place. Replace the two
    screws by the lightning dock. That’s it! You’re done.

For iPhone 6 Battery Help, Repairs, or Parts

If you need parts or tools for this repair, or if this repair is too much to attempt on your own and you need
professional help with your iPhone 6 repair,
contact iFixYouri at 888-494-4349or www.ifixyouri.com.

What to Do if You Drop Your iPhone 7 in Water?

Water damage is not a death sentence to an iPhone. Chances are we’ve all experienced it. We drop our precious phone in some sort of liquid. We jump in the pool with our phones in our pockets. We drop it in the toilet. We spill a beer on it. Inevitably something happens.

Being that water damage repair is one of our specialties, we are asked this question a lot, dozens upon dozens of times per day. While the new iPhone 7 is not completely waterproof, it is fairly water resistant. With the help of some adhesive sealing the screen, some rubber gaskets around certain components, and some tweaks in the design, the chances of needing an iphone 7 water damage repair are lower than previous versions. This does not mean that you should try to push the phone to its breaking point and it certainly does not mean it’s immune to water damage. Something as simple as having your phone in the bathroom while you take a hot shower can cause problems.

First Steps After Dropping an iPhone 7 in Water

The process is quite straight forward and taking quick action can help decrease your chances of failure, and increase your chances of having a good, working device. This will work on other devices as well, but since we’re talking iPhone 7’s here, we’ll use this as our main example.

STEP 1) Turn Off the Device

First and foremost, turn off the device, and if it’s a model phone where you can easily remove the battery, do so. It is highly likely that your phone will work after you pull it from the water. The number one killer of water damaged phones isn’t actually the water, it’s the current that travels through the logic board after it gets wet. When you cross electricity with water, a short will occur.

iPhone 7 Power Button

STEP 2) Open All Covers and Ports

For an iPhone 7, pop out the SIM card tray by inserting the end of a paper clip in the small hole on the right side of your phone, take off any case, do not plug it in. You want to make sure if water has gotten in, that there is a way for the water to get out. You don’t want the liquid to be trapped inside if at all possible.

iPhone 7 SIM Card Removal

STEP 3) Dry Out Your Phone

We don’t advise to shake the phone, as this can cause water to get deeper into the board. Instead, we recommend using some sort of desiccant. You want something that will draw the water out. A shop vac is an okay application. Silica gel is ideal. A dehumidifier works wonders. A container of Damprid from Home Depot can also do the trick and will only run you about $10.

Steer clear of using anything that generates an excessive amount of heat, as this can only further damage the device. Do not place your phone in an oven or toaster. This is all around a bad idea.

A combo of Damprid, somewhere with good air circulation, and opening your device as much as possible will be your best chance of survival.

What do you do after your iPhone has been soaked?

After you complete the simple steps above, you need to wait. Do not try to power your phone on in any time less than 36 hours. It’s super important that your phone is completely dry before any attempt is made. If after 36 hours you see any liquid, do not try to power it on, you’ll just have to wait a bit longer. Let that Damprid soak up any liquid.

When you are confident any liquid that the device may have come in contact with is dry, then and only then try to power it up. If you get no power initially, it may need a good charge. Try giving it a short charge. If you don’t notice anything light up on the screen, chances are your battery may be shot, and possibly other components.

At this point, you may need to bring your phone to a repair shop or use a mail-in service for deeper diagnostics and help. iFixYouri has a no-fix, no-fee policy. We offer free round trip shipping on all services, including all of our iPhone 7 Repair Services.

Regardless of the state of the device, we recommend a good cleaning by a professional repair service after your device has been wet. Water can leave residual minerals and build-up on the components, which should be removed to ensure longevity and good functionality.

What should you do with a device that can’t be repaired?

In the event that iFixYouri cannot fix your device, there are options. The device can be sent back to you. It can be recycled (if it carries no value), or if it’s a relatively newer model (iPhone 5 or higher), you can sell your iphone and use the money you earned to purchase a new device.

We know how frustrating water damage can be. We see it every day. By taking the correct steps immediately after it happens, you can dramatically increase your odds of having a good, working phone again.

If you have any questions or need professional help for iPhone 7 Repairs, feel free to reach out to us at iFixYouri.com, or call us at 888-494-4349.