Category Archives: iPhone 6 Repair

iPhone 6 Repair

Apple’s Independent Repair Program and iFixYouri Collaboration: Empowering Repairs

In the ever-evolving world of technology, our reliance on devices like smartphones, tablets, and laptops has become indispensable. With this increasing dependence, the need for reliable repair services has grown exponentially. Apple, a tech giant known for its innovation, has taken a significant step towards empowering repair services through its Independent Repair Program (IRP).

This blog post delves into the Apple IRP and highlights iFixYouri’s role as a key participant in this groundbreaking initiative. Visit our website to learn more about our certifications.

Understanding the Apple Independent Repair Program (IRP)

The Apple Independent Repair Program was launched to provide independent repair businesses access to genuine Apple parts, tools, and resources. This program aims to ensure that consumers have more options when seeking repairs for their Apple devices. Apple expands its network of reliable service centers by collaborating with independent repair providers.
Apple iPhone 15
Photo by Mockup Free on Unsplash

Key Features of the Apple IRP:

  1. Access to Genuine Apple Parts: Independent repair businesses enrolled in the IRP gain access to authentic Apple parts. This ensures that repairs are conducted using high-quality components, maintaining the integrity of Apple devices.
  2. Comprehensive Training: Apple provides participating repair providers with comprehensive training on the latest repair techniques and procedures. This ensures that technicians are well-equipped to handle a wide range of issues across various Apple products.
  3. Certification and Authorization: Repair businesses that join the IRP are certified by Apple, signifying their commitment to maintaining high standards of service. This certification instills confidence in consumers, assuring them that their devices are in capable hands.

iFixYouri: A Trusted Partner in Apple Repairs

iFixYouri, a leading independent repair business, has embraced the Apple IRP to elevate its repair services. With a commitment to excellence, iFixYouri has become a trusted partner for Apple device owners seeking professional repairs outside the official Apple stores.

  1. Expert Technicians: iFixYouri boasts a team of expert technicians who have undergone rigorous training through the Apple IRP. This ensures that they possess the knowledge and skills required to diagnose and fix a wide array of Apple device issues.
  2. Genuine Apple Parts: Through the IRP, iFixYouri has access to genuine Apple parts, guaranteeing that each repair maintains the original specifications and quality of the device.
  3. Certification and Reliability: By participating in the Apple IRP, iFixYouri has earned Apple’s certification, reinforcing its commitment to delivering reliable and high-quality repair services. This certification sets iFixYouri apart as a reputable choice for Apple device repairs.

The Apple Independent Repair Program represents a significant leap towards creating a more accessible and diverse repair ecosystem for Apple device users.

iFixYouri’s active participation in this program highlights its dedication to providing top-notch repair services while upholding Apple’s standards. As technology advances, collaborations like these ensure that consumers have reliable options for maintaining and repairing their cherished Apple devices.

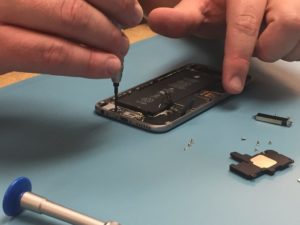
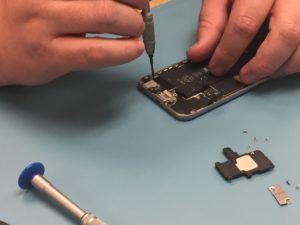
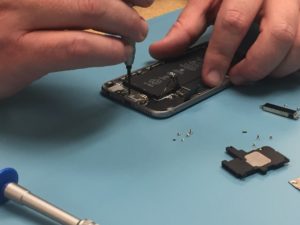
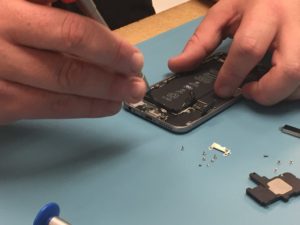
iPhone 6 Lightning Port Replacement: How To

iPhone 6 lightning port repair is a moderately difficult DIY repair. In other words, some smartphone repair experience
helps. However, a patient hand can complete the repair successfully with these instructions. Above all, have fun. Let’s
get to it!

Tools Needed

Recommended: Magnetic mat [BUY NOW], screw capsules [BUY NOW]

Parts Needed:

General Repair Guidelines:

  • Always use good lighting – smart device components
    are small and you’ll need plenty of light to see what you are doing.
  • Maintain a clean, organized workspace so you don’t
    lose or confuse any components.

Introduction

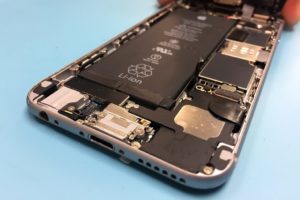
Lightning port for the iPhone 6 is relatively easy, but it is buried under several components that must be removed in
sequence. This is an important repair because the lightning port component also holds the headphone jack and
microphone. The clasps holding the screen onto the body near the top are at an angle. The flex cable for the screen is
also towards the top. Keep track of your screws as there are quite a few different ones. Let’s do this.

iPhone 6 Lightning Port Removal Steps

Remove the Screen

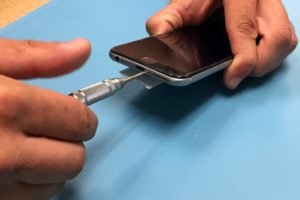
  1. After that, unscrew the two pentalobe screws on either side of the lightning dock on the bottom edge of the iPhone 6.
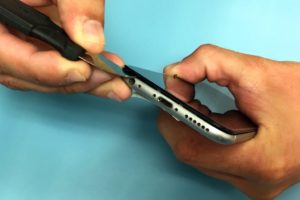
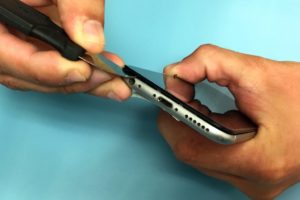
  1. Use the metal spudger to slowly and carefully separate the glass screen of the iPhone from the body. Start on
    the bottom edge of the device and proceed slowly. The flex cable for the screen is at the top.
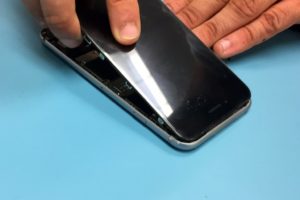
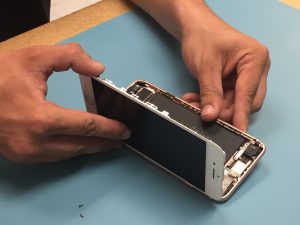
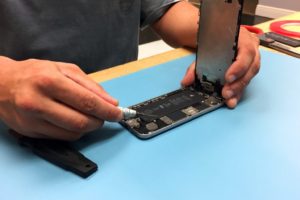
  2. Slowly pull the top of the screen away from the body and locate the EMI (electromagnetic interference) shield located by the bottom right of the battery.
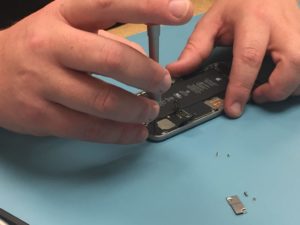
  3. Unscrew the two screws securing the EMI shield to the logic board and remove it.
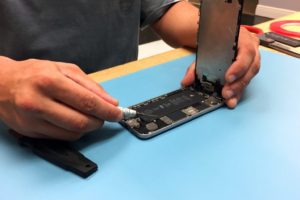
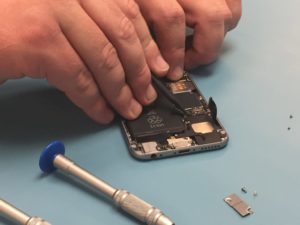
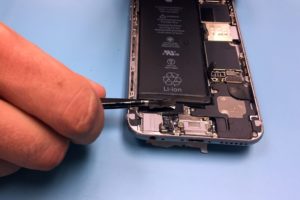
  4. Using a spudger, disconnect the battery cable from the logic board.

Remove Loudspeaker, Vibrator

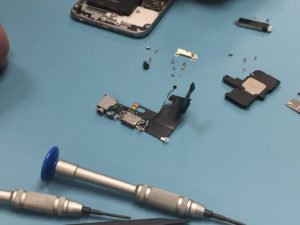
  1. Right next to the lightning port connection there is a small black circle connected by a gold contact to a
    black wire. This is the antenna and it should be disconnected using the spudger.
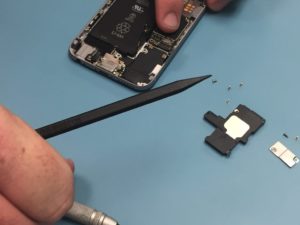
  2. In the bottom right of the iPhone 6, the loudspeaker sits. It is a larger black component held in place by Four
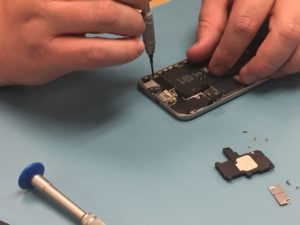
    Phillips head screws hold it in place. It should be removed next. Unscrew the four screws and gently pry it
    out, using caution to not catch the antenna while you are pulling it out.
  3. After that, we will remove the vibrator, a black rectangle. It runs horizontally under the battery, on the bottom left of the phone. Two Phillips head screws hold it in place.

Remove Microphone Brace, Unscrew Lightning Port

  1. Remove the small black plastic brace that holds the microphone in place between the lightning port and the
    headphone jack.
  2. After that, remove the two screws on the top edge of the headphone jack component, the light grey square in the
    bottom left of your iPhone (above the headphone jack hole).
  3. Next, unscrew the six screws on the sides of the lightning port. They sit symmetrically, three on each side.
  4. You have now completed detaching the lightning port assembly. After that, it can be removed from the housing.
    However, if the microphone sticks, gently pry it with your spudger.
  5. Voila! You completed the mission. Work through
    the steps in reverse to install a new lightning port.

For Help, Repairs, or Parts

In conclusion, if you need parts or tools for this repair, or if this repair is too much to attempt on your own and you
need professional help with your iPhone 6 repair,
contact iFixYouri at 888-494-4349or www.ifixyouri.com.

iPhone 6 Battery Replacement: How To Guide

Introduction

iPhone 6 Battery replacement is relatively easy. The clasps holding the screen onto the body near the top are at an
angle. The flex cable for the screen is also towards the top but you will not need to disconnect it to replace the
battery.

There are two strips of white adhesive under the battery that are a nuisance to remove but it is much harder to try to
pry the battery out without doing so. Let’s do this.

Exercise caution when working with batteries, especially swollen
ones
.

Tools Needed

  • Metal Spudger [BUY]
  • Pentalobe Screwdriver #000 [BUY]
  • Spudger [BUY]
  • Tweezers [BUY]
  • Tape [BUY]

Recommended: Magnetic mat [BUY],
screw capsules [BUY]

Parts Needed

iPhone 6 Replacement Battery [BUY]

General Repair Guidelines:

  • Always use good lighting – smart device components are small and you’ll need plenty of light to see what you
    are doing.
  • Maintain a clean, organized workspace so you don’t lose or confuse any components.
  • After separation, keep the back housing and screen in close proximity until all flex cables or other wire
    cables are disconnected.

iPhone 6 Battery Removal Steps

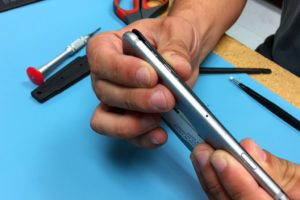
  1. Unscrew the two pentalobe screws on either side of the lightning dock on the bottom edge of the iPhone 6.

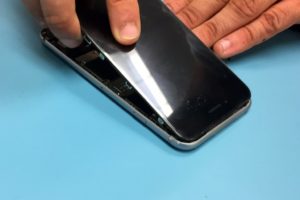
2. Use the metal spudger to slowly and carefully separate the glass screen of the iPhone from the body. Start on
the bottom edge of the device and proceed slowly. The flex cable for the screen is at the top.

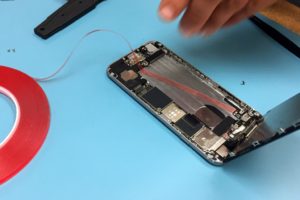
3. Slowly pull the top of the screen away from the body and locate the EMI (electro magnetic interference) shield
located by the bottom right of the battery.

  1. Unscrew the two screws securing the EMI shield to the logic board and remove it.

  1. Using a spudger, disconnect the battery cable from the logic board.

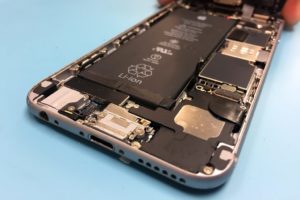
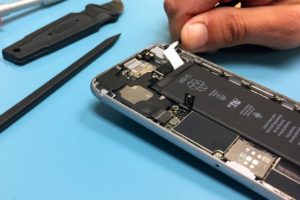
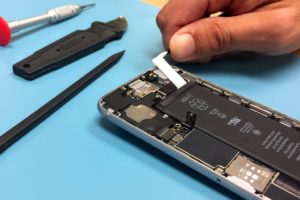
  1. The next steps involve removing the adhesive tape underneath the battery to make it easier to remove. Slide one
    tip of your tweezers under the black adhesive strip at the bottom of the battery. Each black strip runs halfway
    across the bottom of the battery.

  2. Now roll your tweezers away from the battery while simultaneously pulling the tape out from underneath the
    battery.

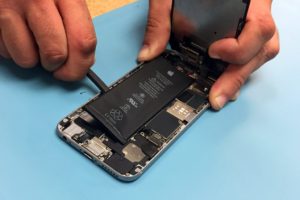
  3. Continue to pull the tape out from underneath the battery and roll it around the tweezers. It may help to pull
    diagonally out from the corner as the tape runs up the full height of the battery.

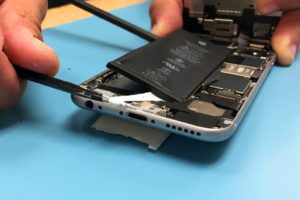
  4. If the white tape snaps apart you may need to use a spudger to carefully pry the battery up. Continue using a
    combination of tweezers and the spudger to separate the battery from the body of the iPhone. You will have to
    repeat the process to remove the second strip of tape.

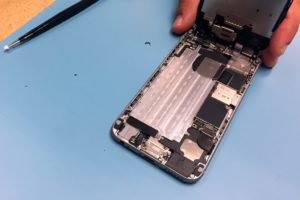
  5. Now you can remove the battery. Use a small length of some adhesive tape to secure the new battery in place.
    Reconnect the battery cable to the motherboard and screw the EMI shield back on.

  1. Reattach the screen by angling the top in first and then clicking the side clasps into place. Replace the two
    screws by the lightning dock. That’s it! You’re done.

For iPhone 6 Battery Help, Repairs, or Parts

If you need parts or tools for this repair, or if this repair is too much to attempt on your own and you need
professional help with your iPhone 6 repair,
contact iFixYouri at 888-494-4349or www.ifixyouri.com.