Tools Needed
- Pentalobe Screwdriver #000
- Metal Spudger
- Phillips head Screwdriver
- Spudger
- Tweezers
- Recommended: Magnetic mat, screw capsules
Parts Needed
iPhone 6s Rear Camera
General Repair Guidelines
- Always use good lighting – smart device components are small and you’ll need plenty of light to see what you are doing.
- Maintain a clean, organized work space so you don’t lose or confuse any components.
- Group your screws so you can keep track of where they came from. Most screws can not be interchanged.
Introduction
The iPhone 6s rear camera replacement is moderately difficult. Several flex cables can be torn easily so use caution. Loosening the adhesive that keeps the screen sealed to the body requires properly heating them with a dehydrator or heat gun.
iPhone 6s Rear Camera Replacement Steps
Remove the Screen
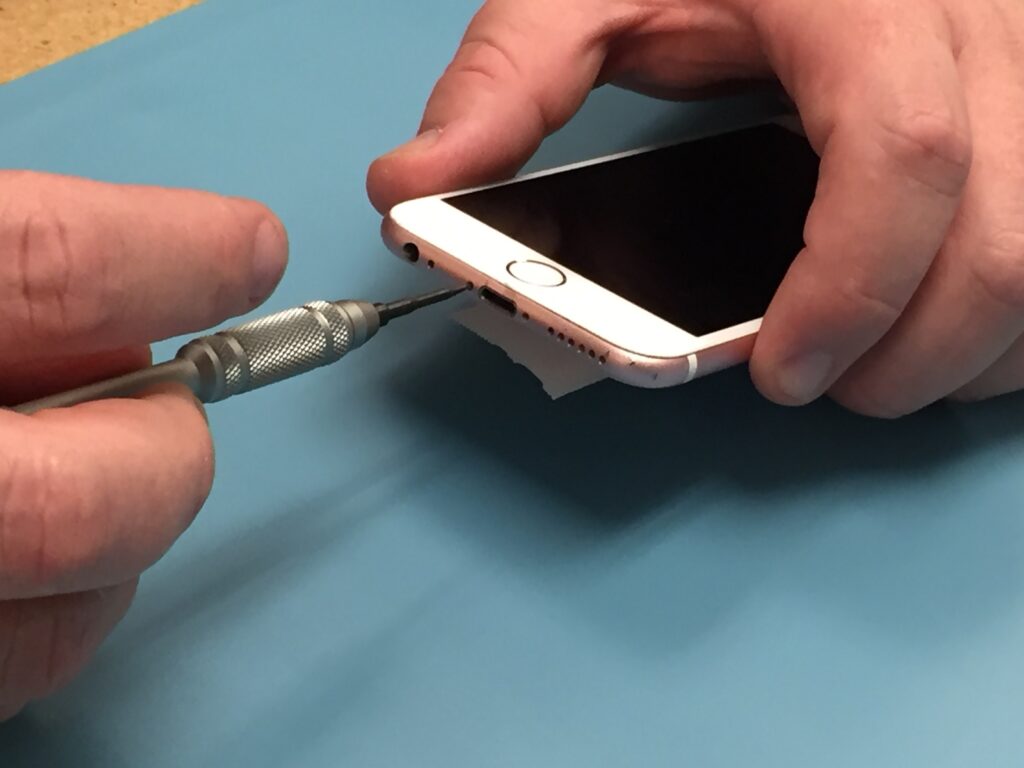
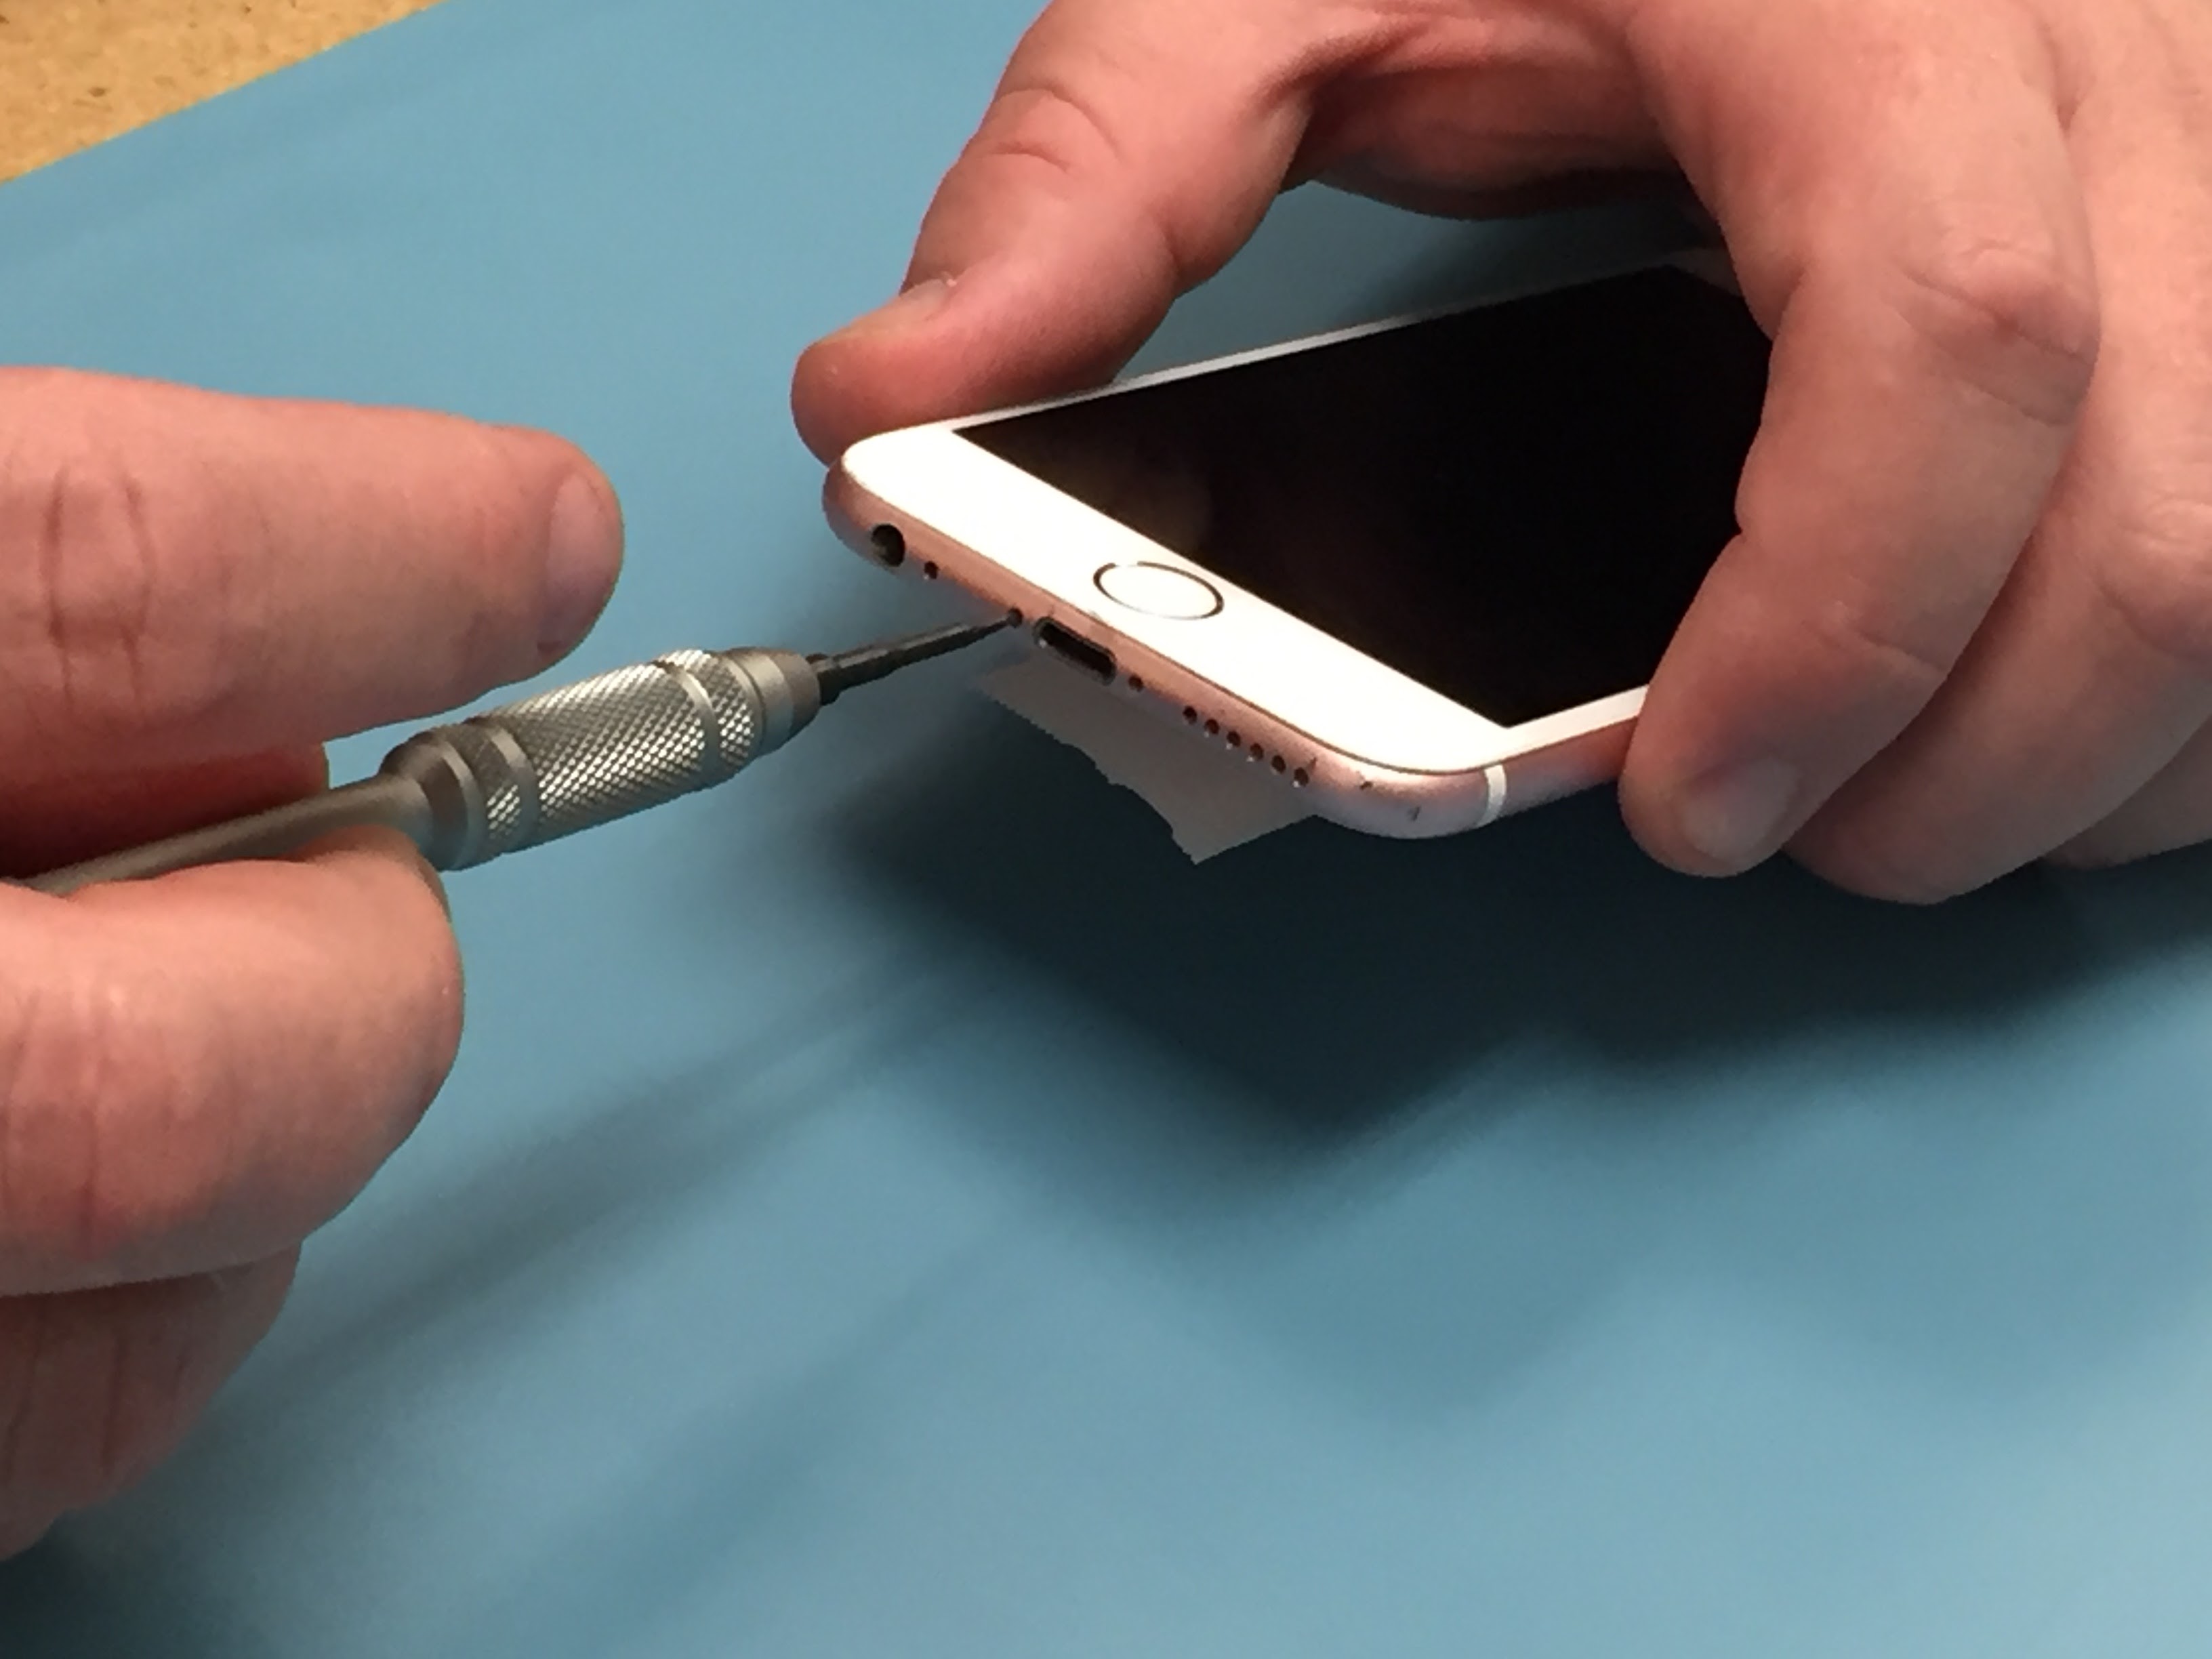
- Remove the two pentalobe screws on either side of the lightning port on the bottom of the iPhone.
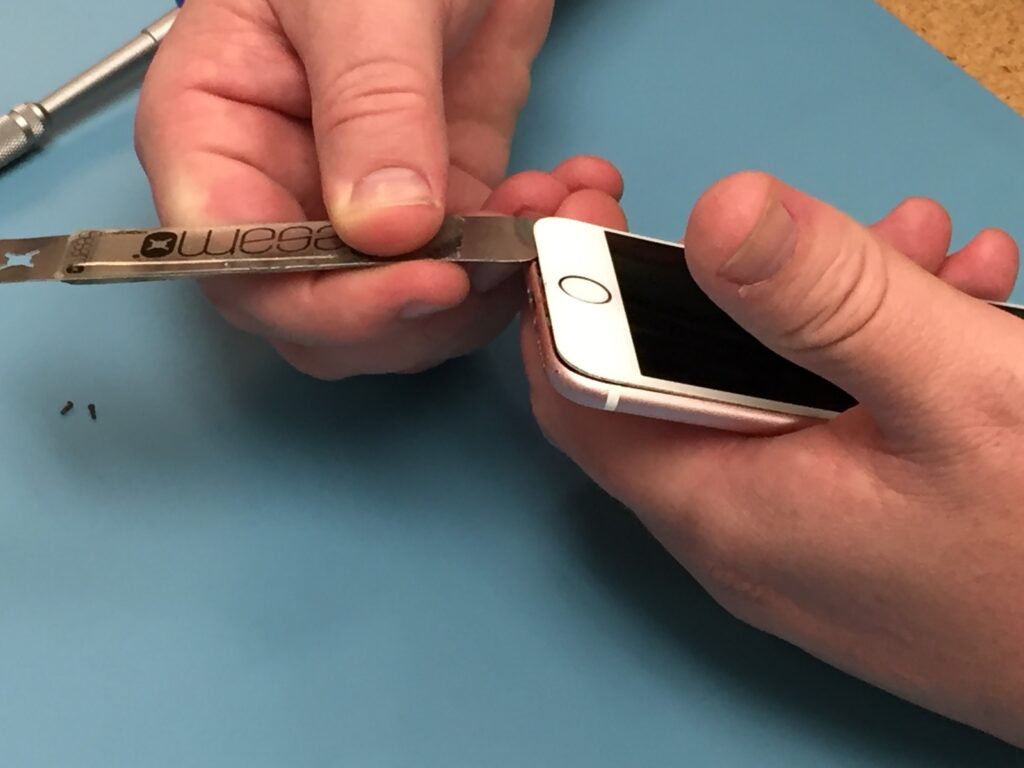
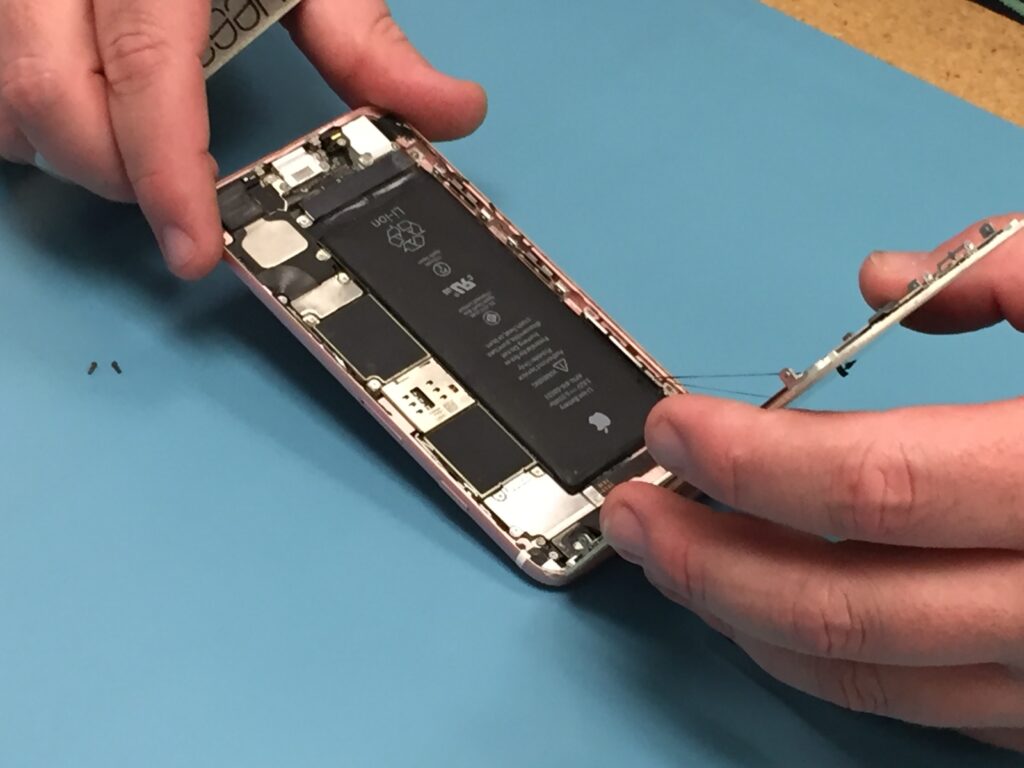
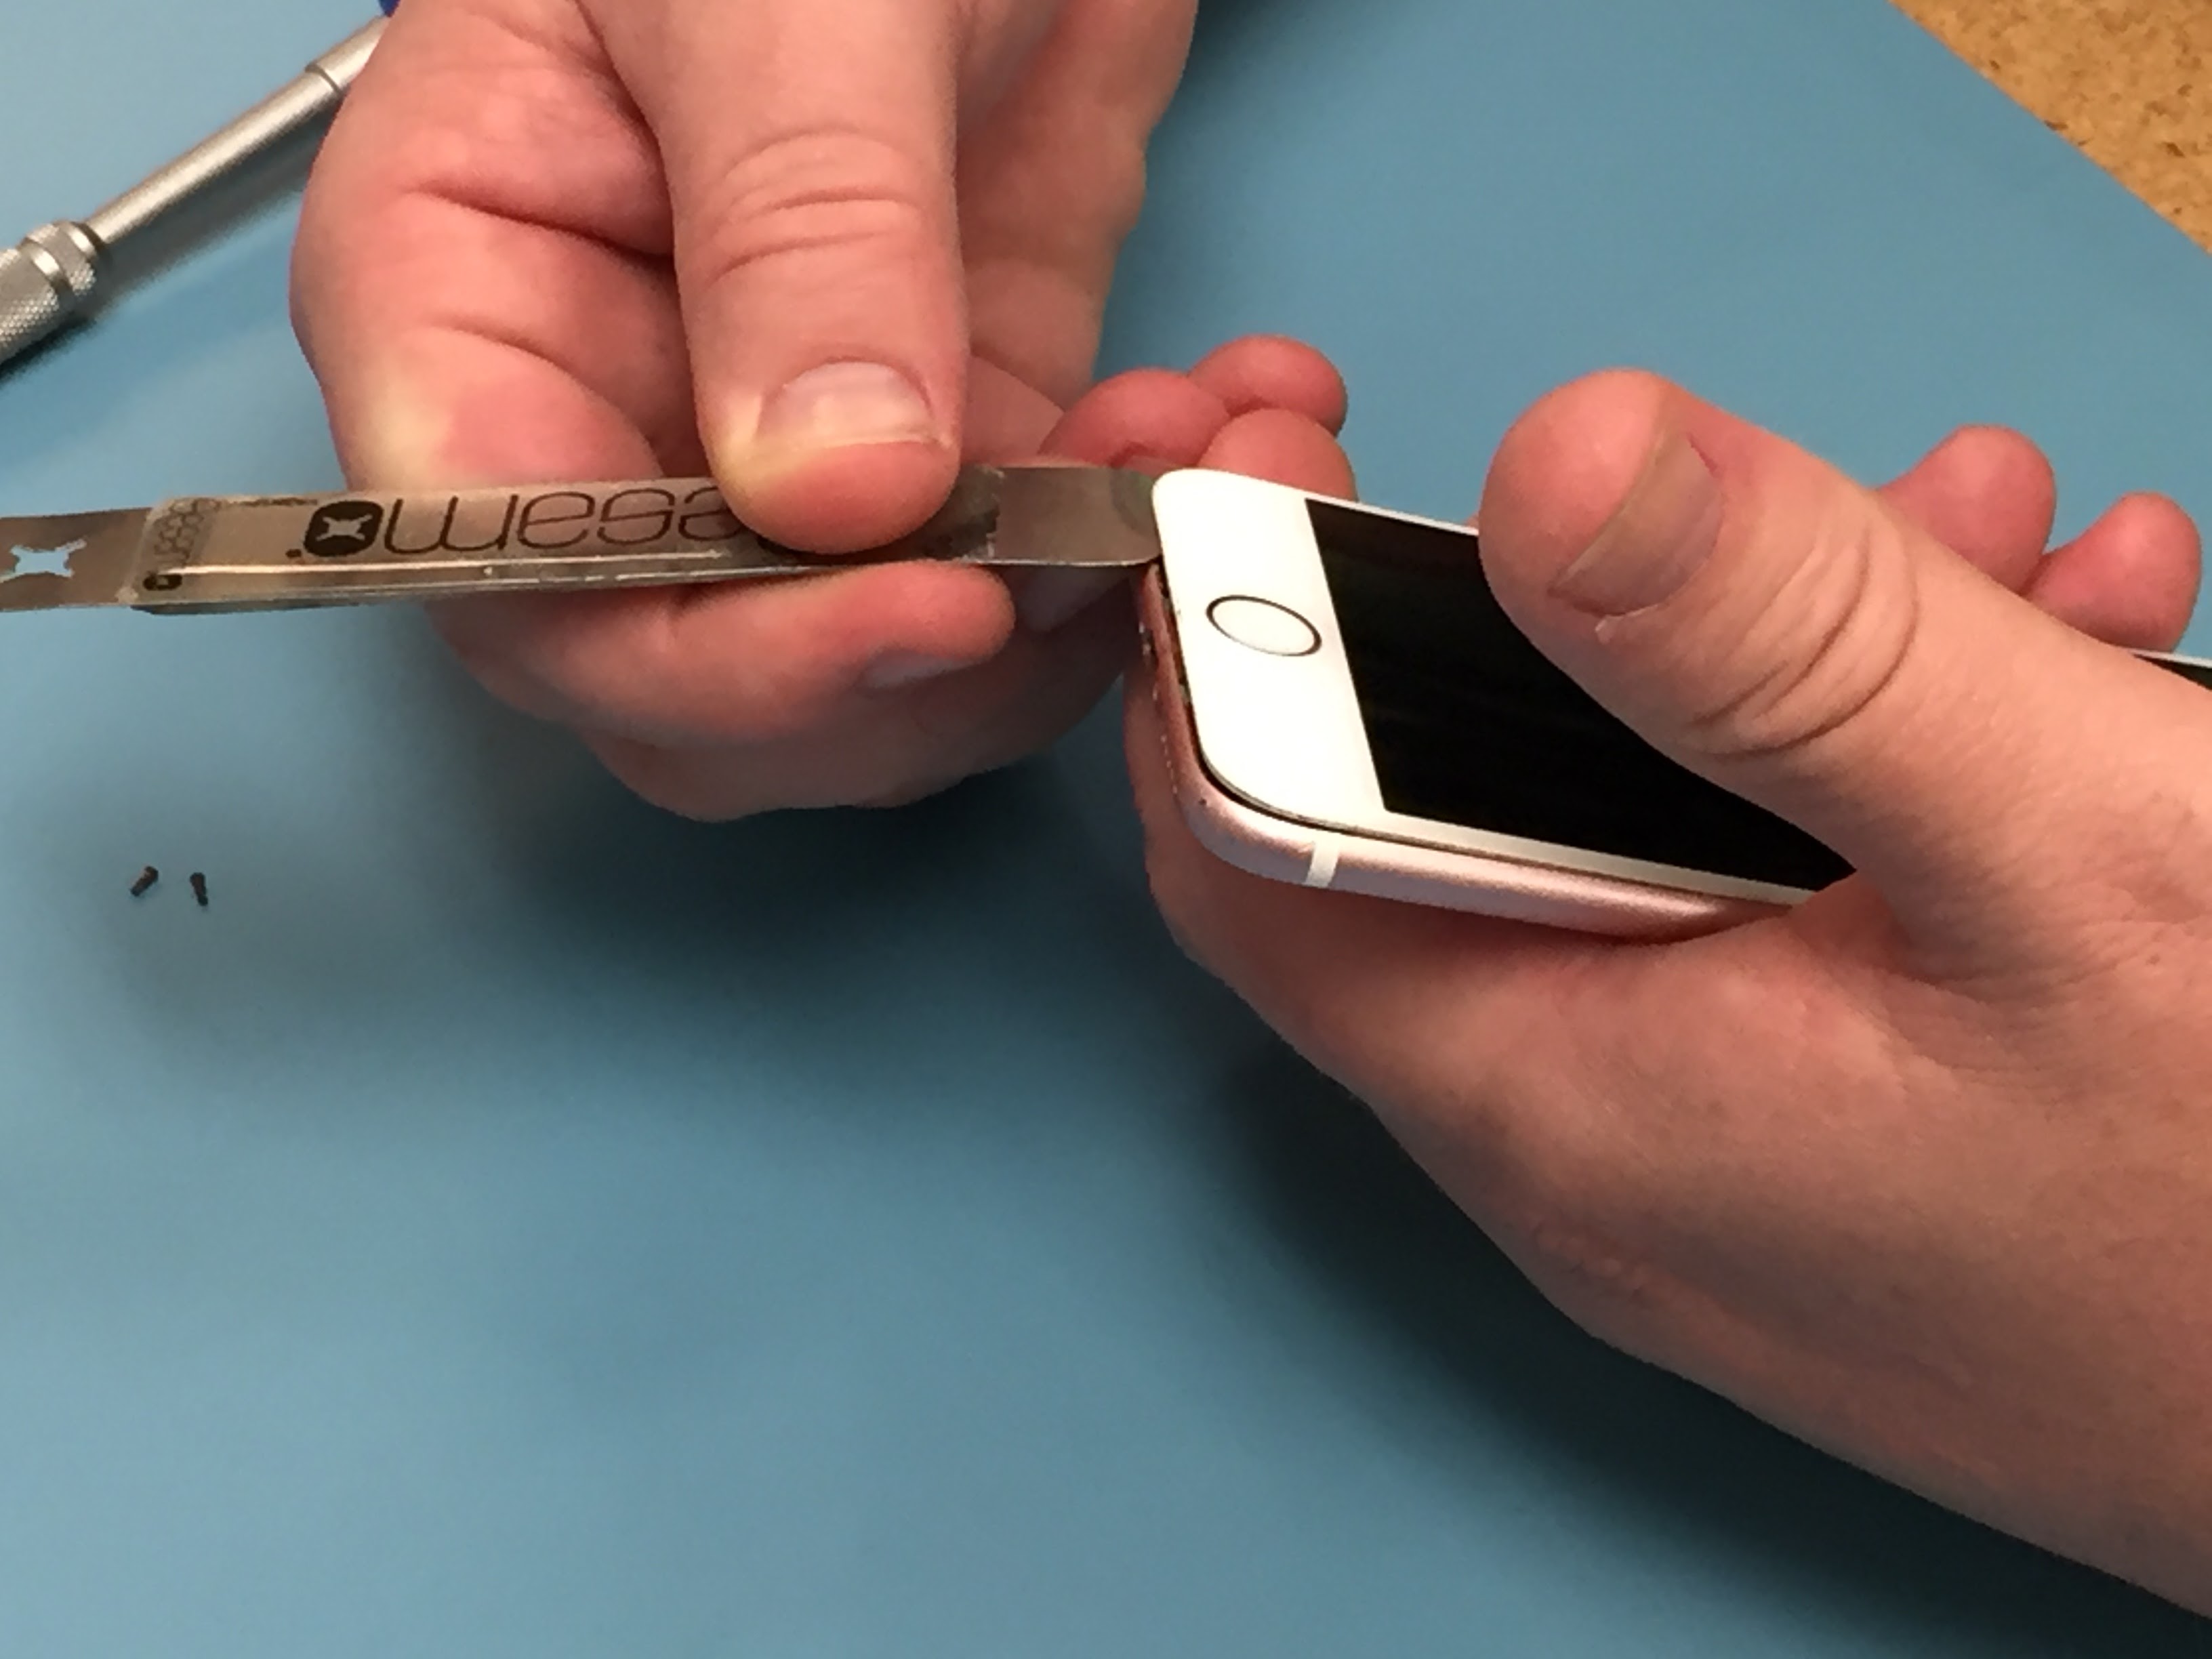
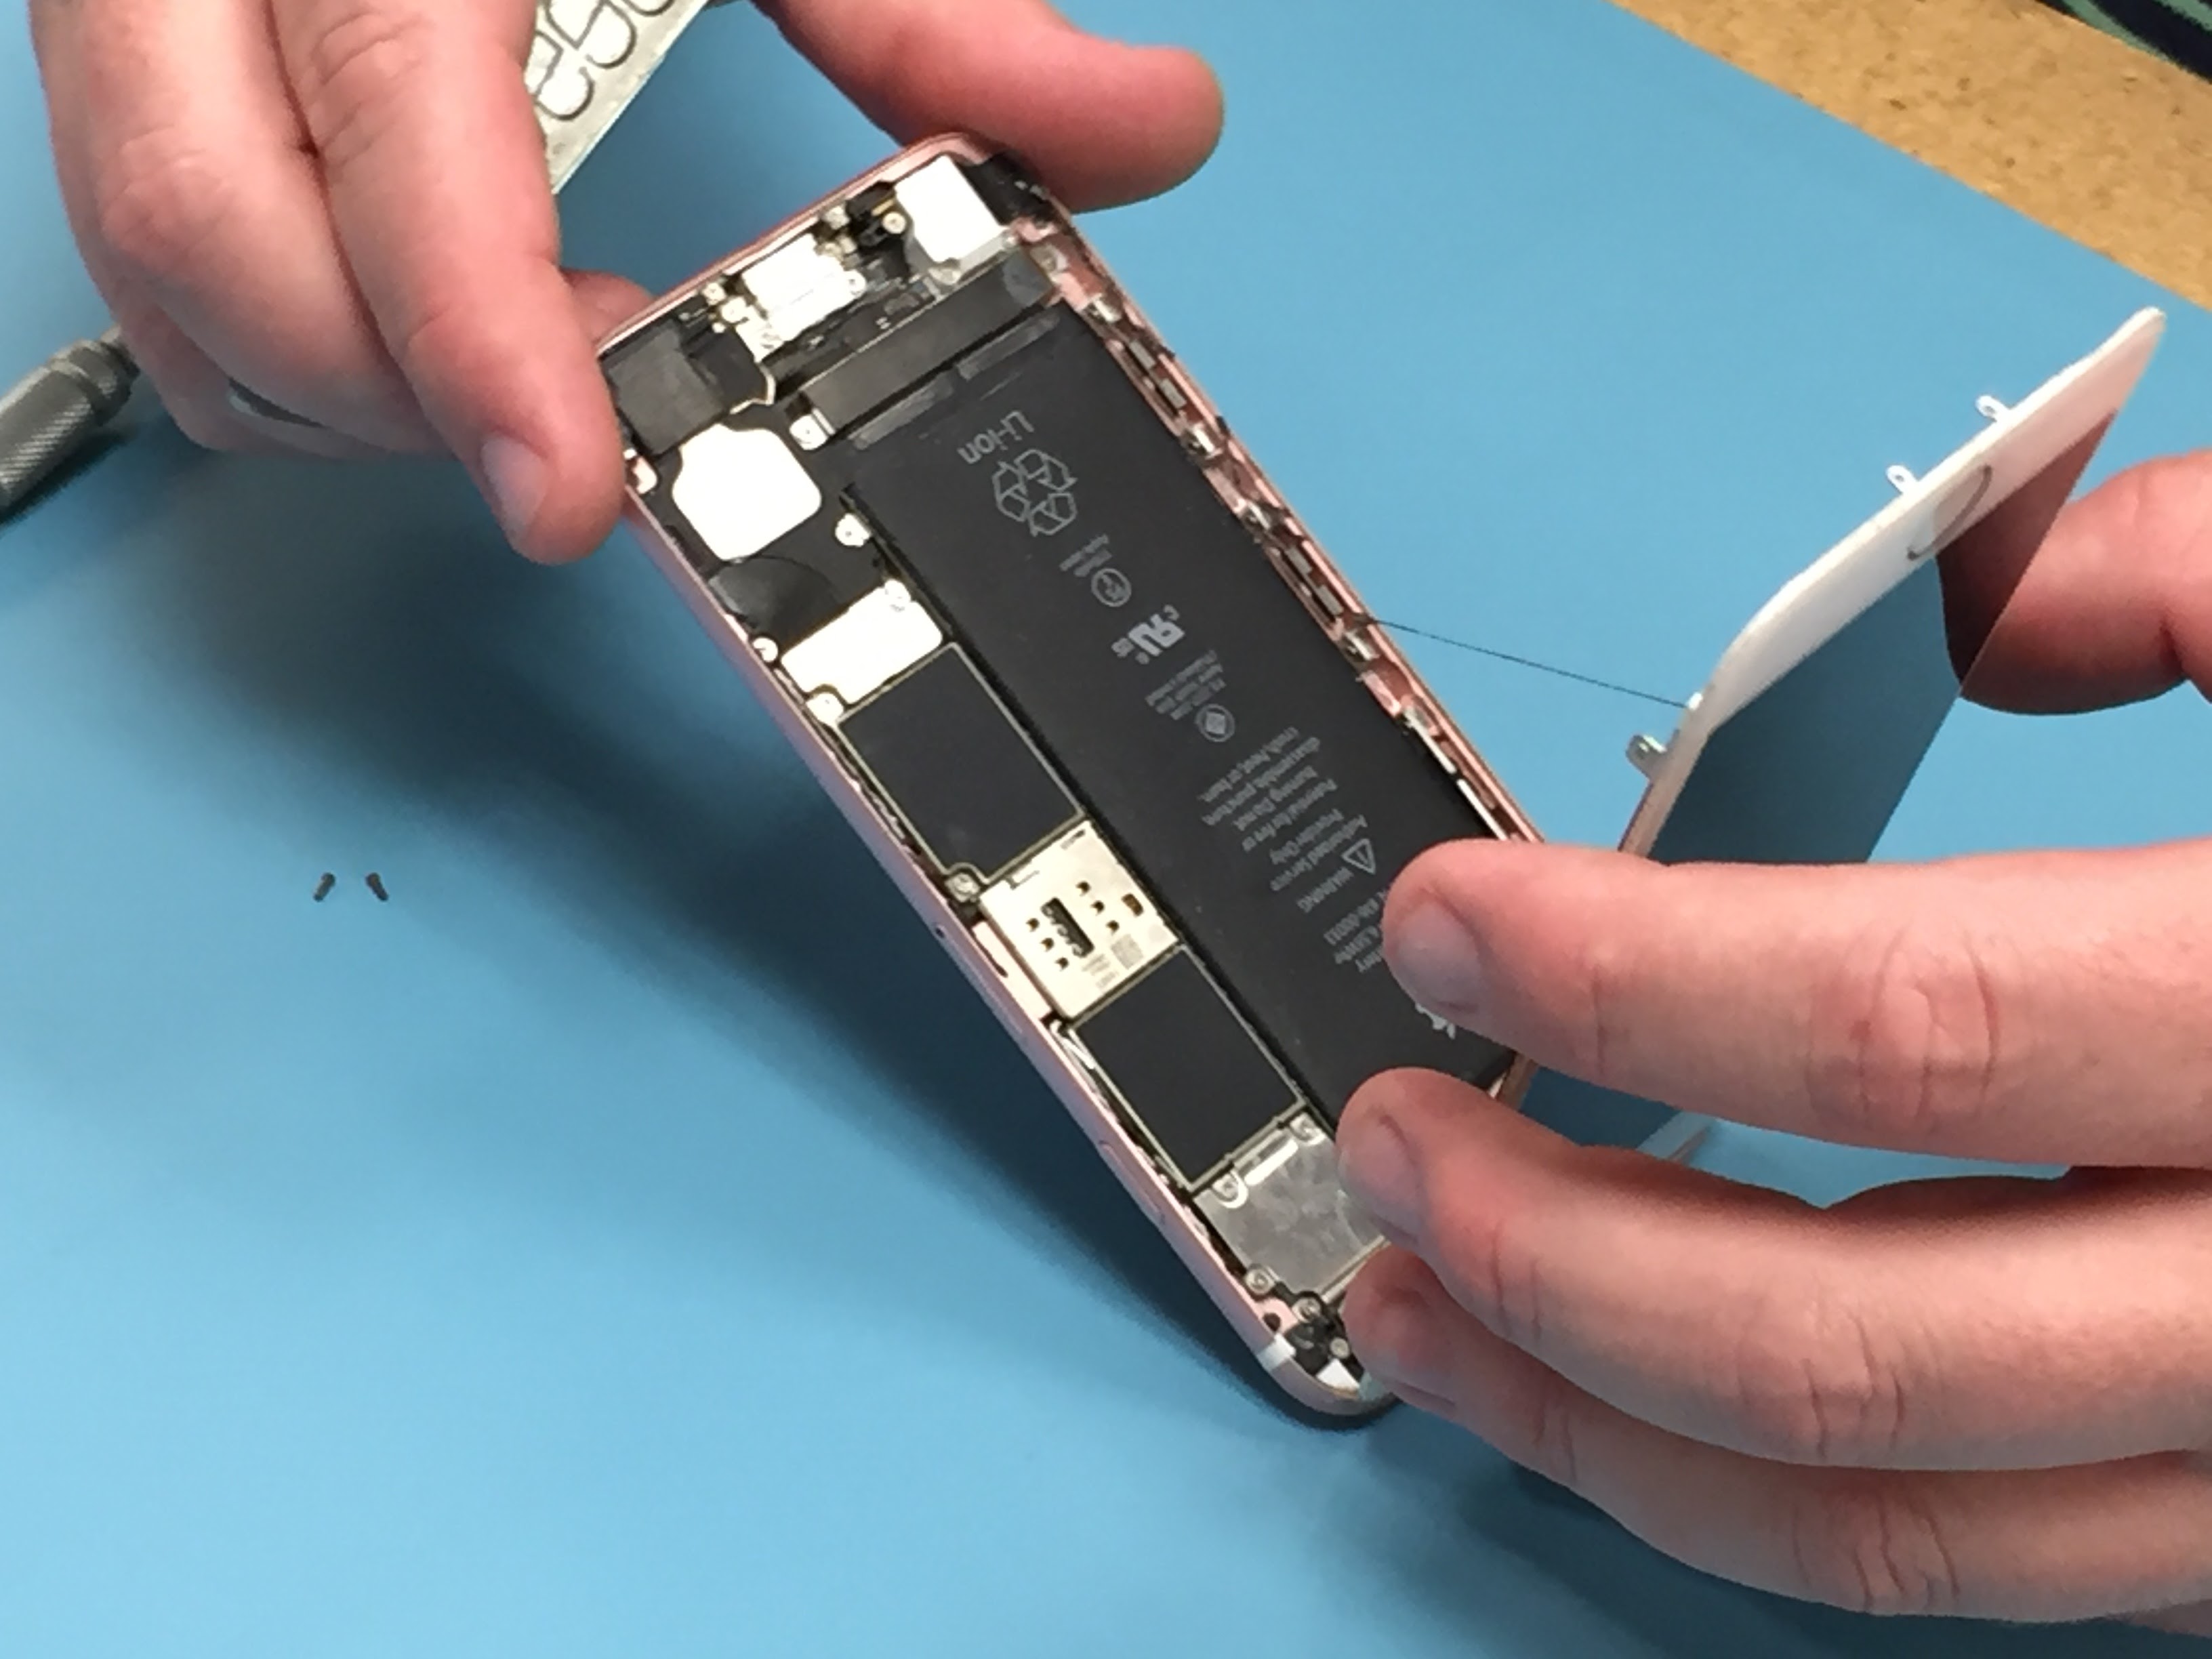
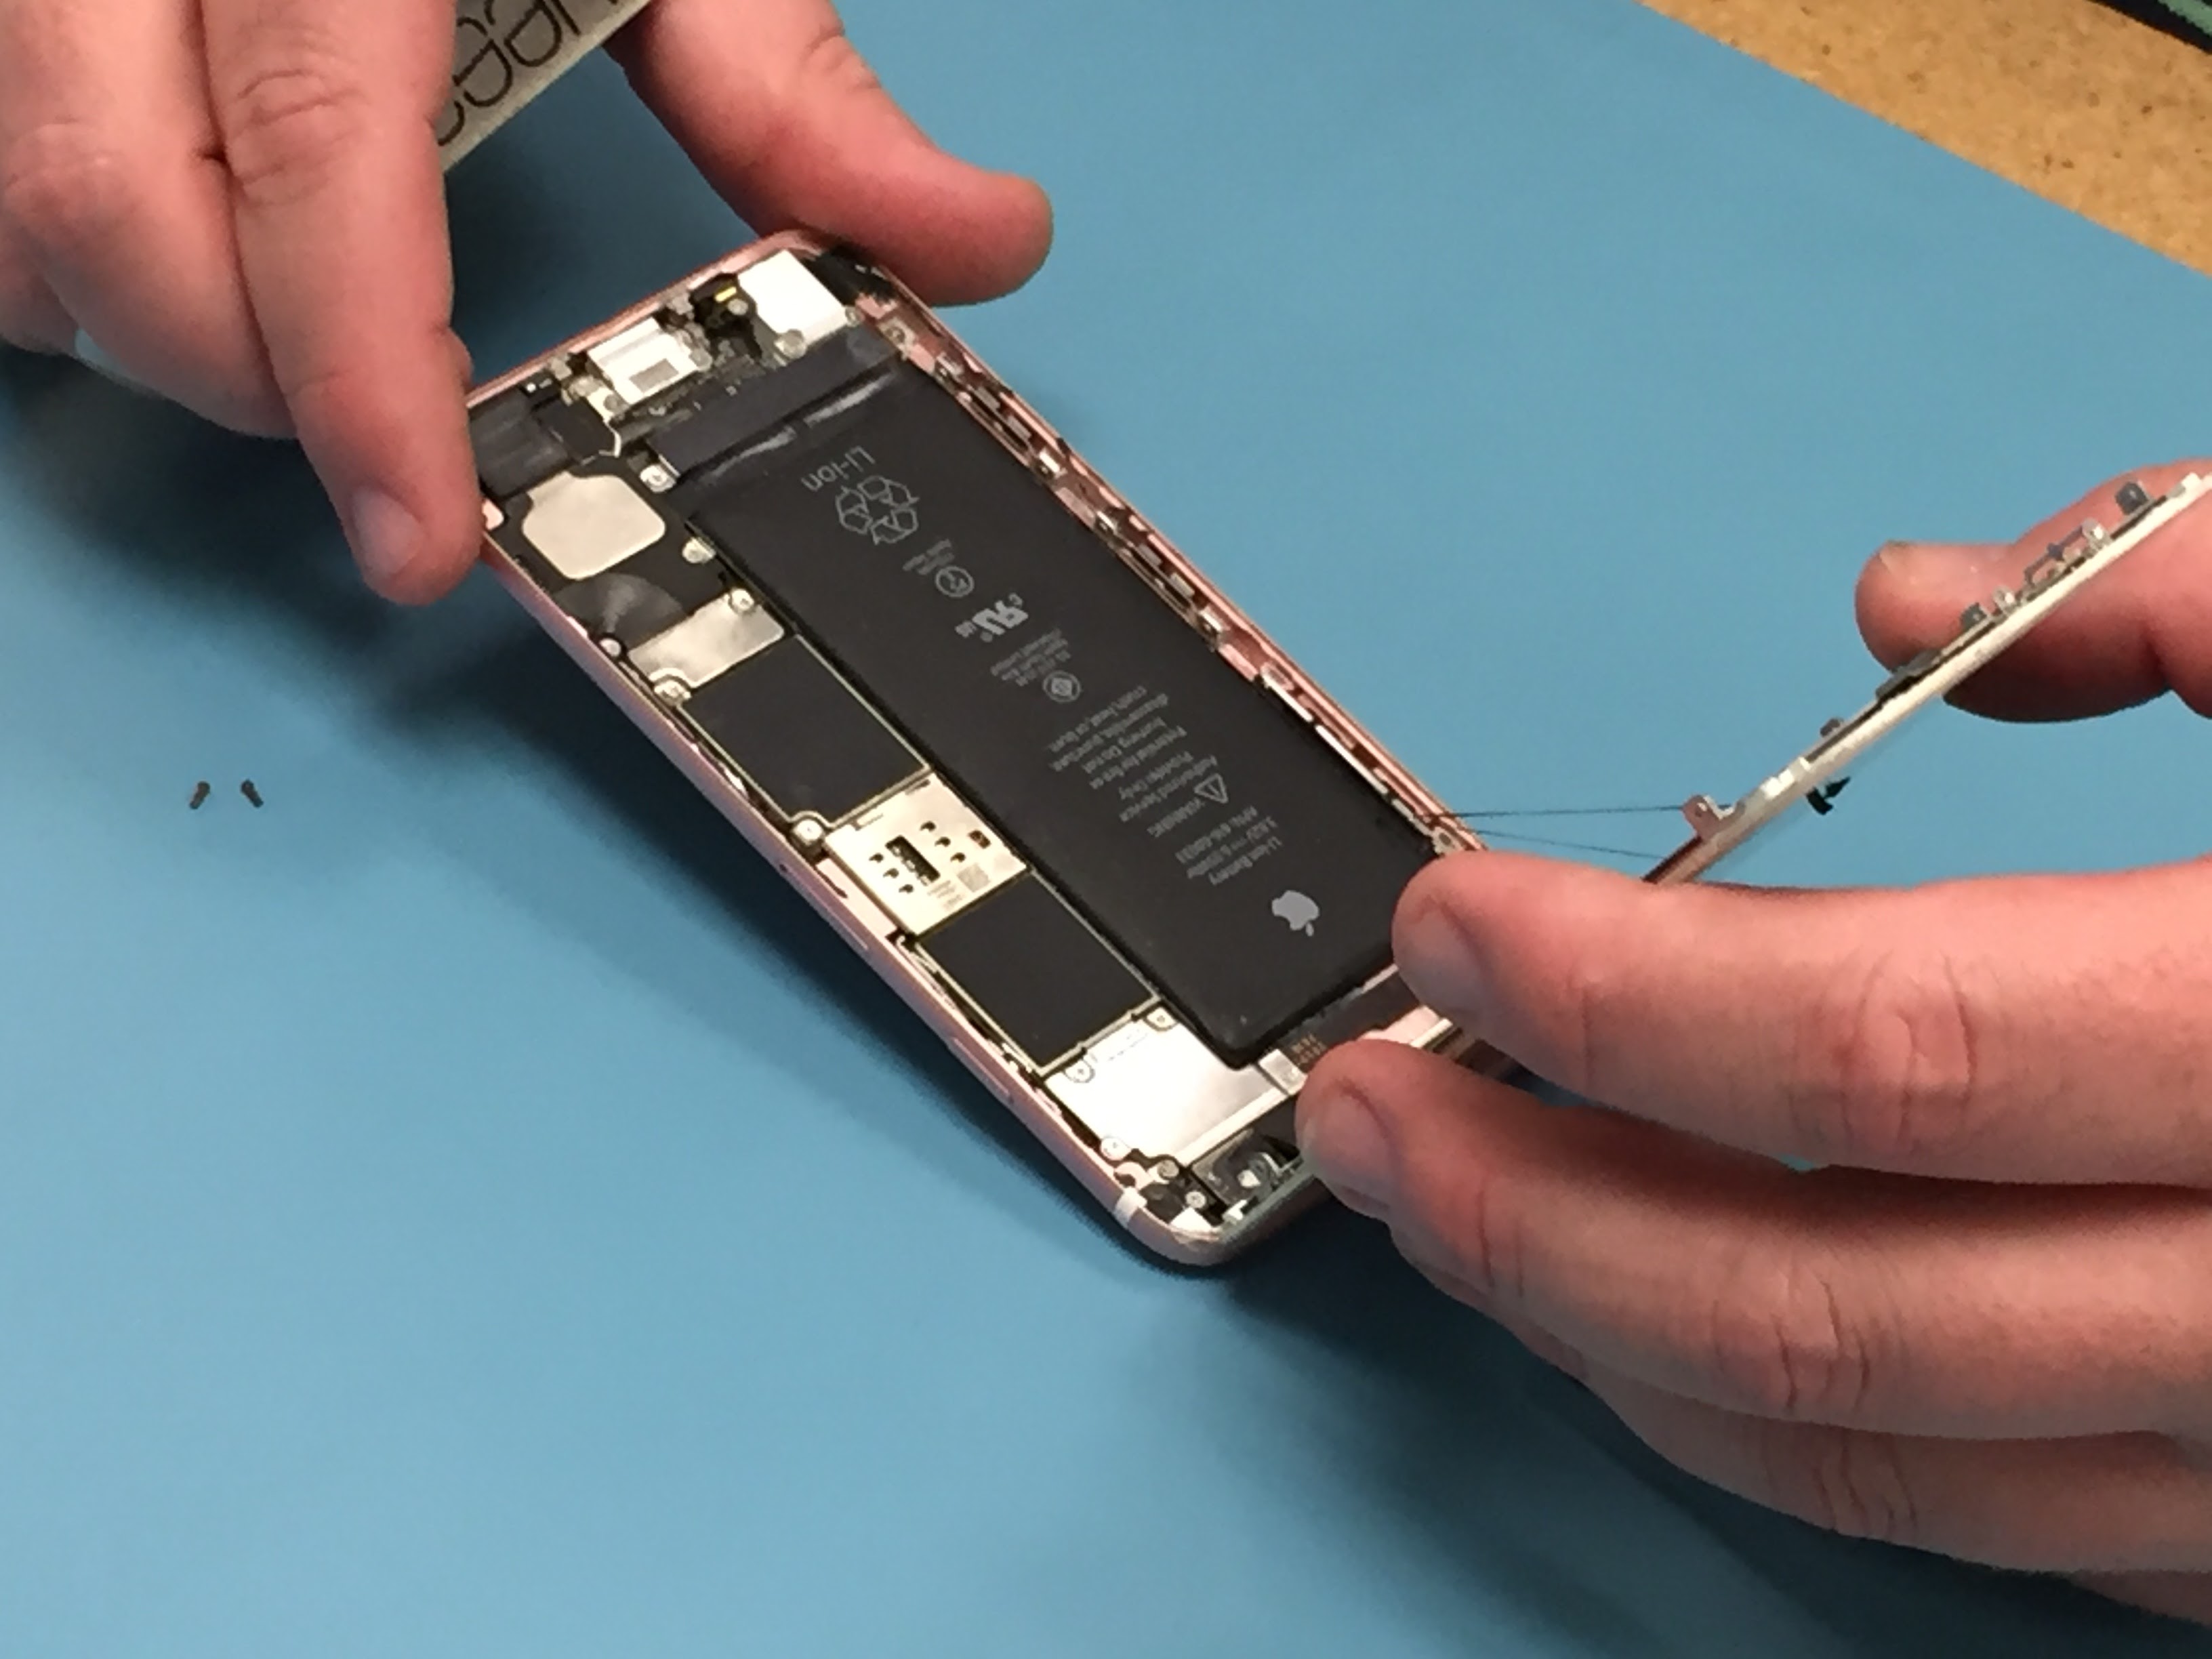
- Starting at the bottom edge of the phone, use the metal spudger to pry the screen away from the body.
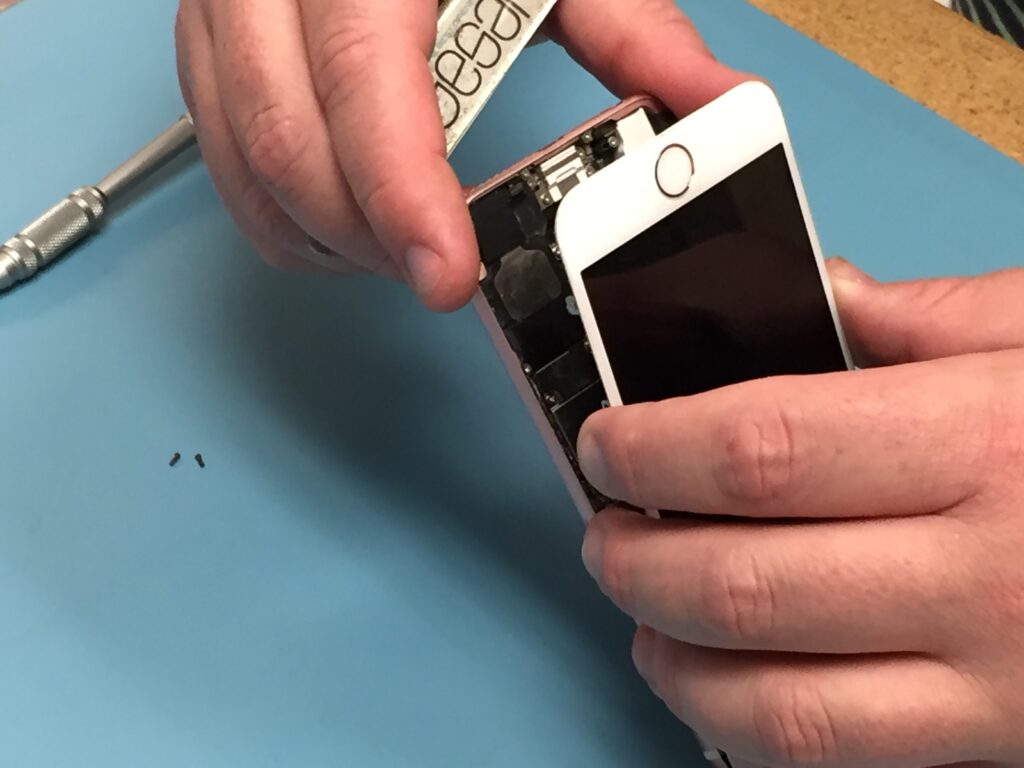
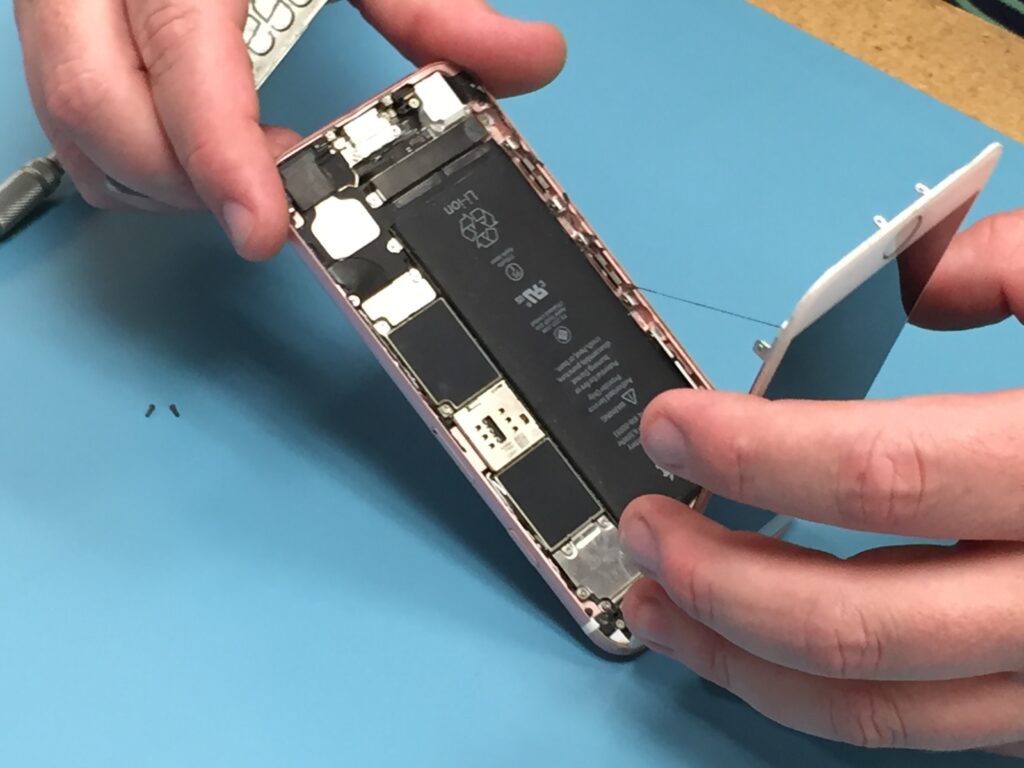
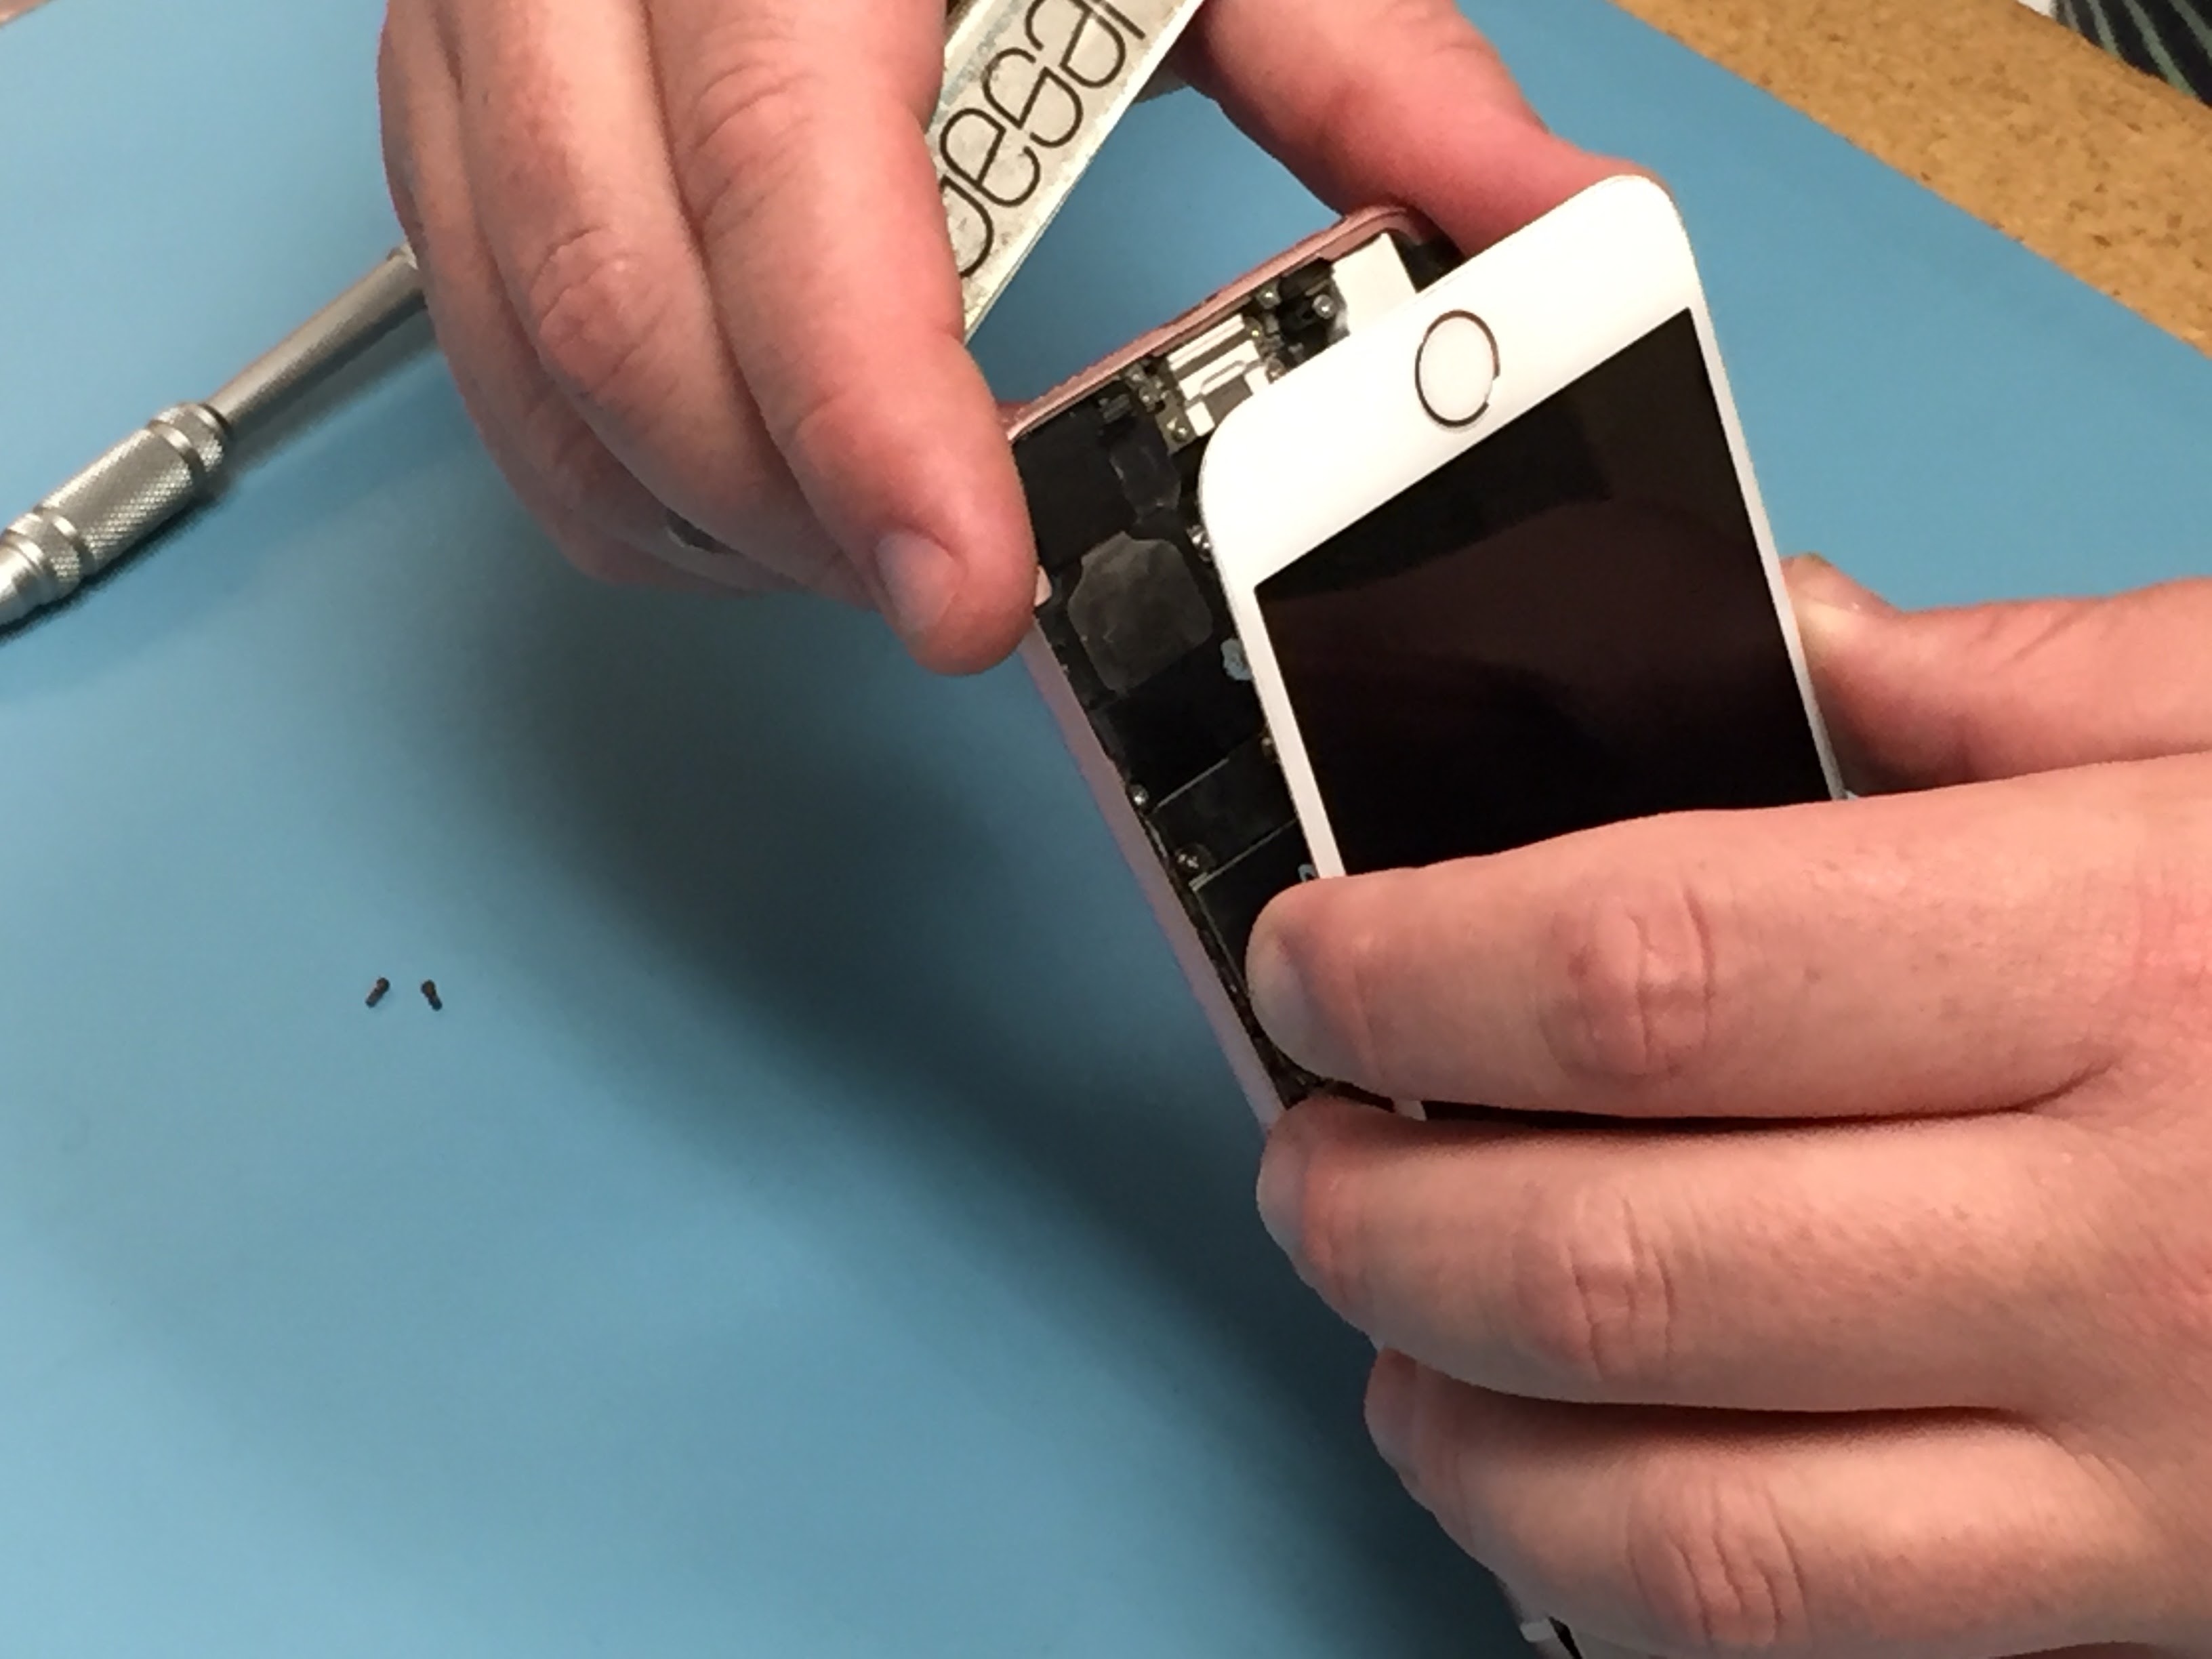
- The screen is connected to the body via a flex cable near the top of the phone, so open it carefully like a notepad.
Undo the Flex Cables
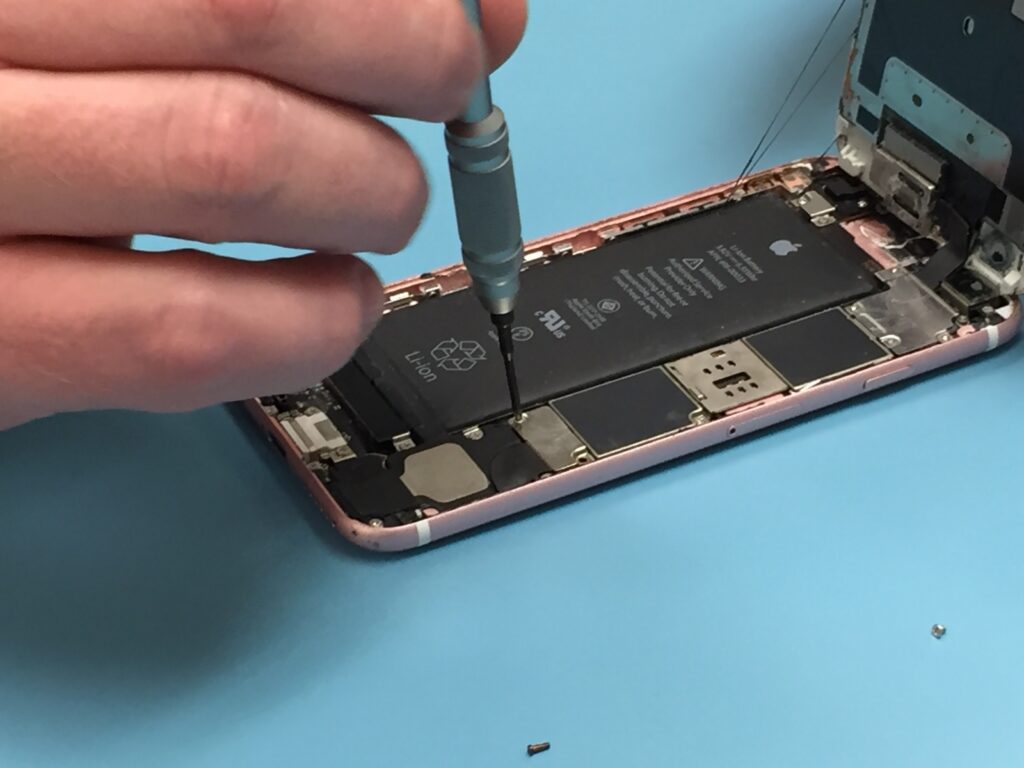
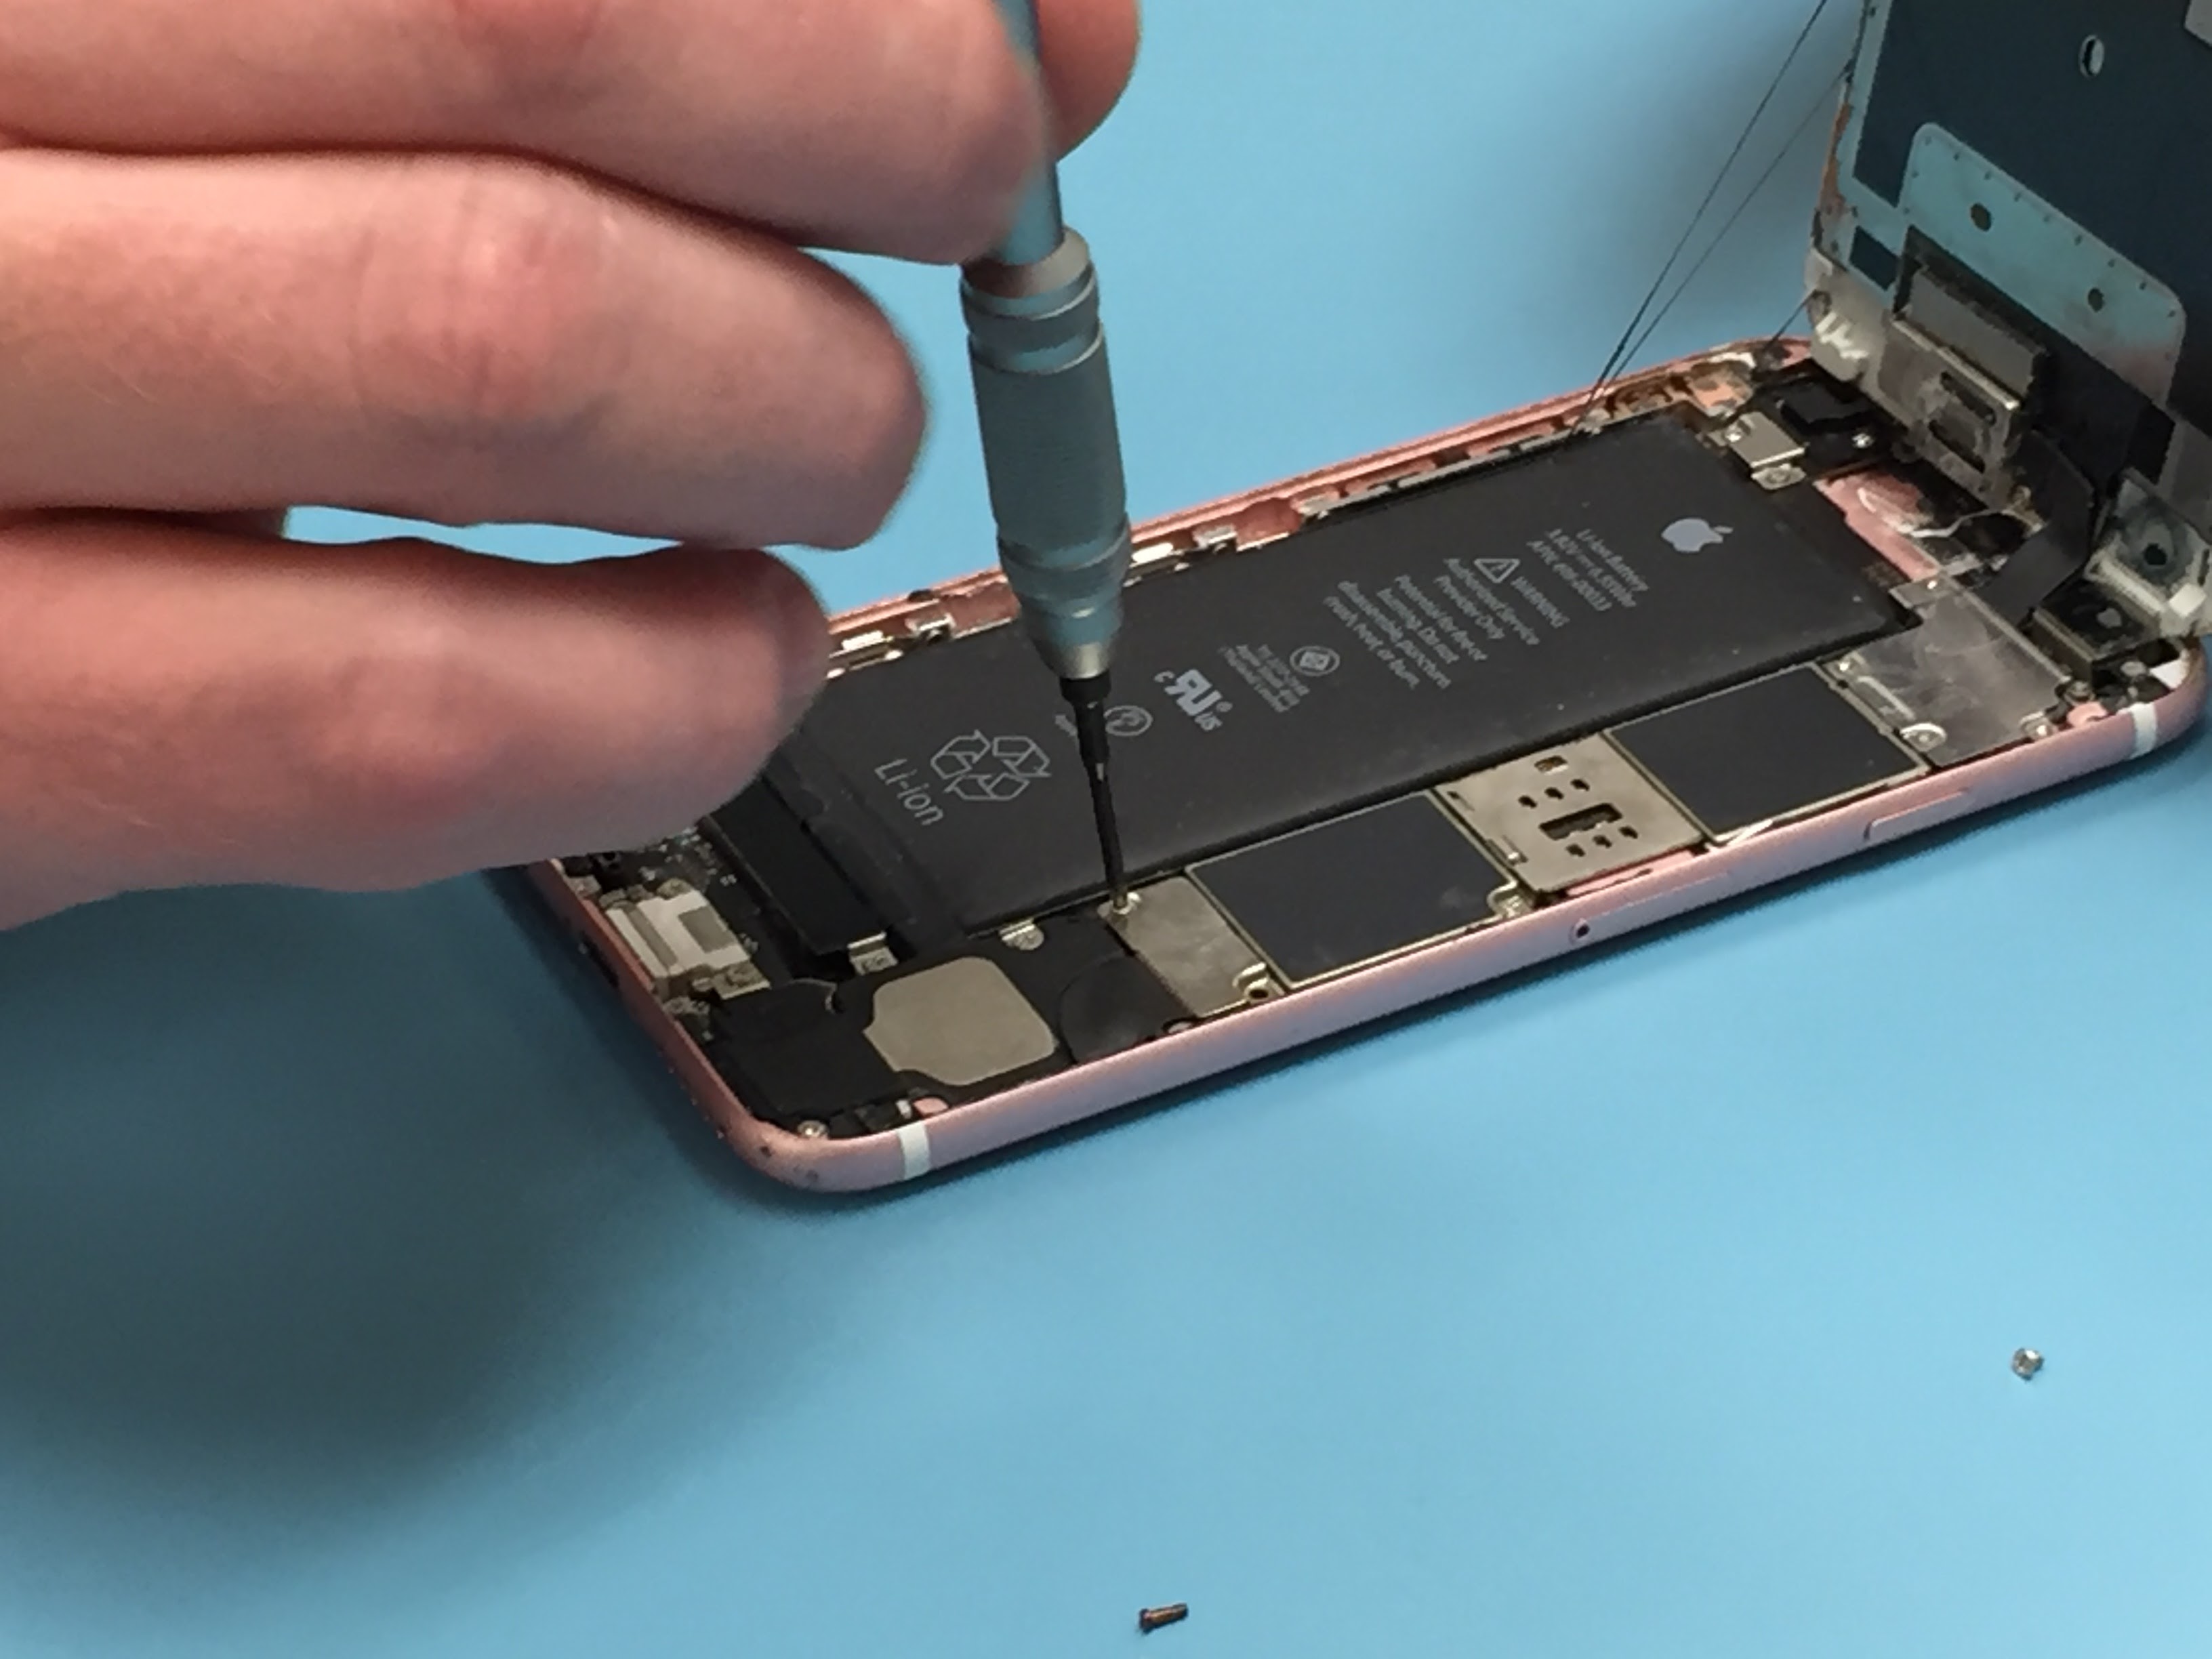
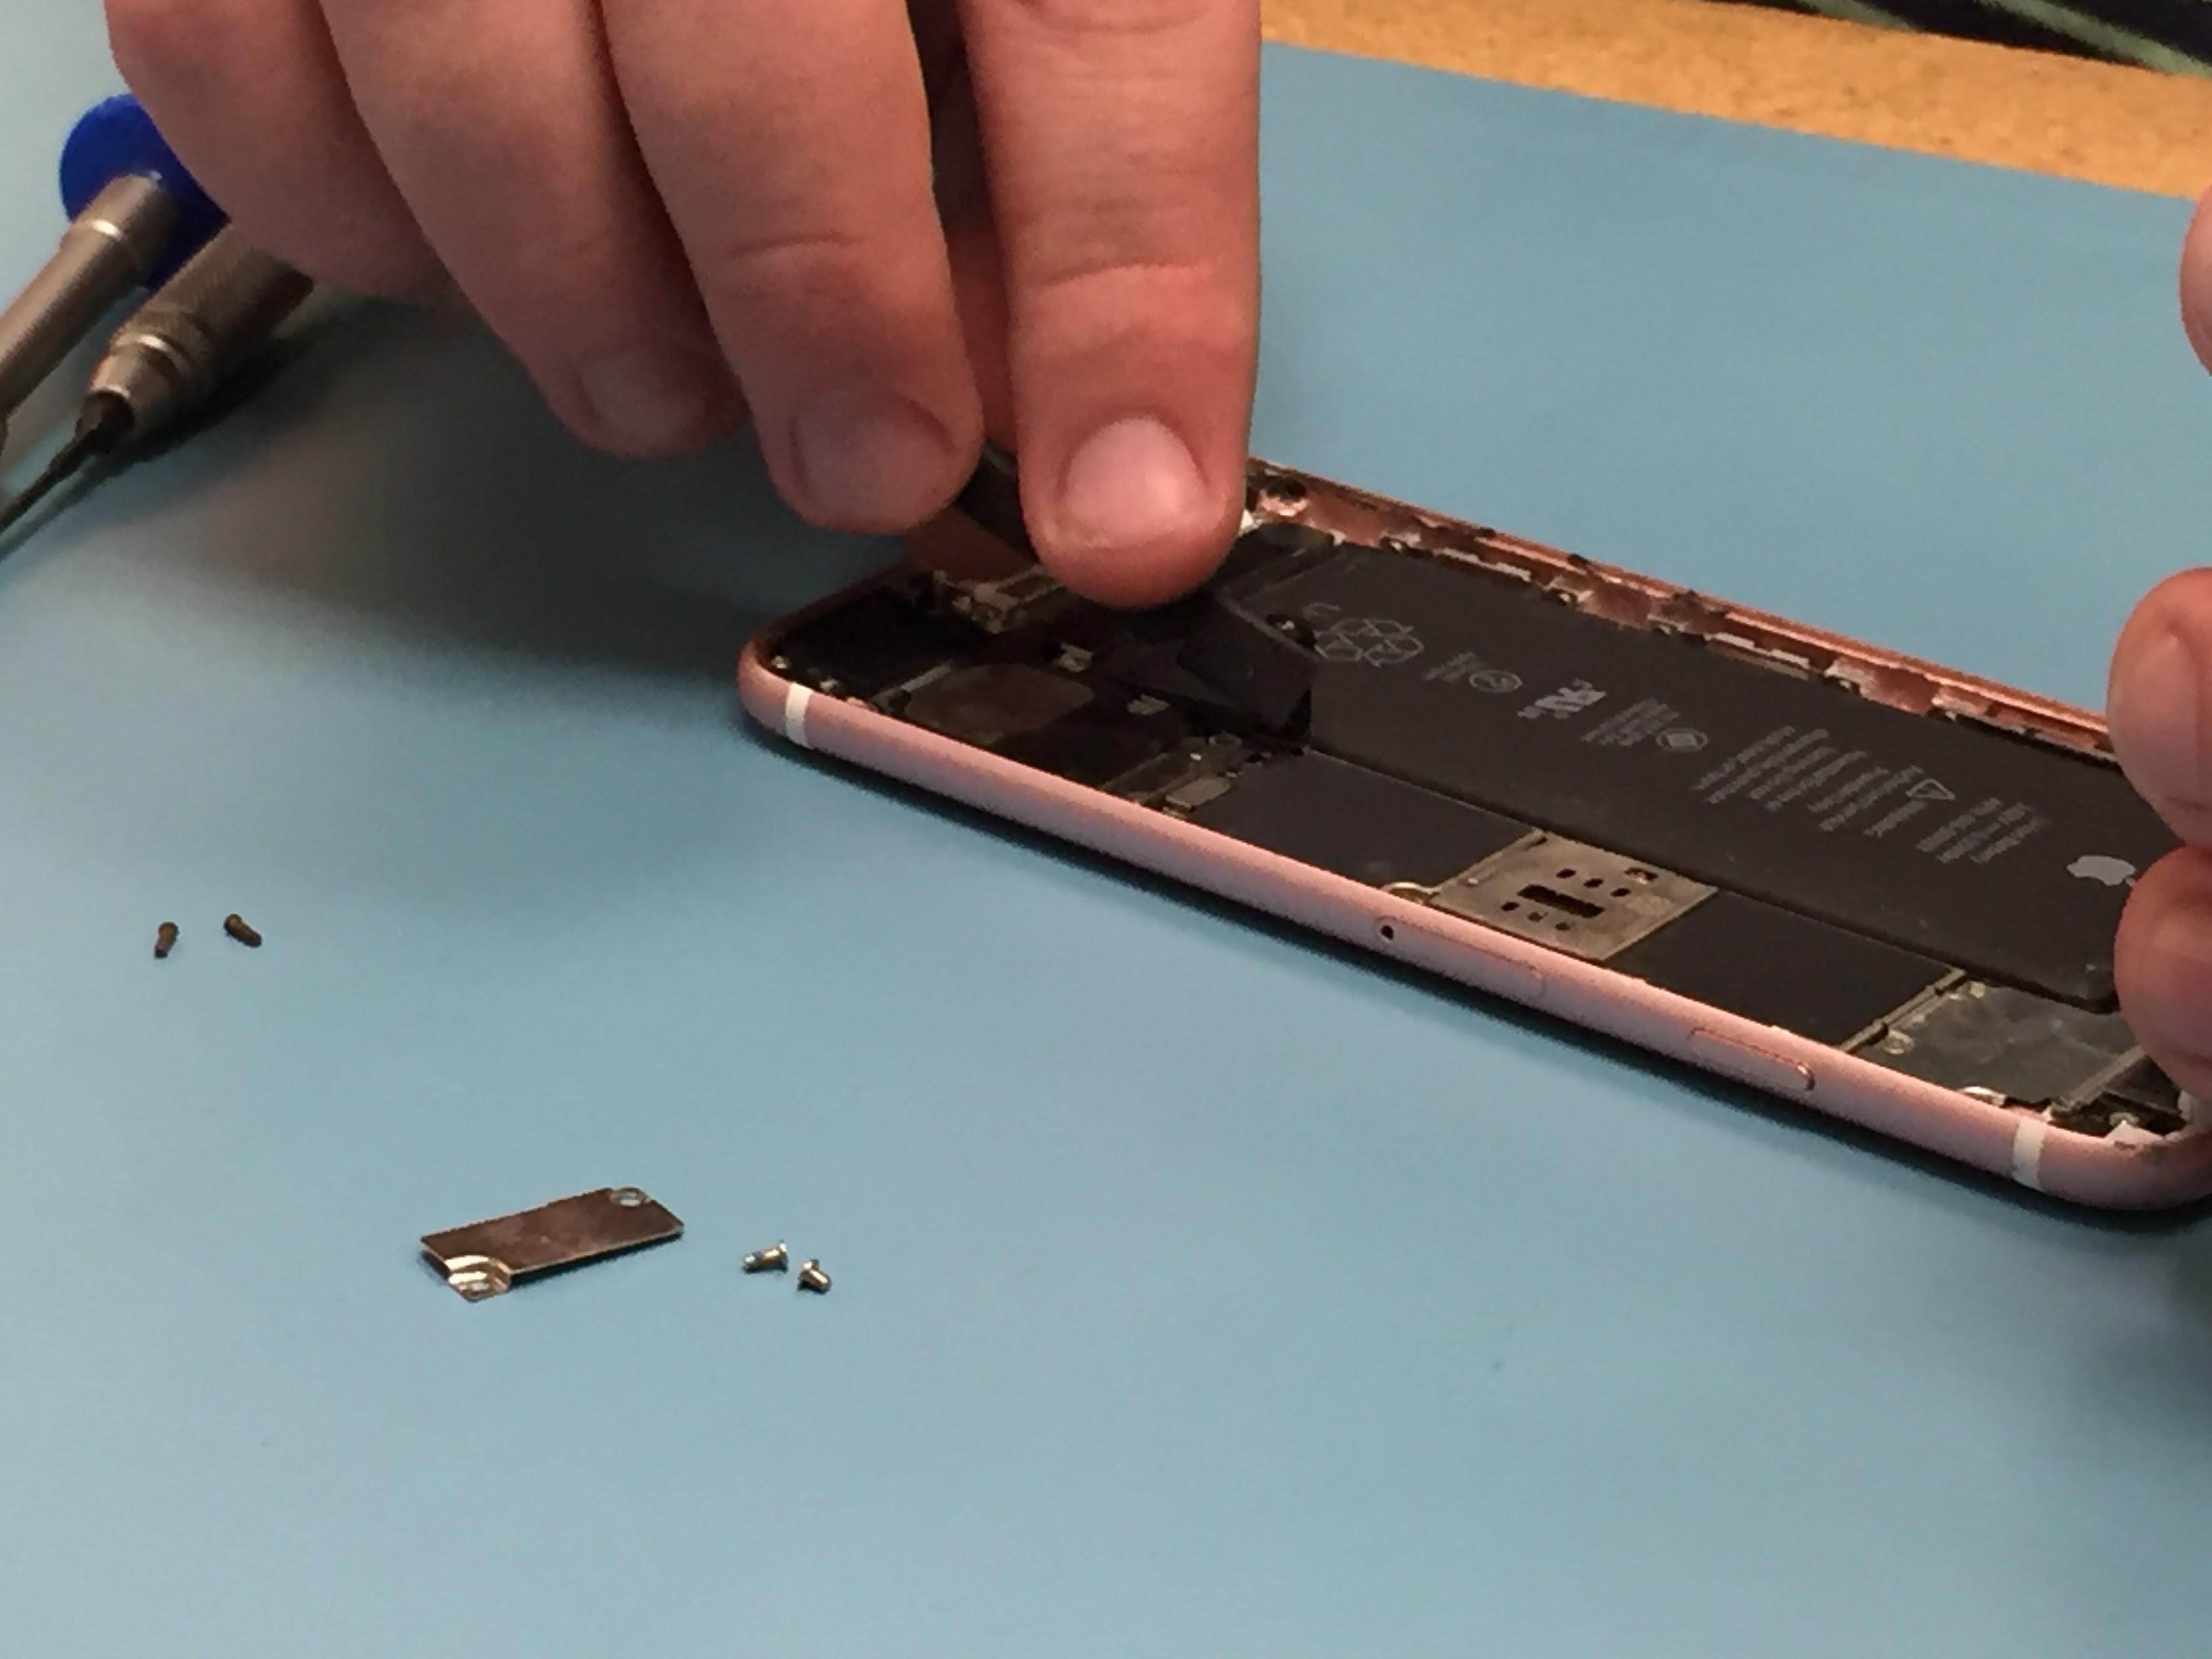
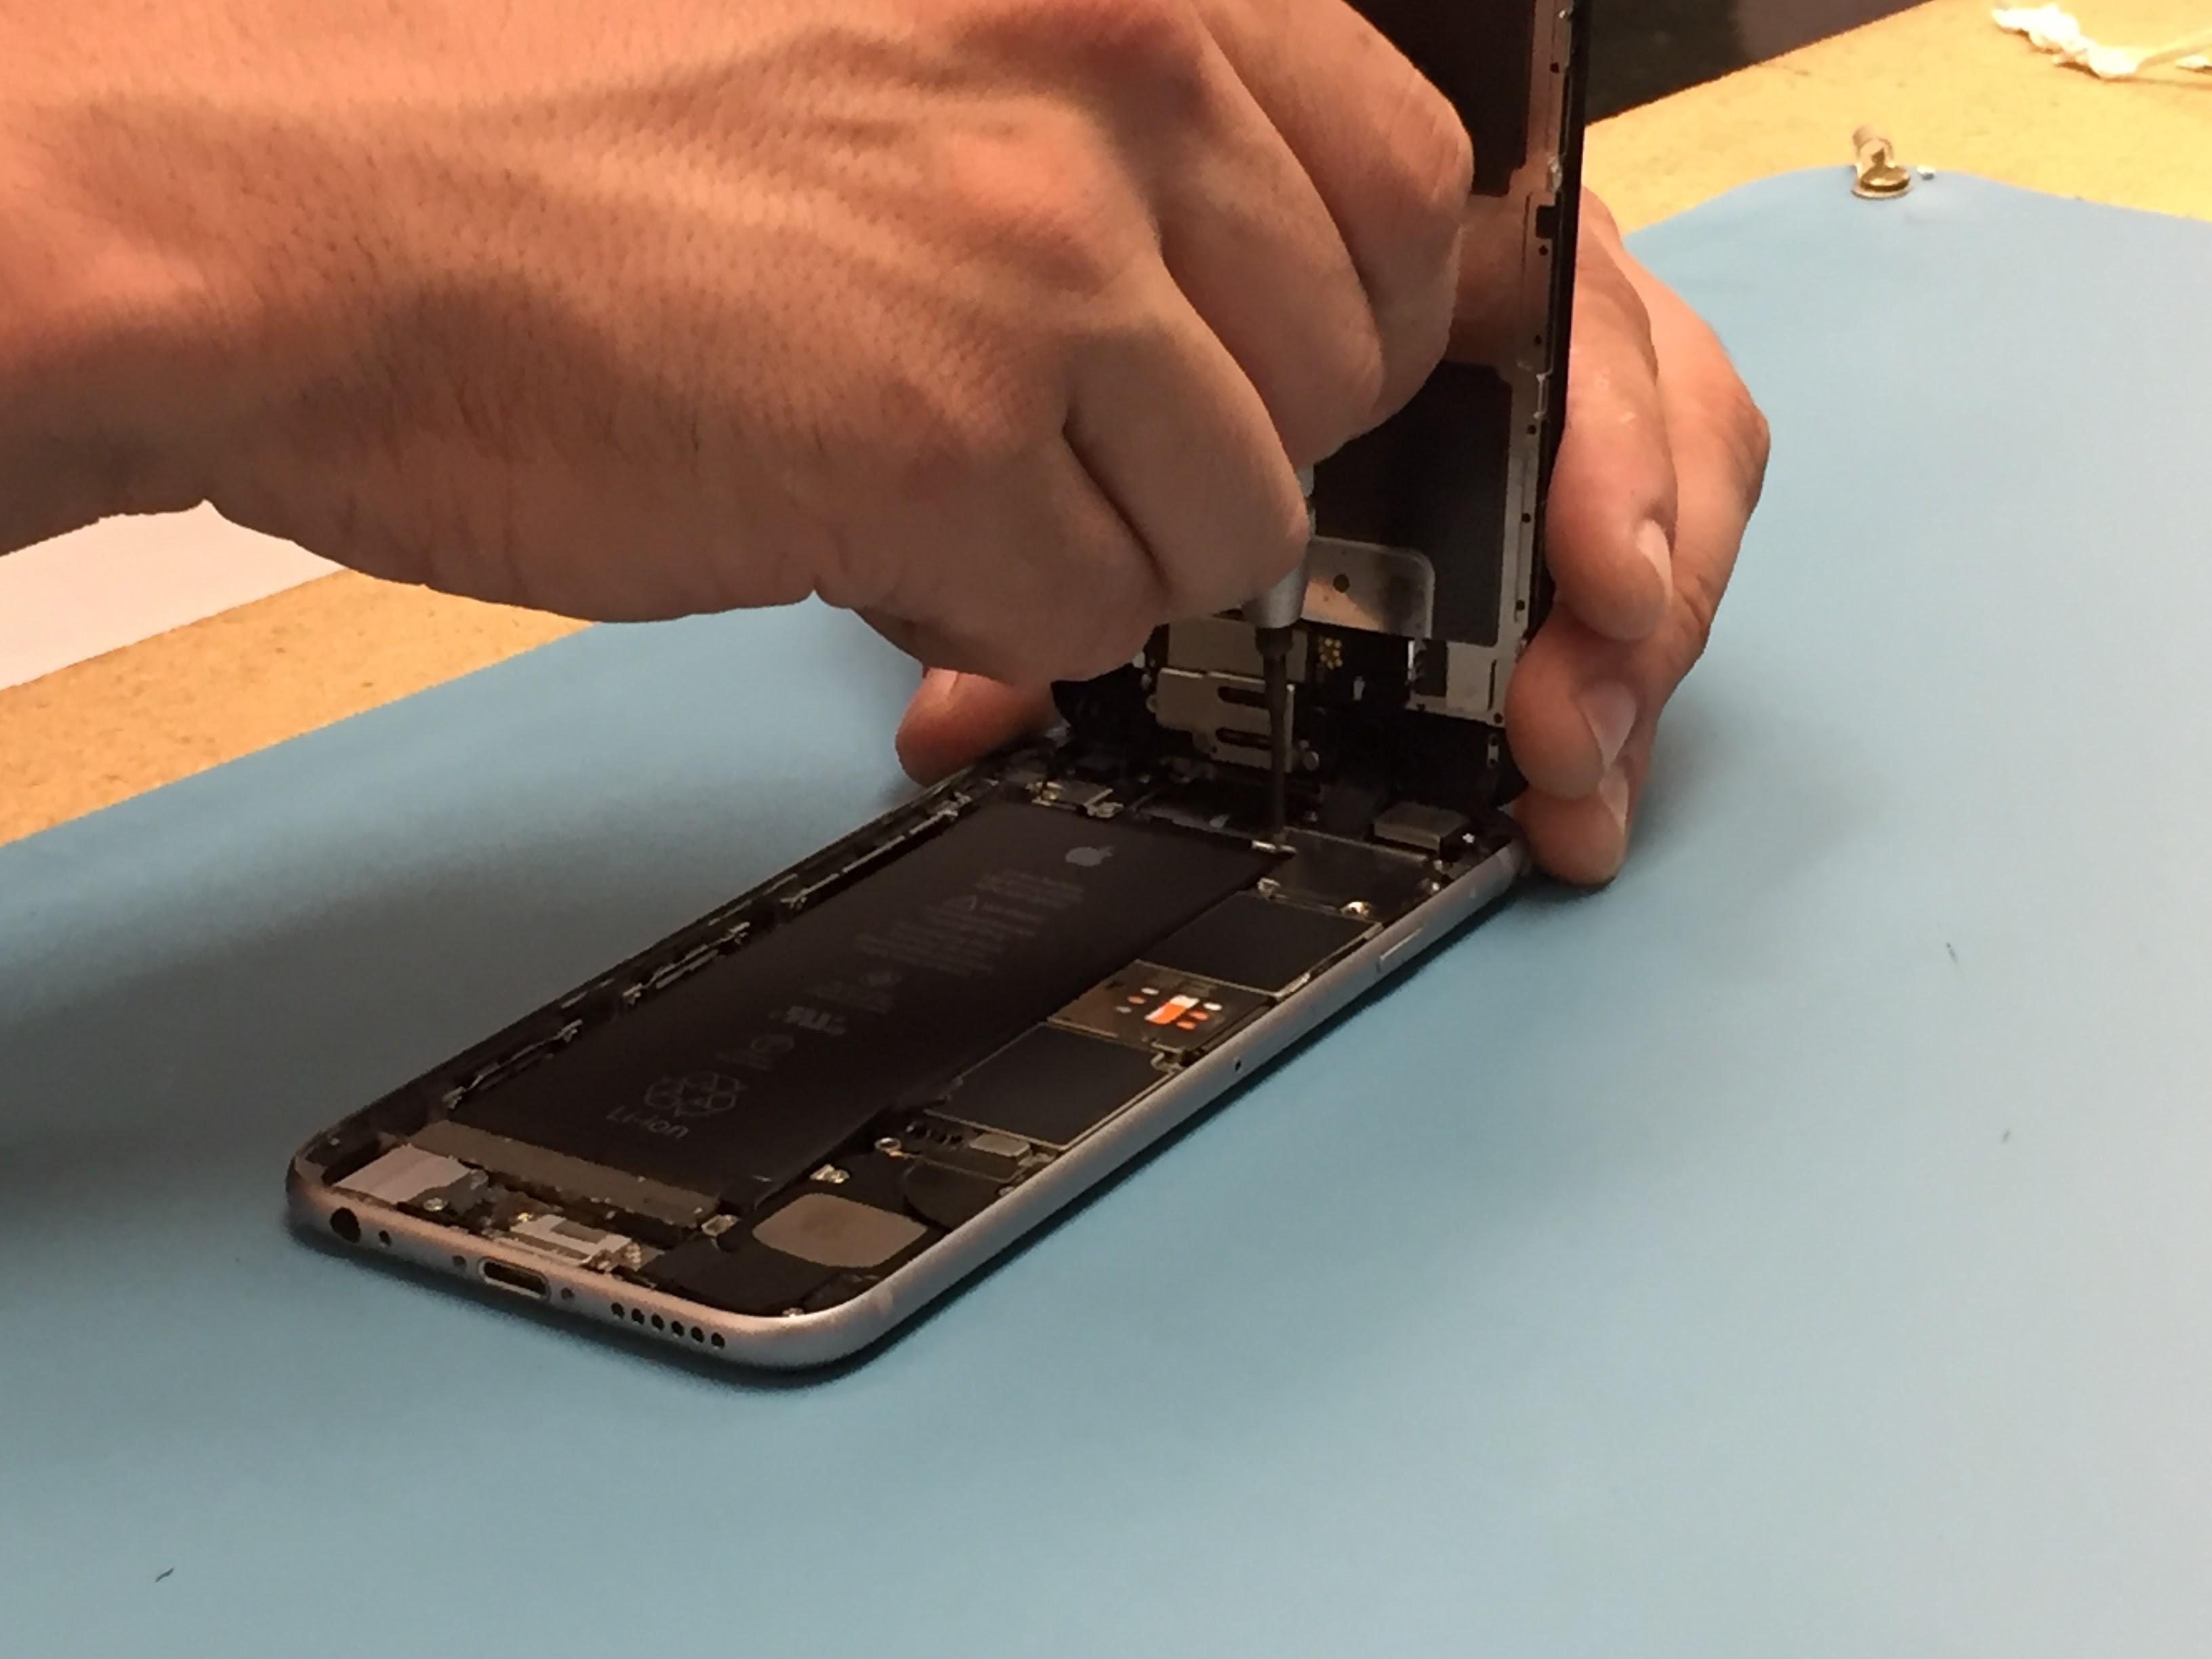
- Unscrew the silver rectangular shield near the bottom right of the battery. This shield covers the battery cable, which should be disconnected for practically every repair.
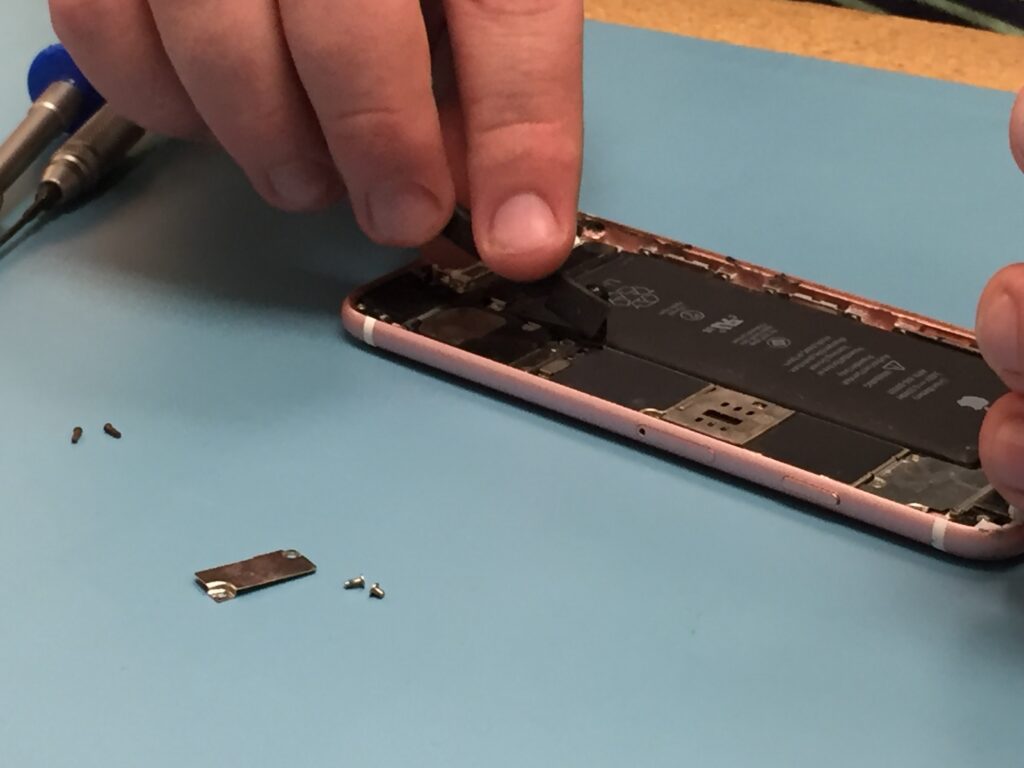
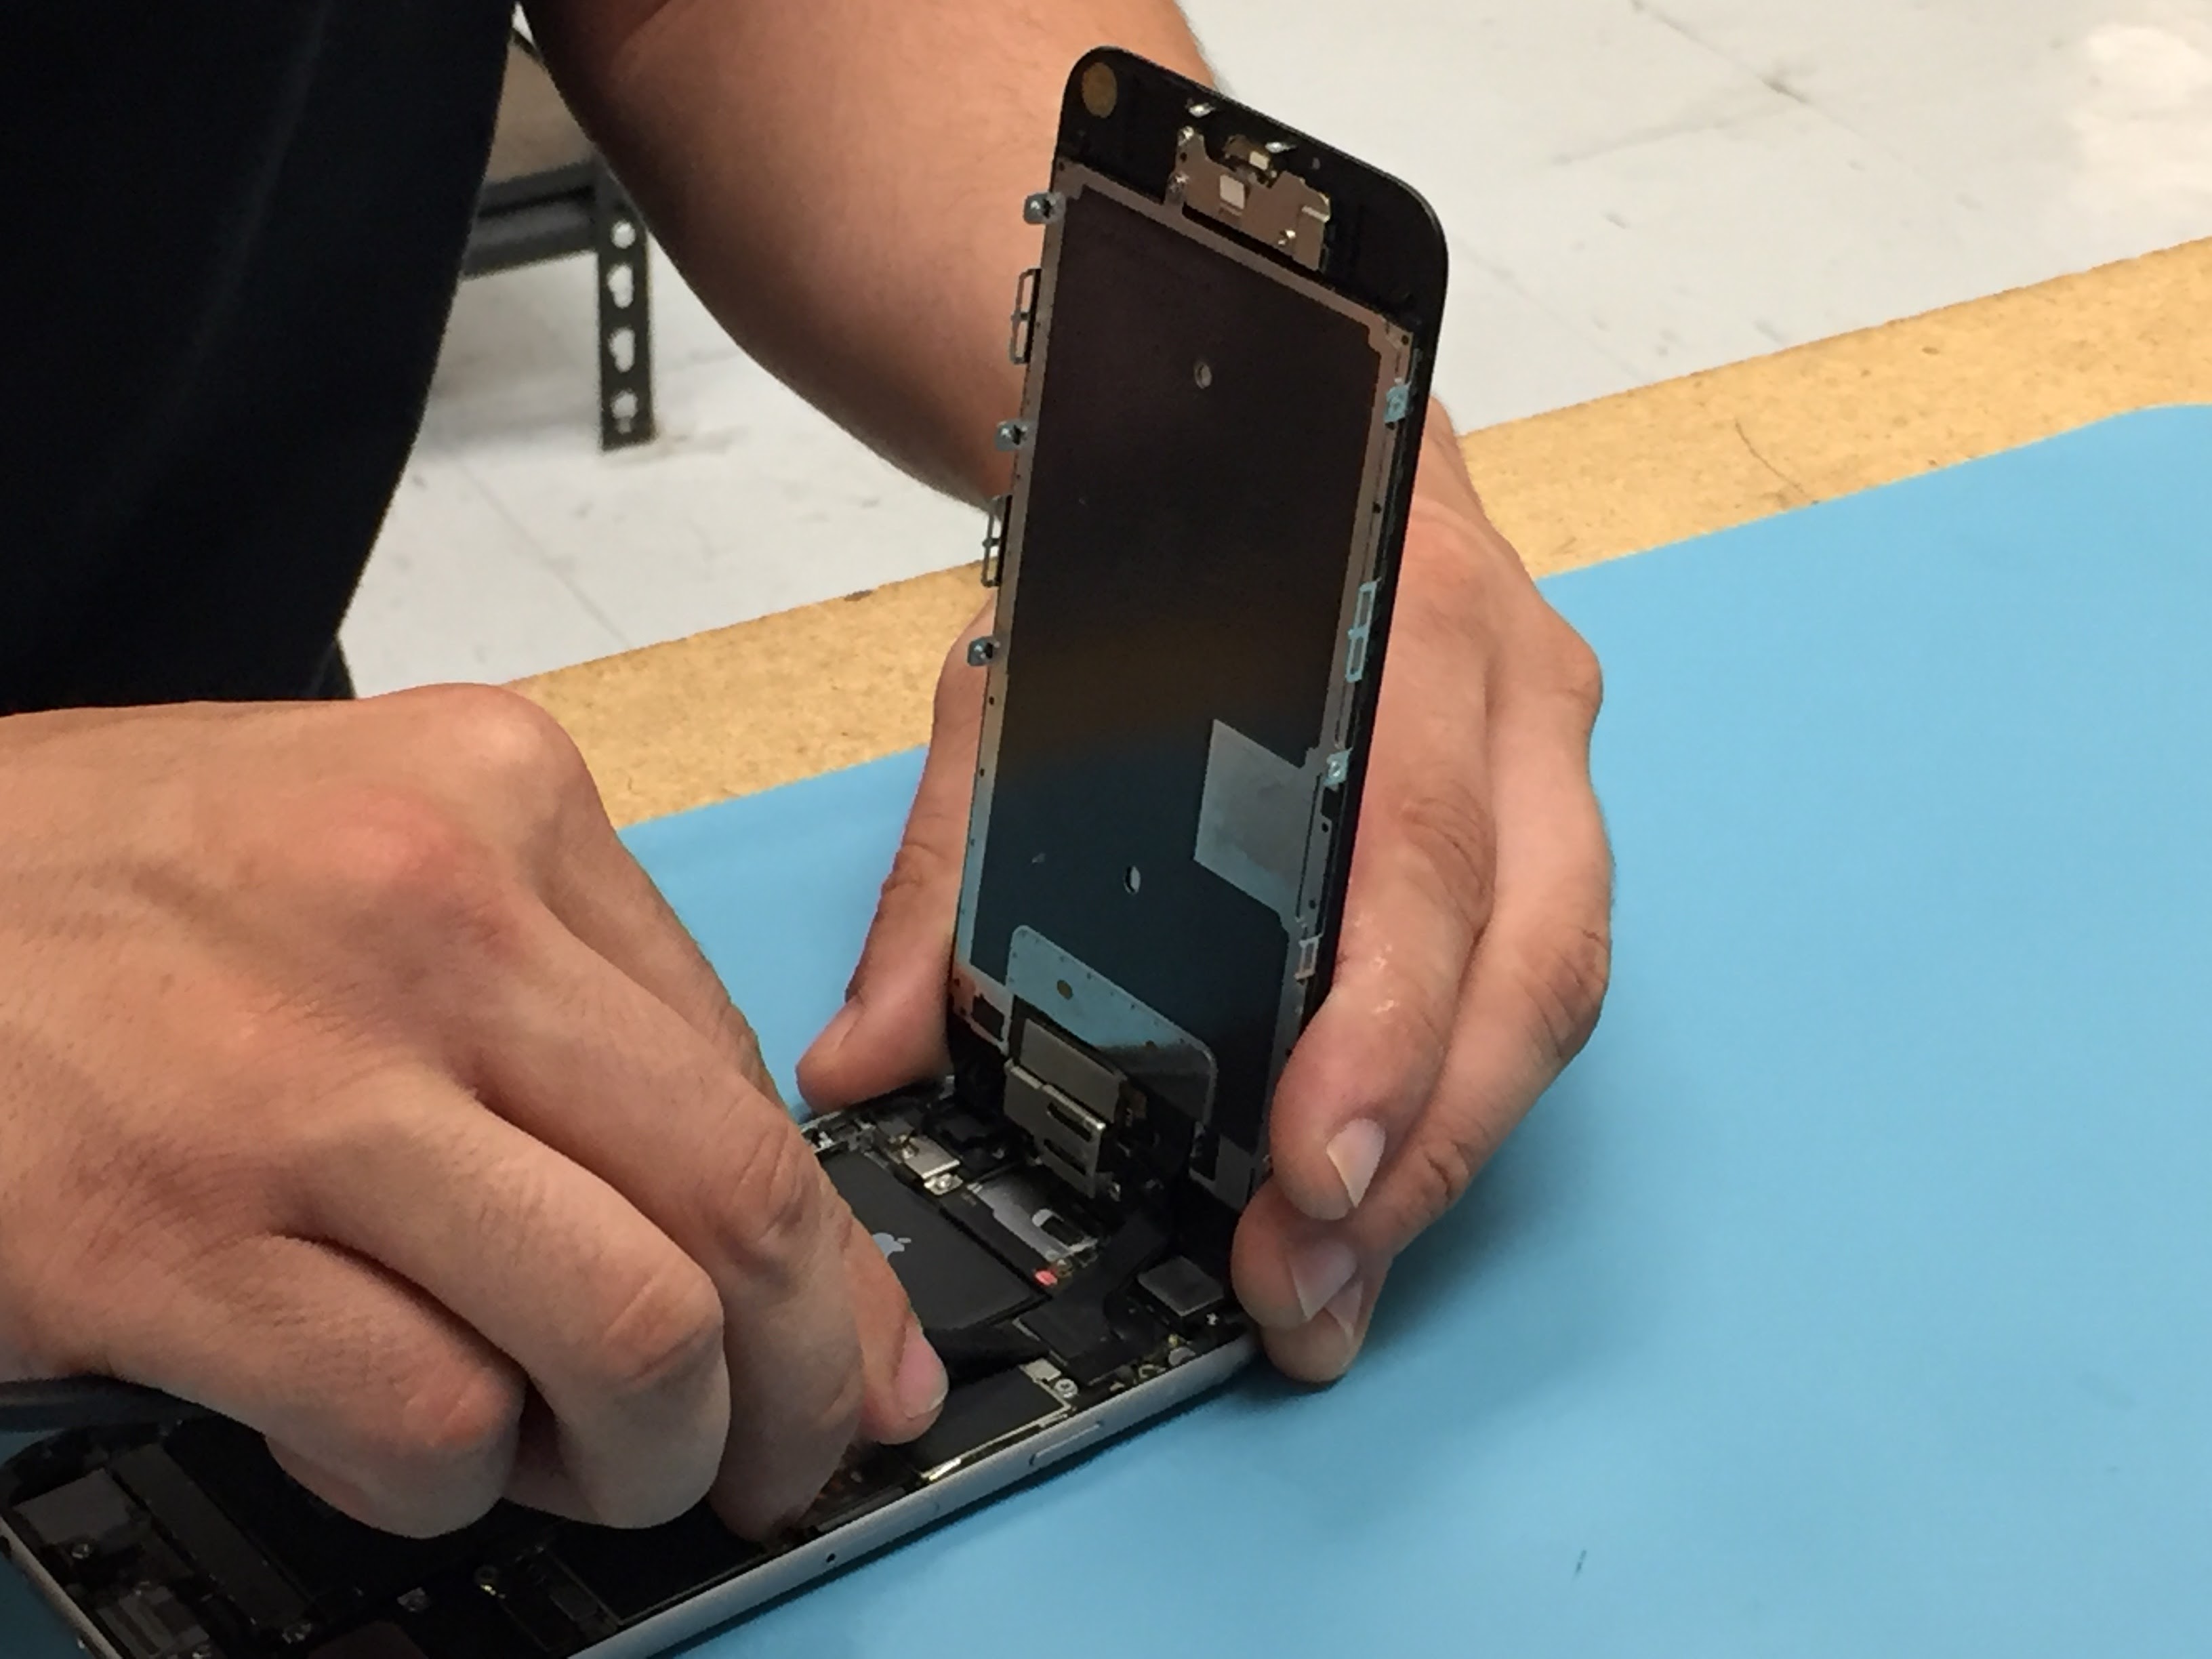
- Disconnect display cable flex using a plastic spudger. Plastic spudgers, rather than metal spudgers, should always be used for removing items on the inside of the phone.
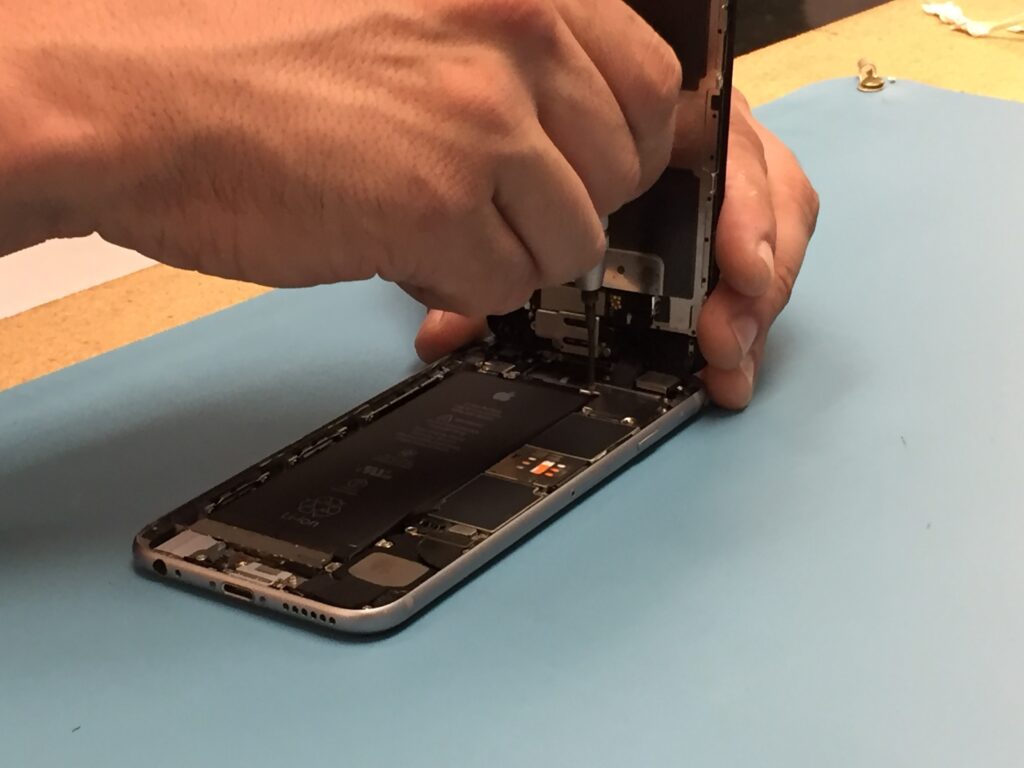
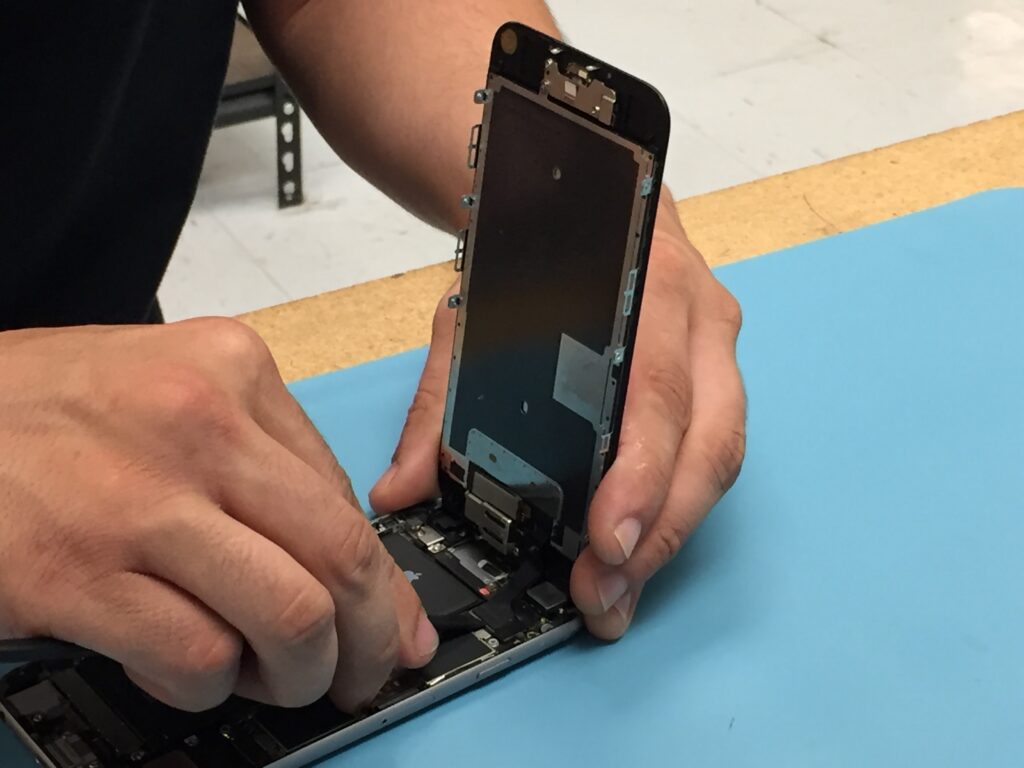
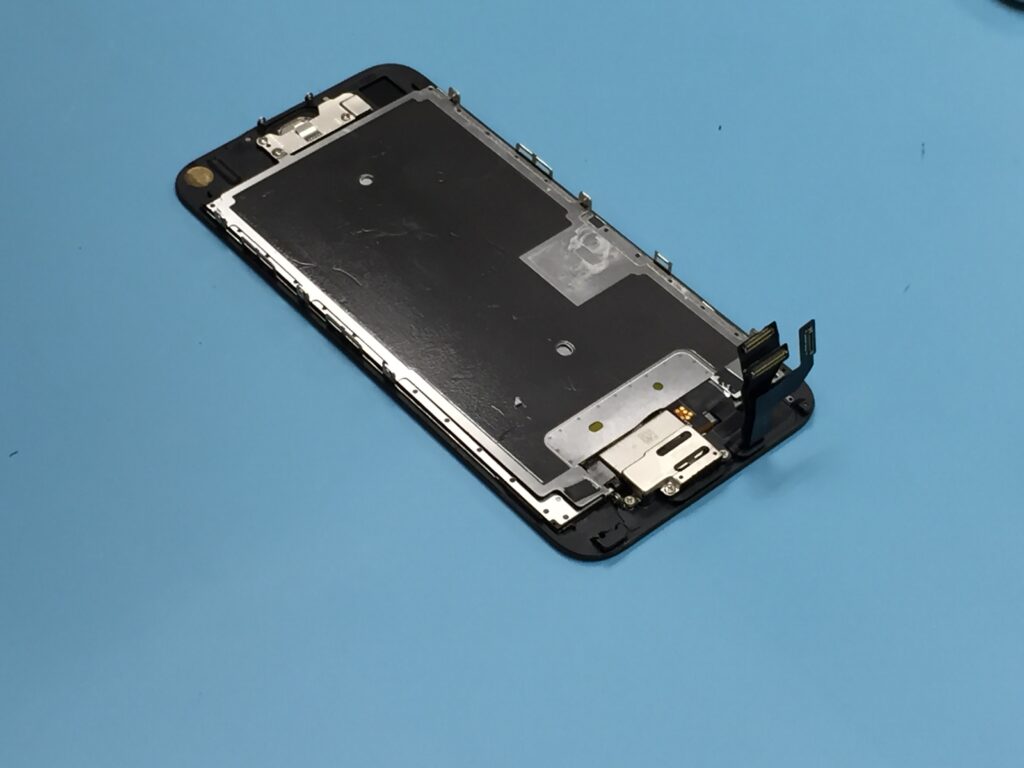
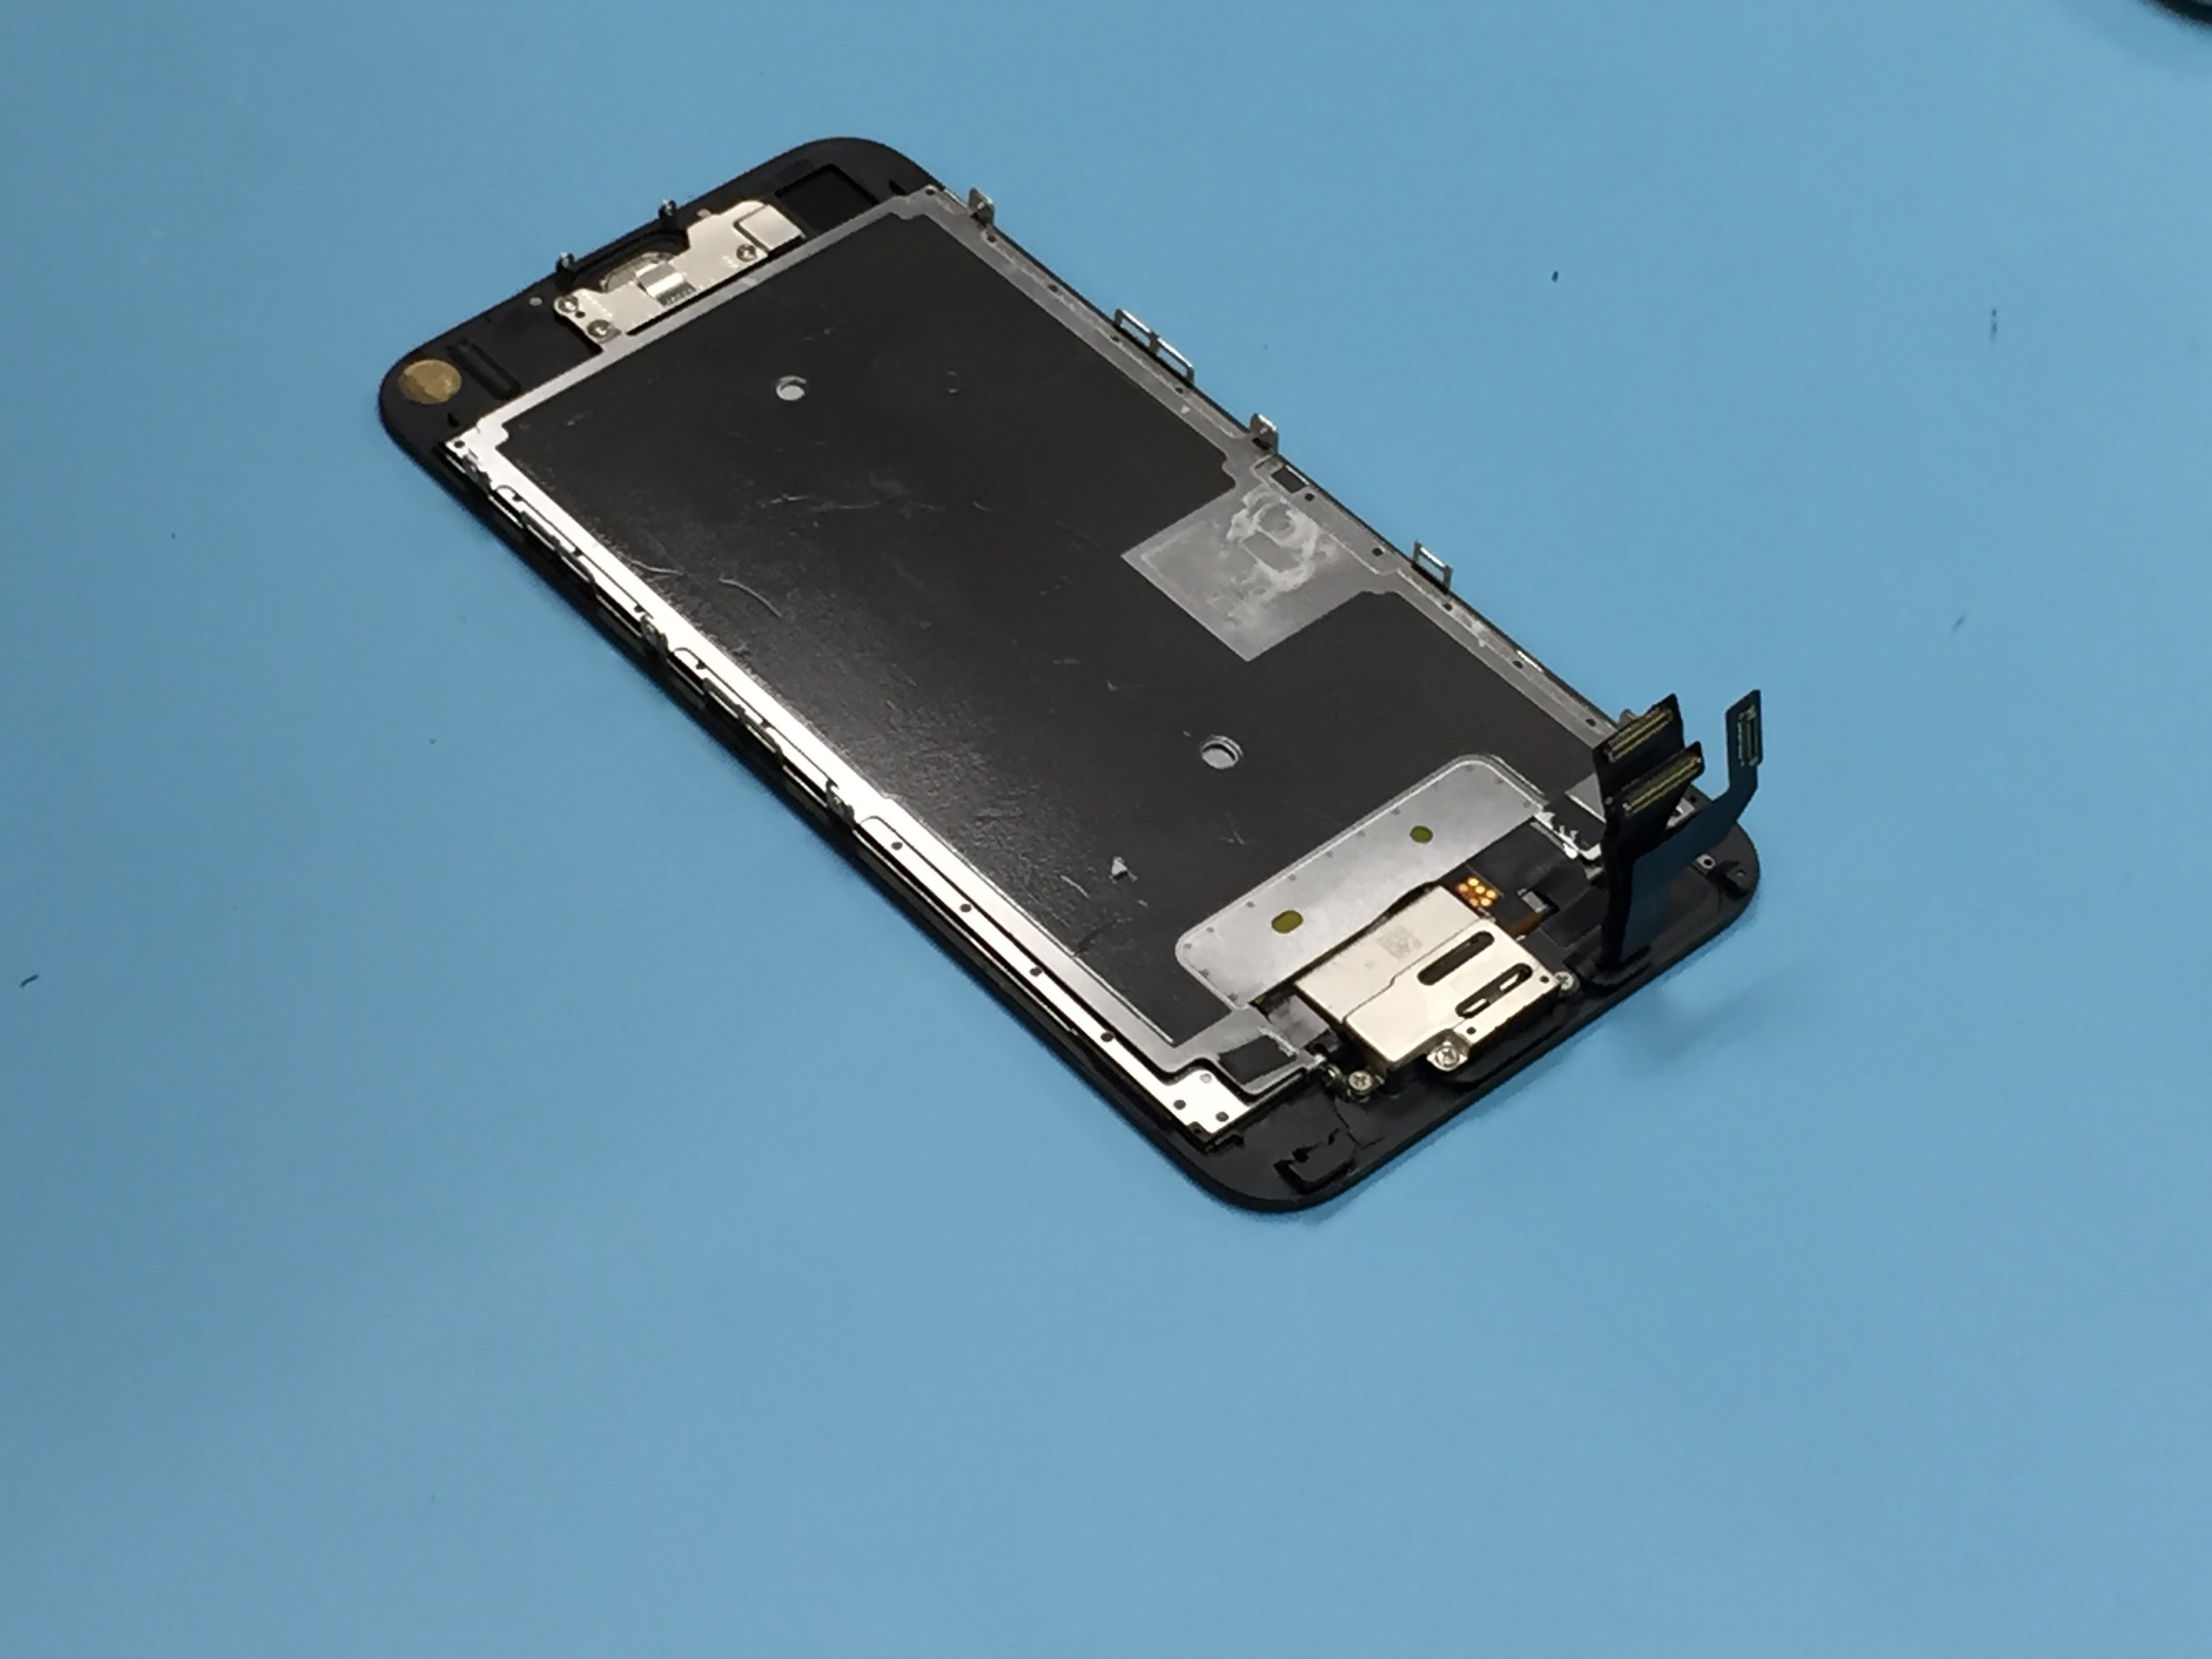
- Start removing the screen from the logic board. The screen’s flex cable connectors are held onto the logic board with a metal shield plate. This plate has 4 phillip screws that must be removed to be able to disconnect the flex cables from the logic board with a plastic spudger. Make sure you remove these screws and mark where they go. Incorrect placement will cause long screw damage to the logic board.
Remove the Camera
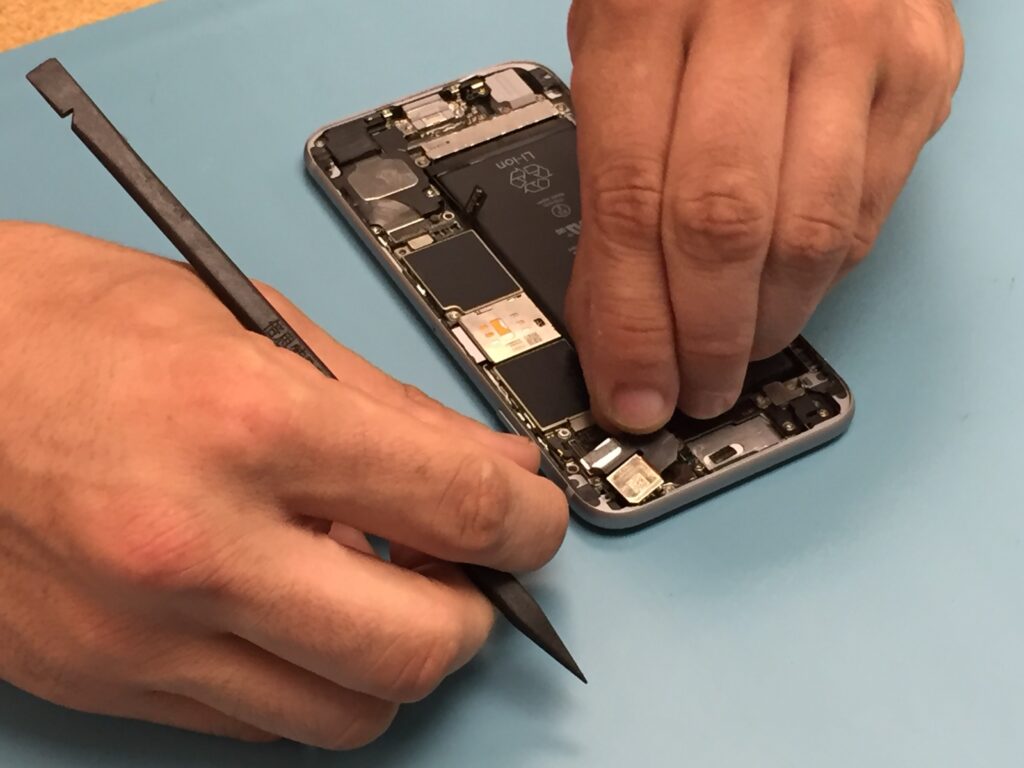
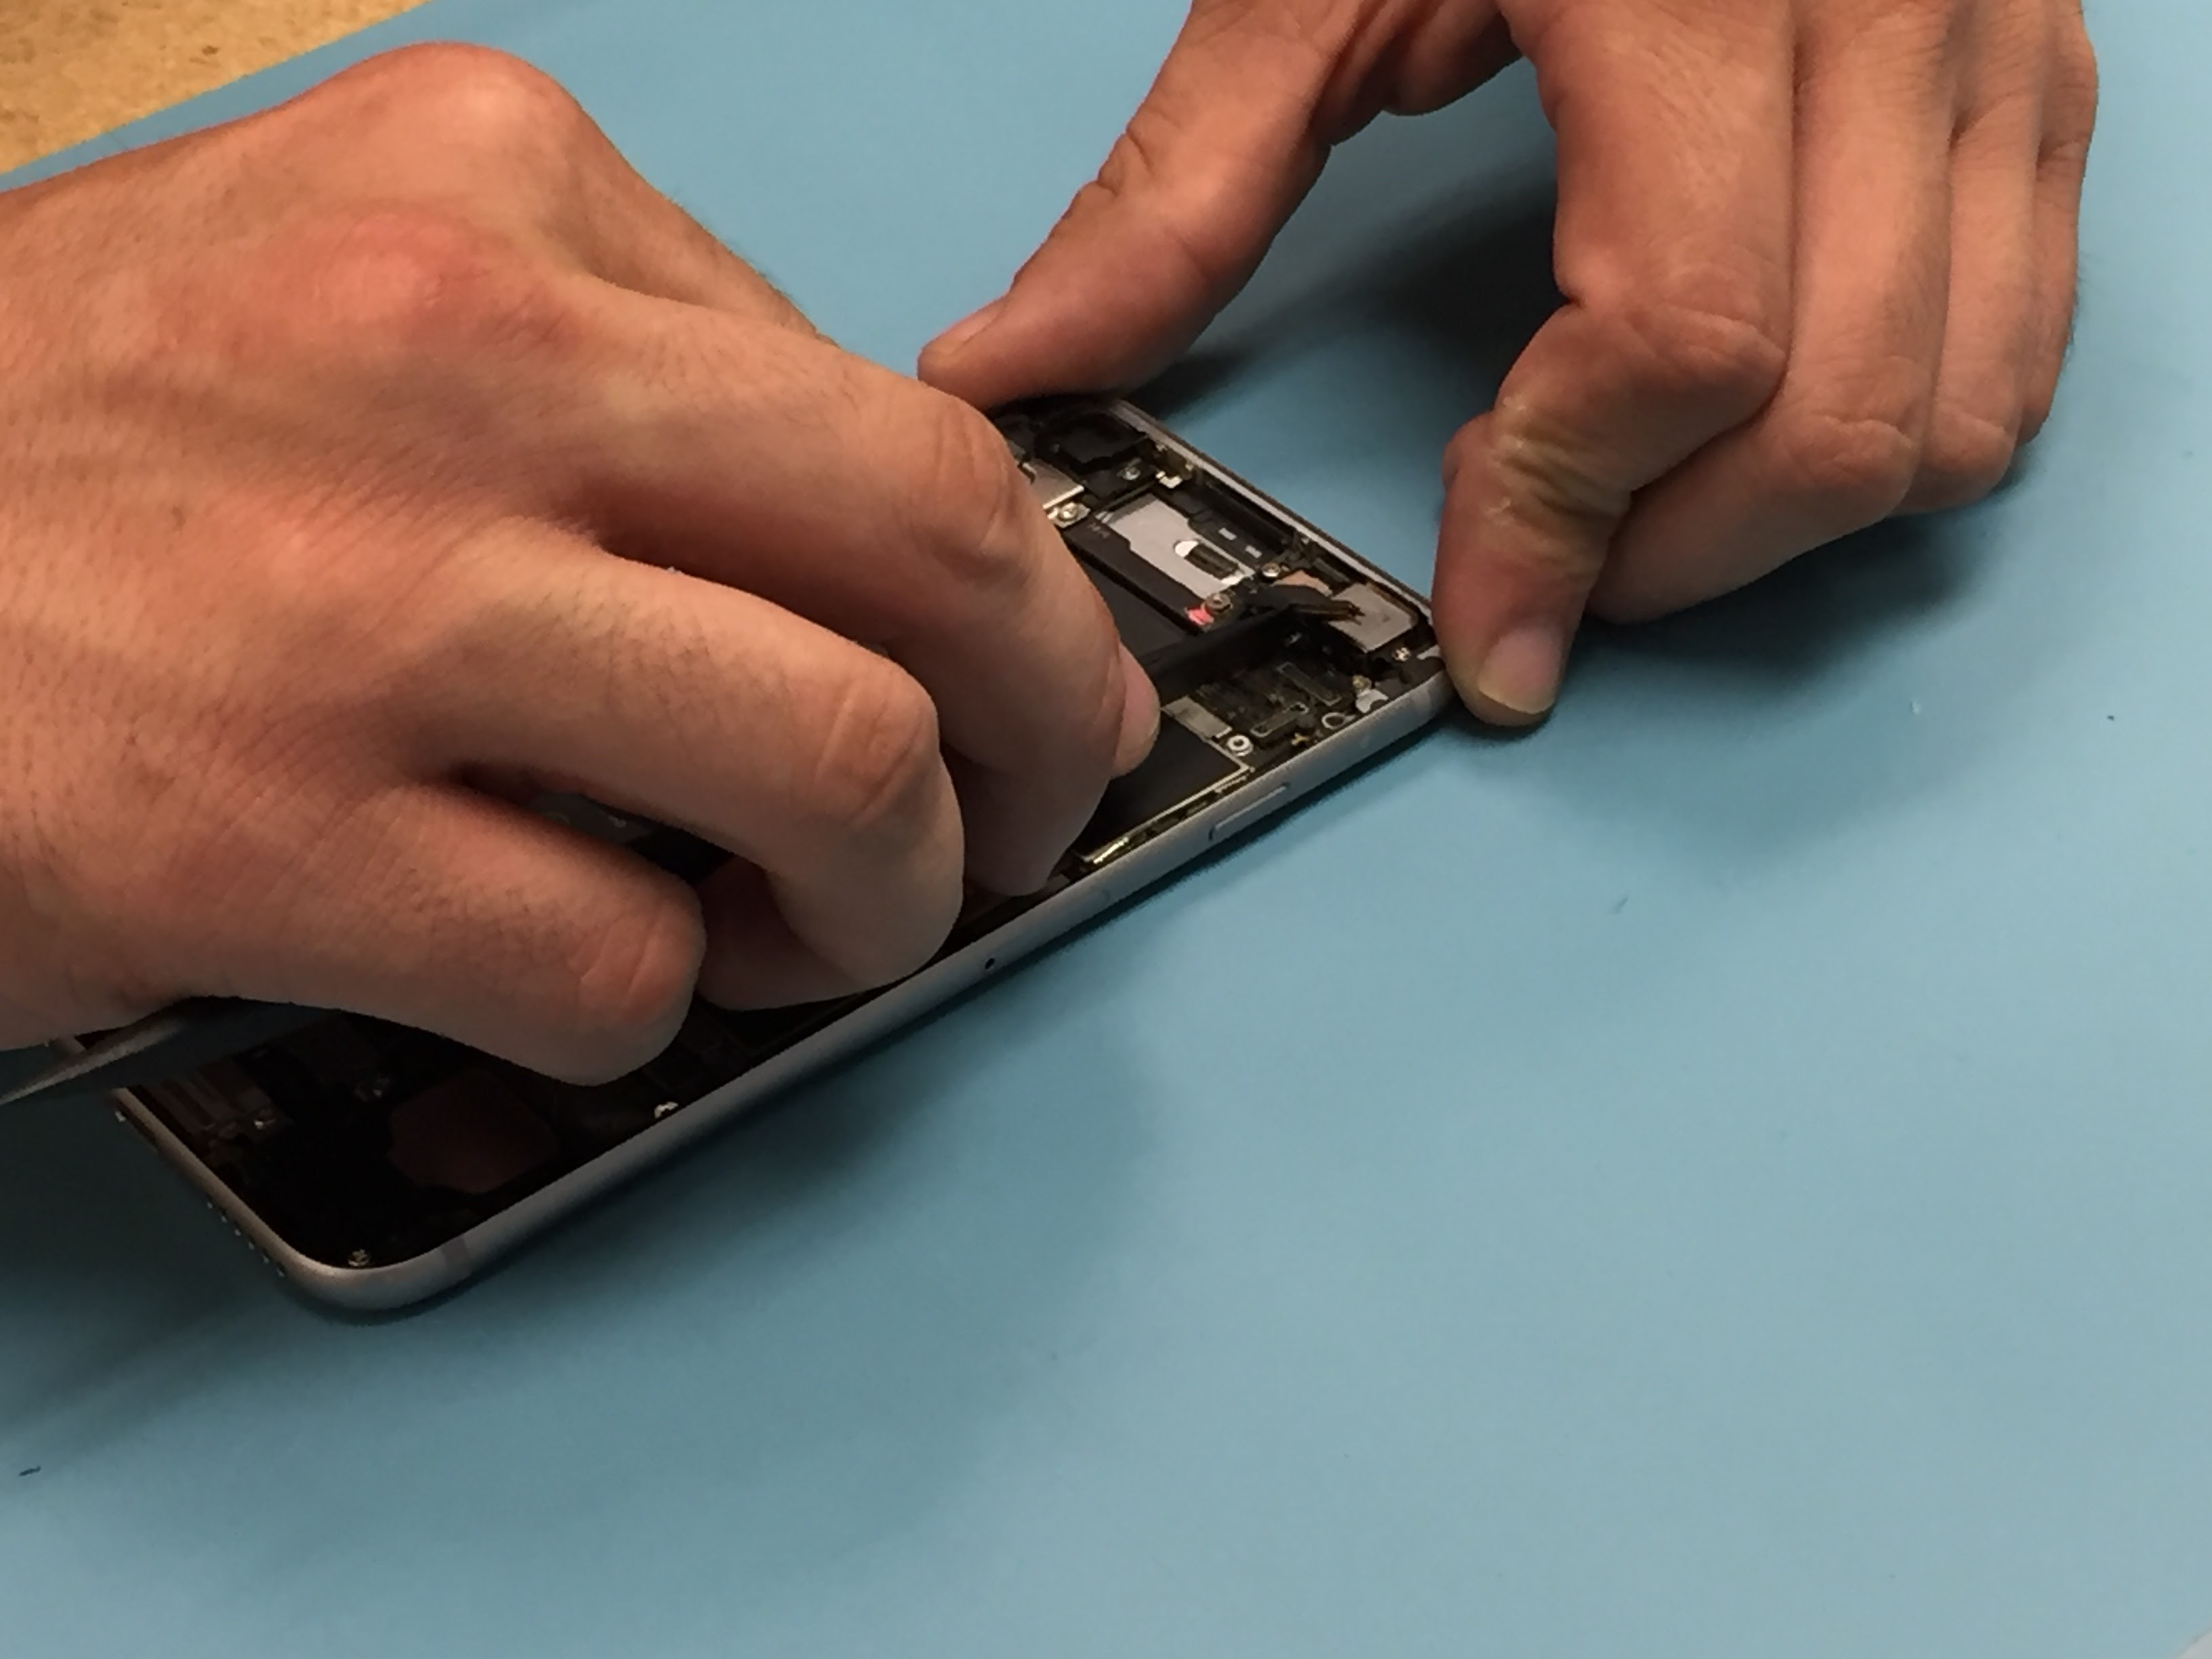
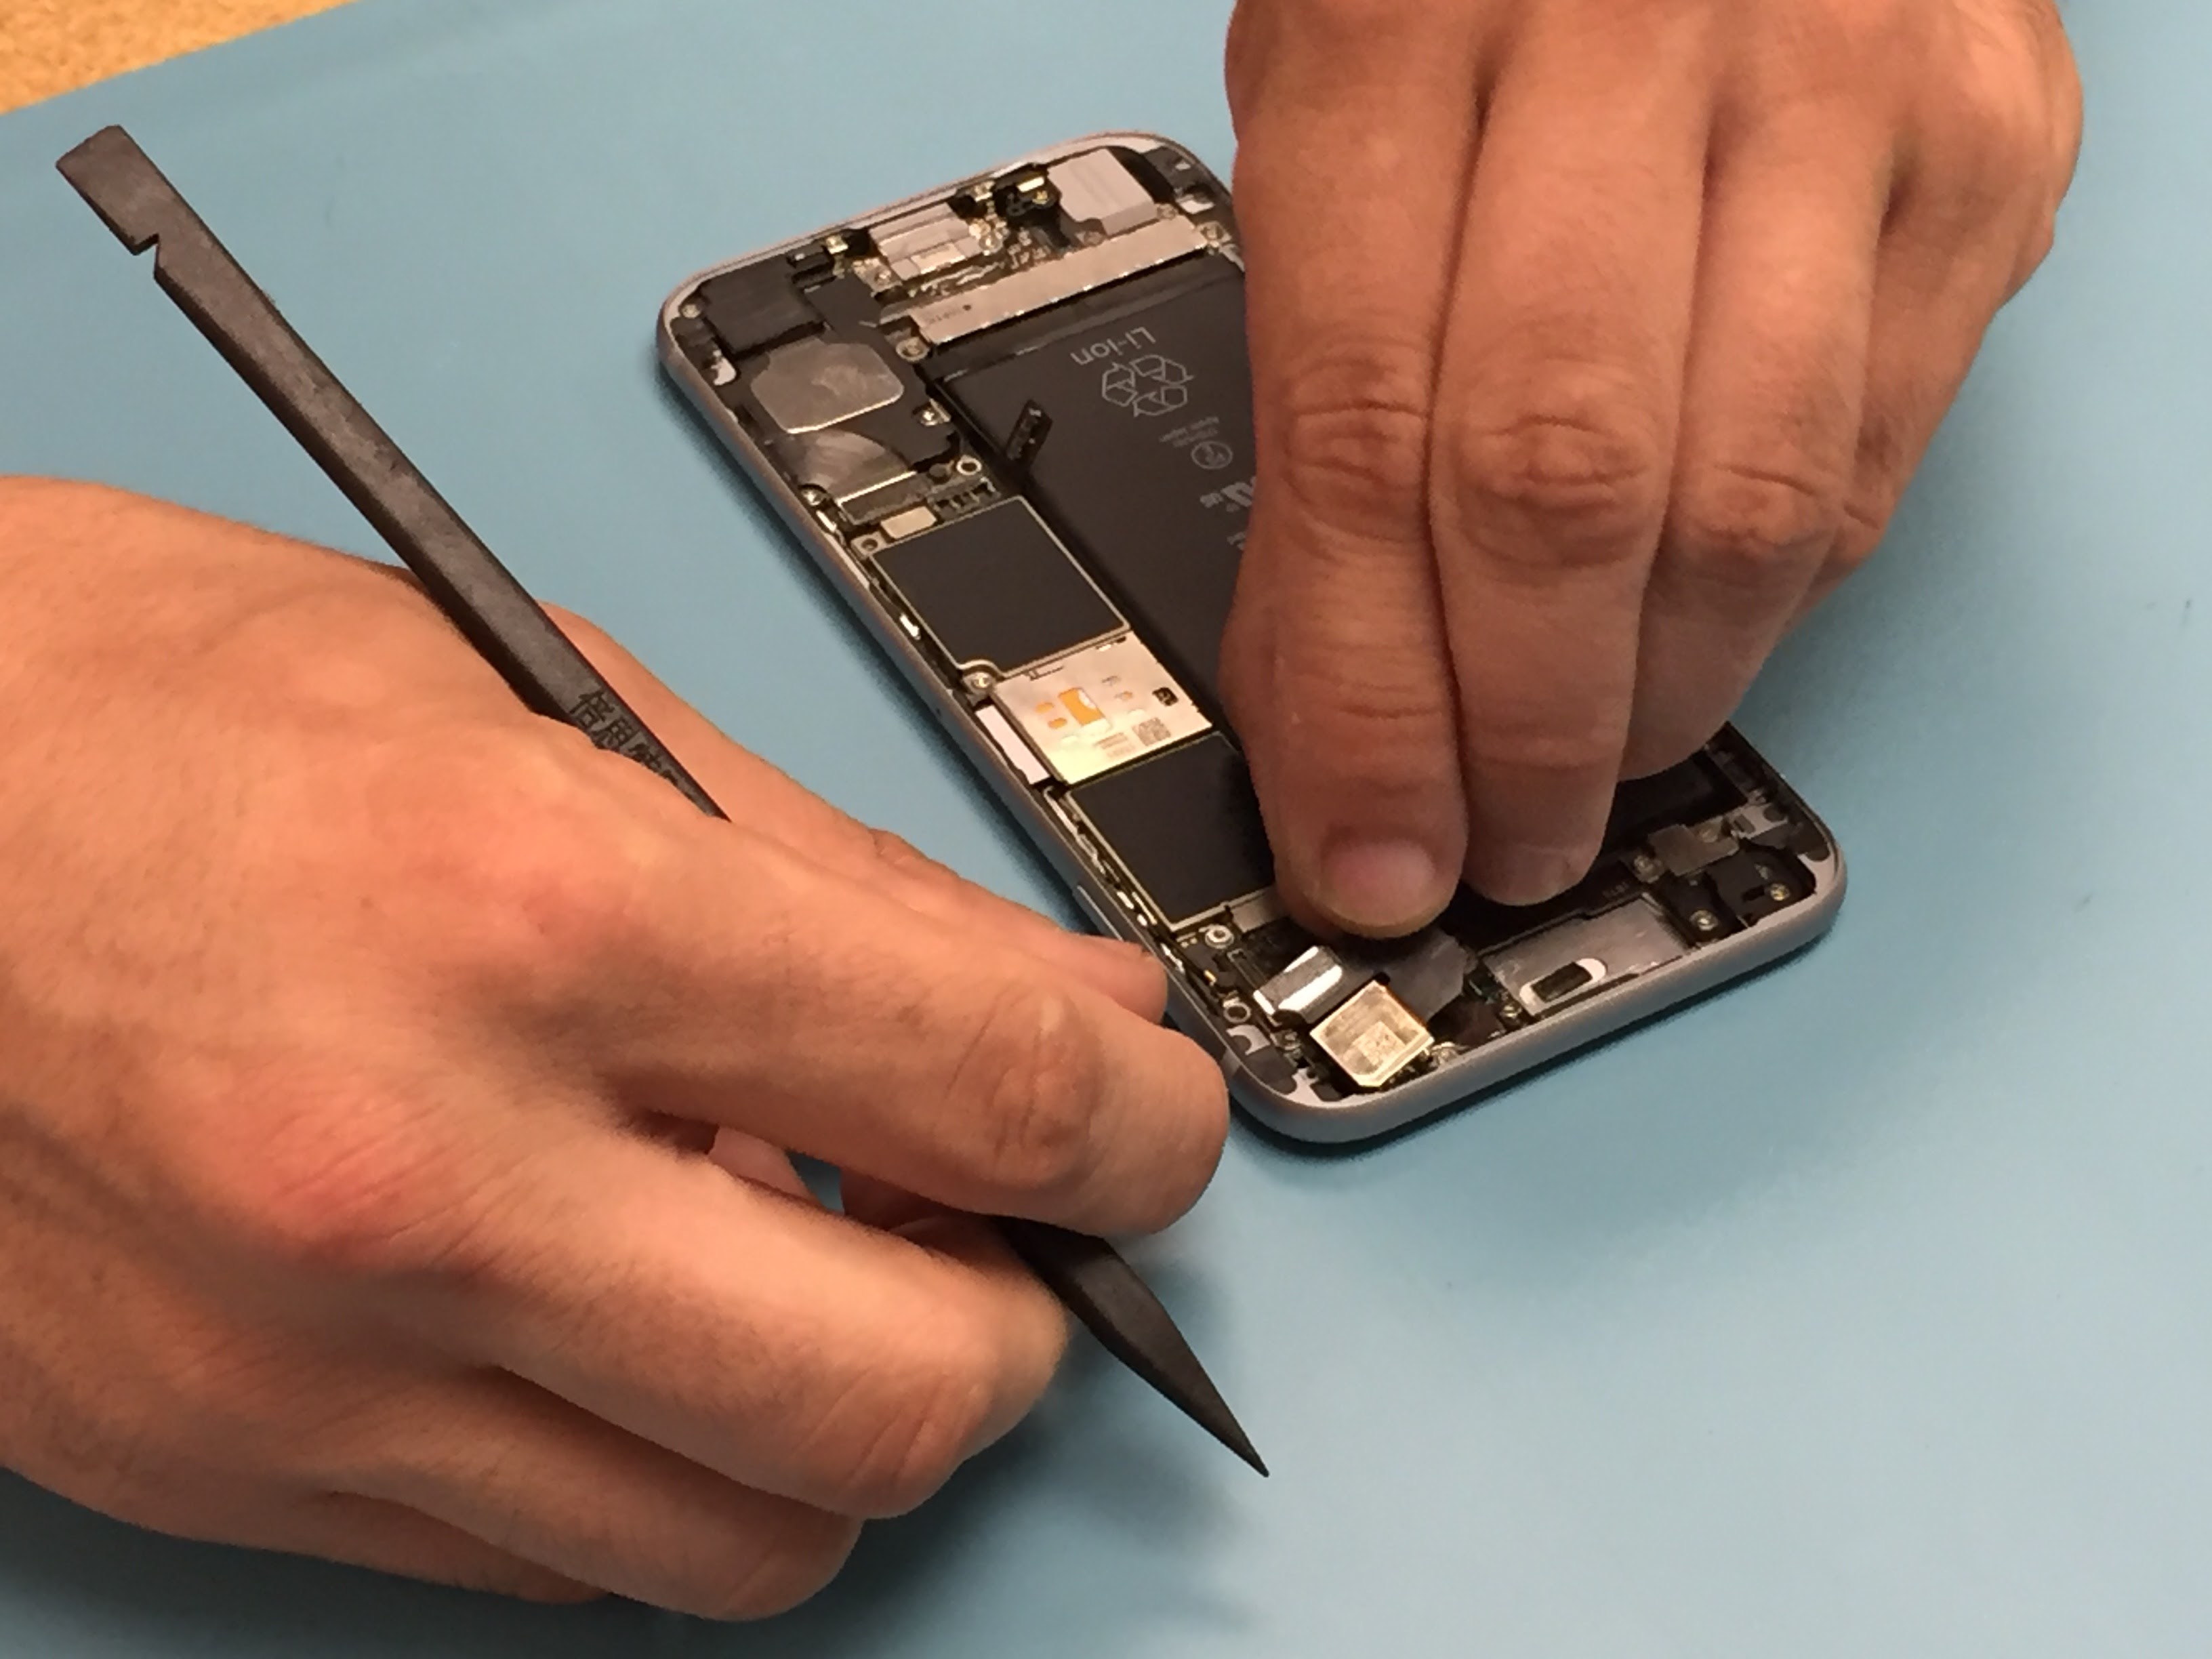
- Disconnect the rear camera flex just below the rear camera component in the top right of the phone with your plastic spudger.
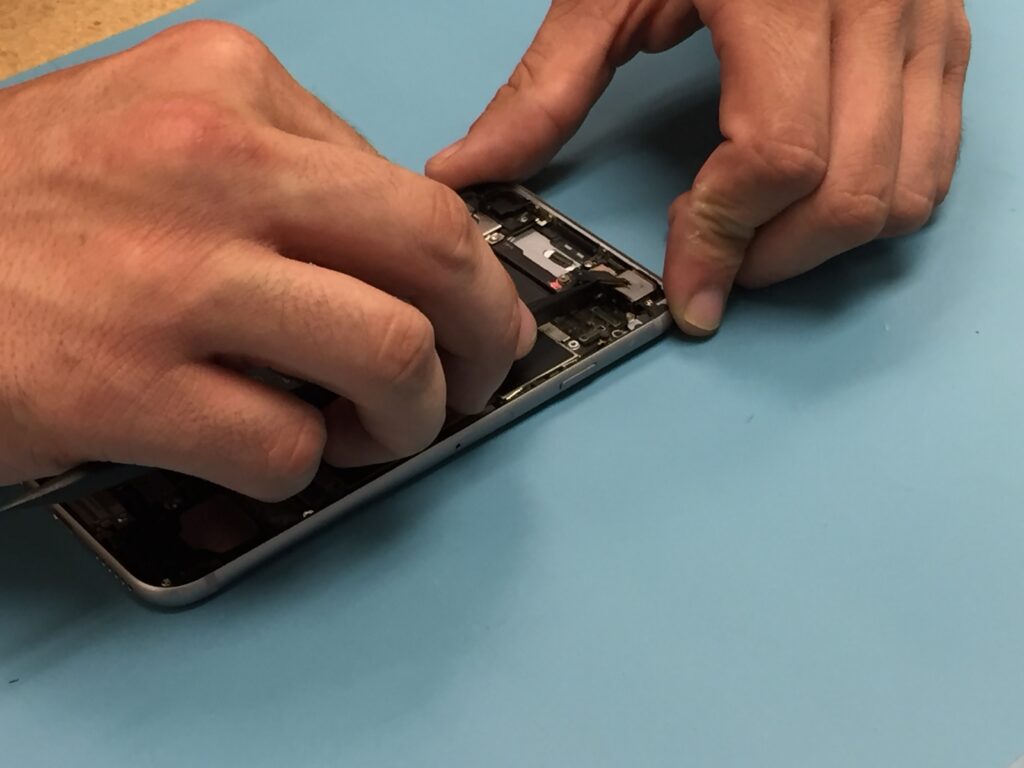
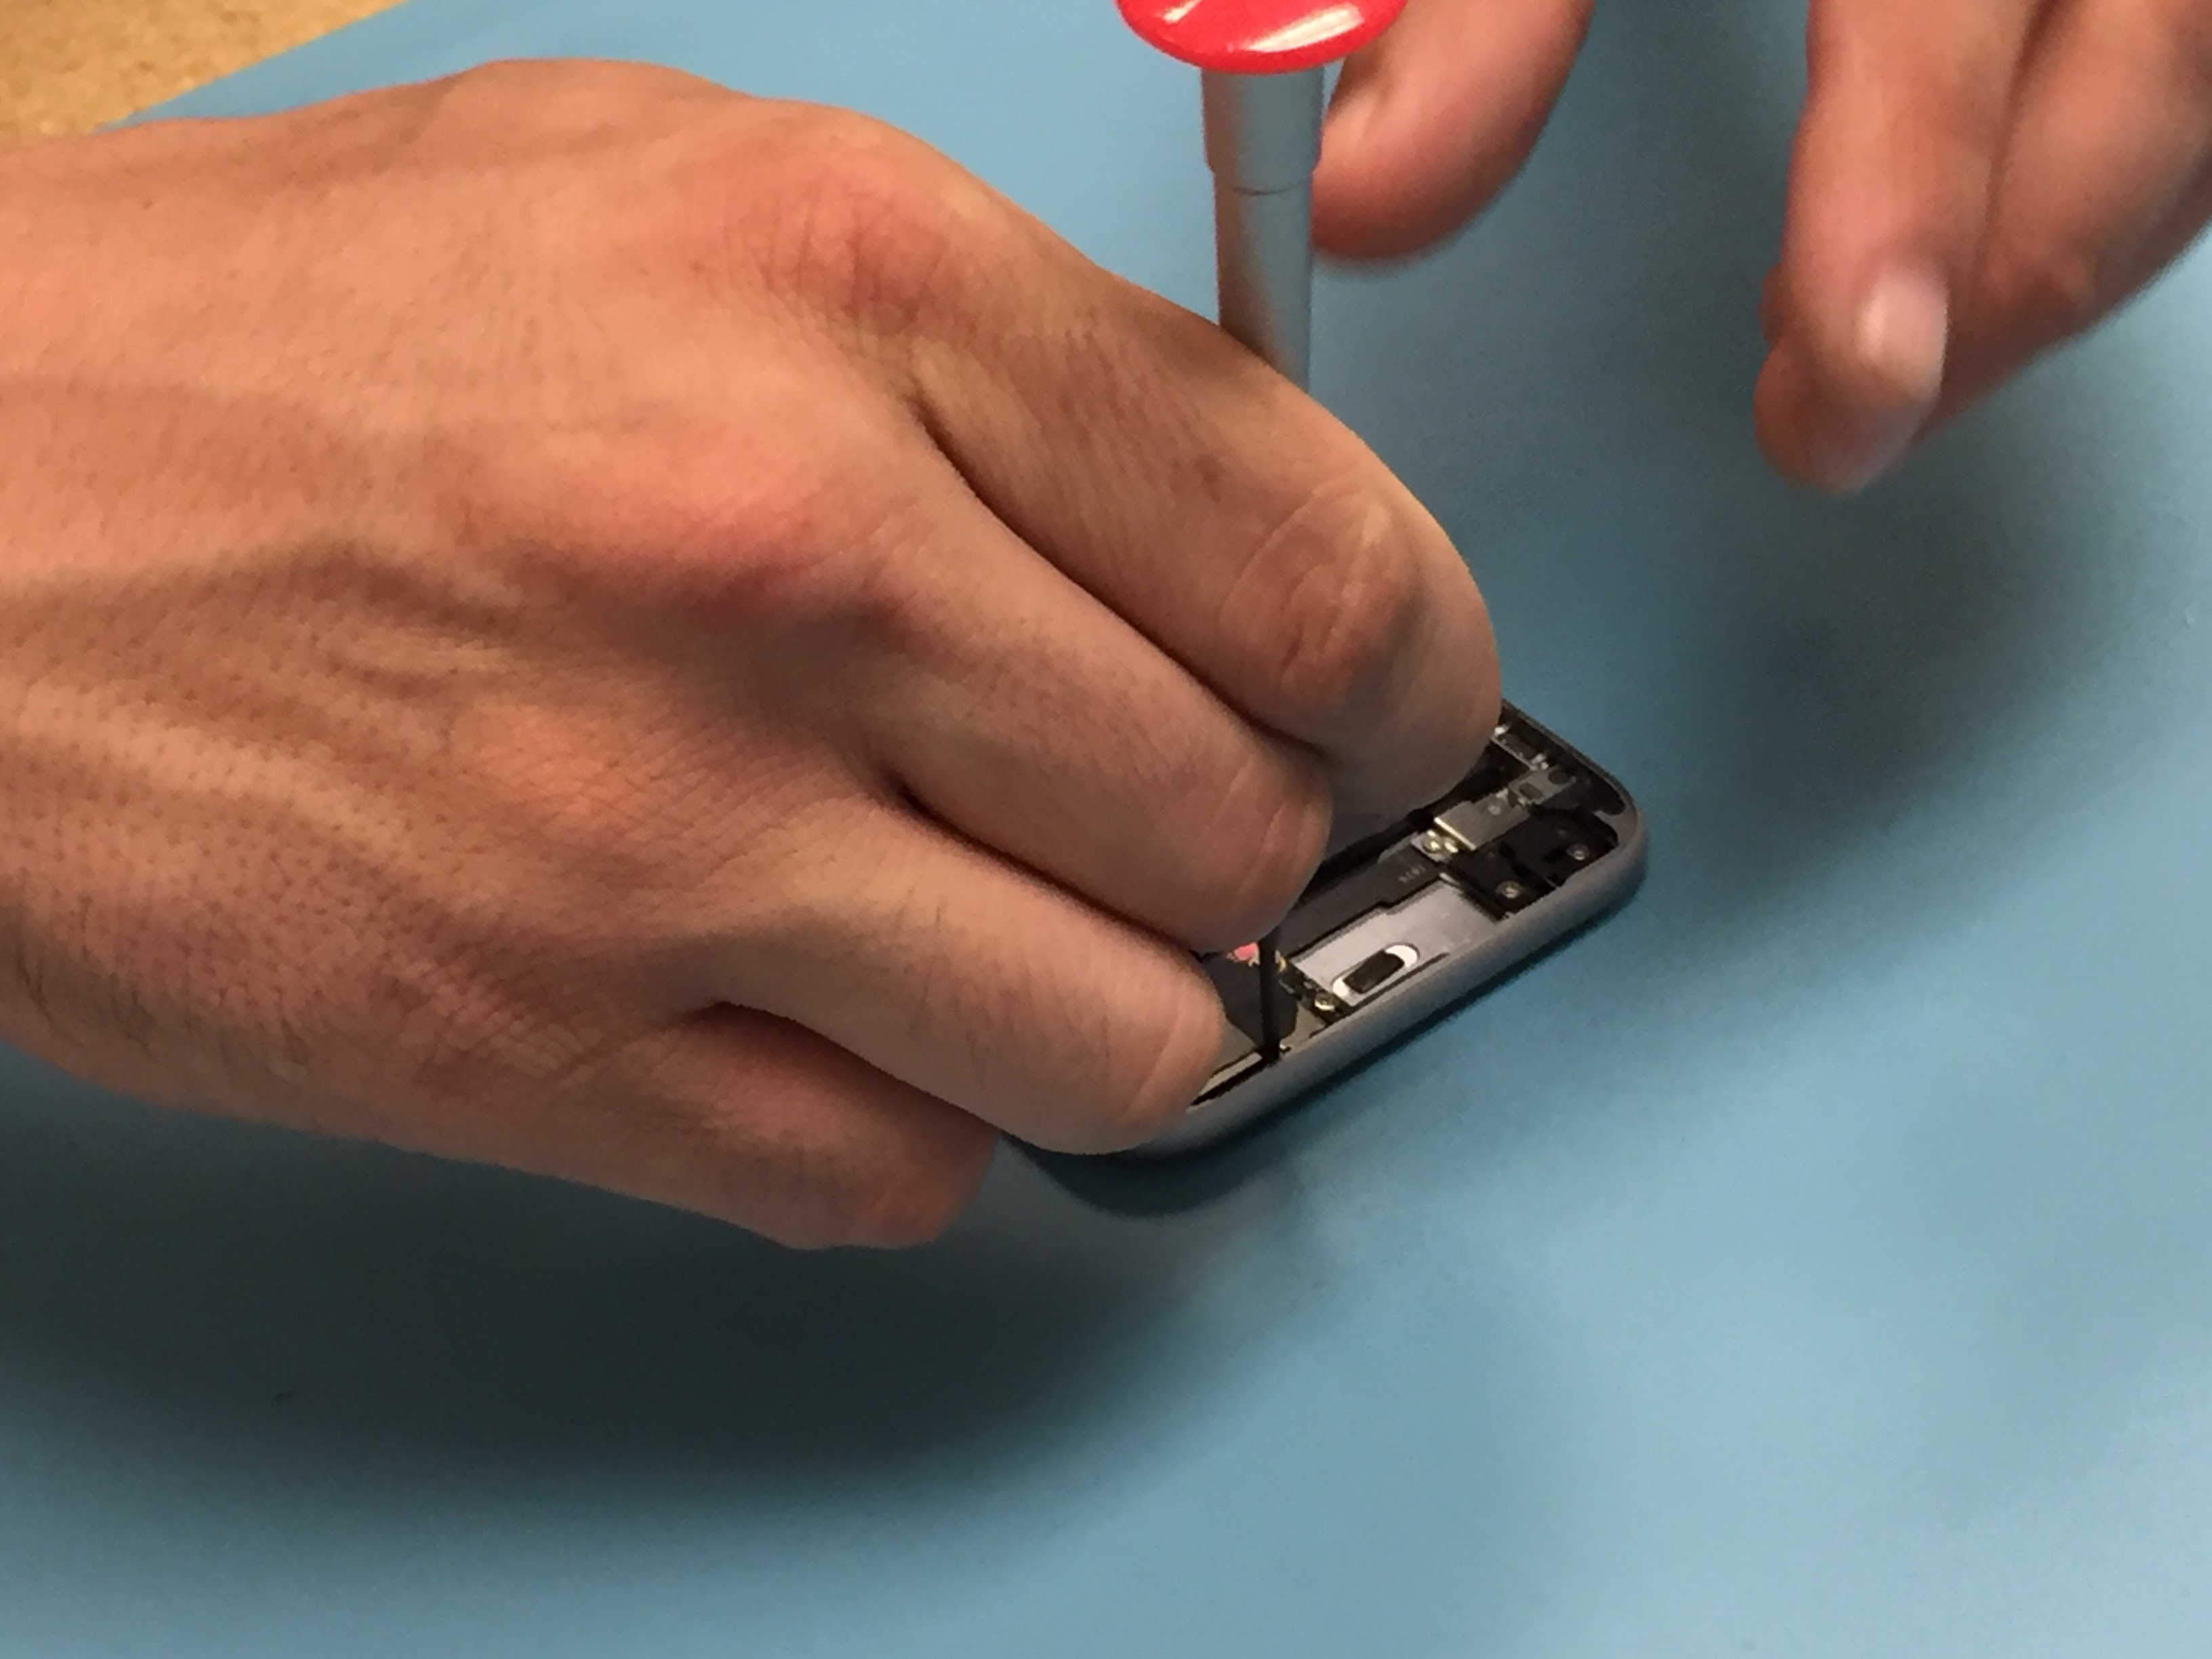
- Remove the two Philips head screws connecting the rear camera bracket to the base of the phone. The screw more towards the center of the phone is hidden under a piece of black adhesive that you will have to pry up first.
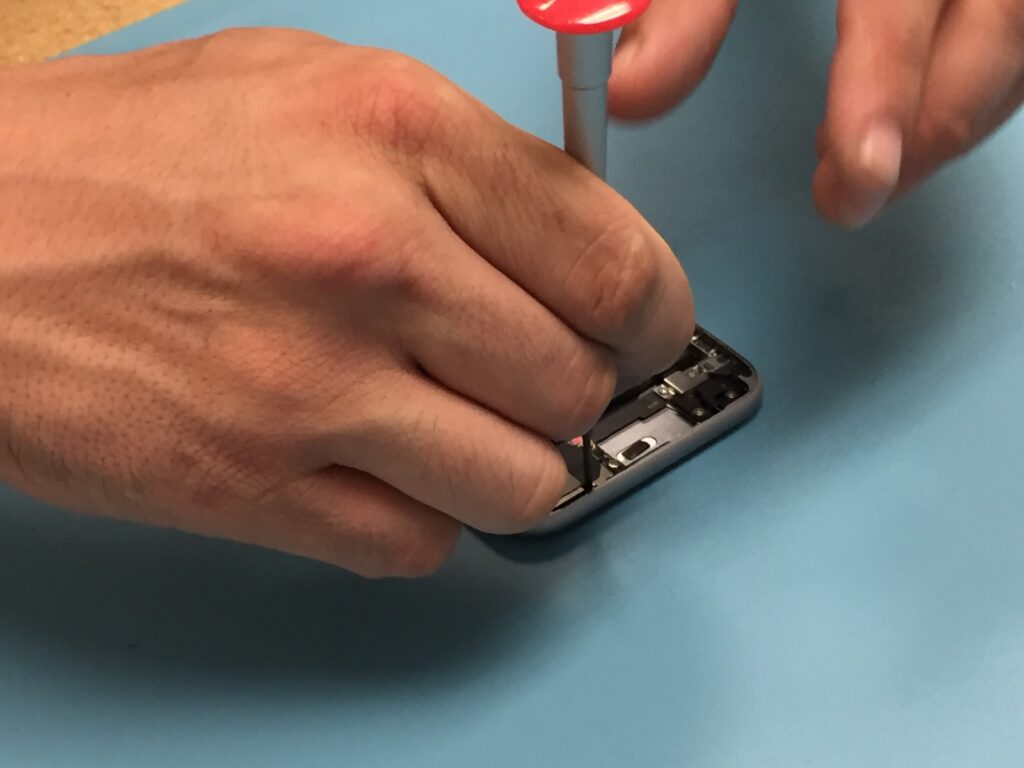
- Pry the rear camera out using your plastic spudger.