
Introduction
iPhone 6 Battery replacement is relatively easy. The clasps holding the screen onto the body near the top are at an
angle. The flex cable for the screen is also towards the top but you will not need to disconnect it to replace the
battery.
There are two strips of white adhesive under the battery that are a nuisance to remove but it is much harder to try to
pry the battery out without doing so. Let’s do this.
Exercise caution when working with batteries, especially swollen
ones.
Tools Needed
Recommended: Magnetic mat [BUY],
screw capsules [BUY]
Parts Needed
iPhone 6 Replacement Battery [BUY]
General Repair Guidelines:
- Always use good lighting – smart device components are small and you’ll need plenty of light to see what you
are doing. - Maintain a clean, organized workspace so you don’t lose or confuse any components.
- After separation, keep the back housing and screen in close proximity until all flex cables or other wire
cables are disconnected.
iPhone 6 Battery Removal Steps
- Unscrew the two pentalobe screws on either side of the lightning dock on the bottom edge of the iPhone 6.
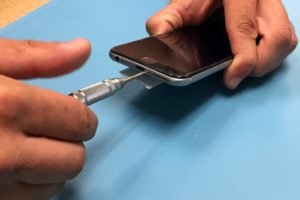
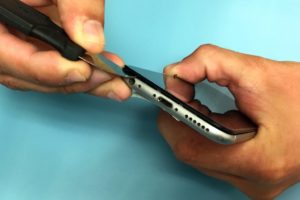
2. Use the metal spudger to slowly and carefully separate the glass screen of the iPhone from the body. Start on
the bottom edge of the device and proceed slowly. The flex cable for the screen is at the top.
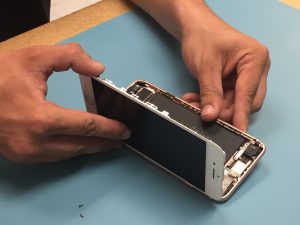
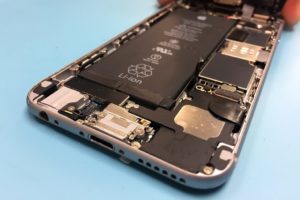
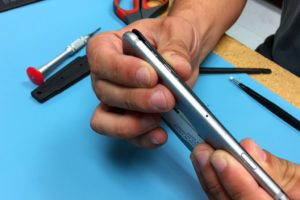
3. Slowly pull the top of the screen away from the body and locate the EMI (electro magnetic interference) shield
located by the bottom right of the battery.
- Unscrew the two screws securing the EMI shield to the logic board and remove it.
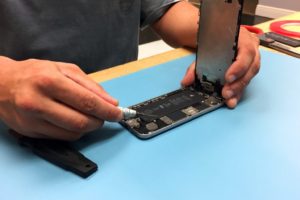
- Using a spudger, disconnect the battery cable from the logic board.
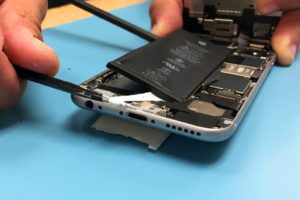
- The next steps involve removing the adhesive tape underneath the battery to make it easier to remove. Slide one
tip of your tweezers under the black adhesive strip at the bottom of the battery. Each black strip runs halfway
across the bottom of the battery.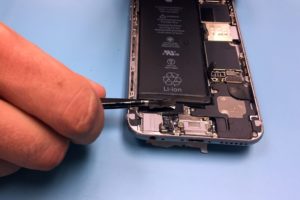
- Now roll your tweezers away from the battery while simultaneously pulling the tape out from underneath the
battery.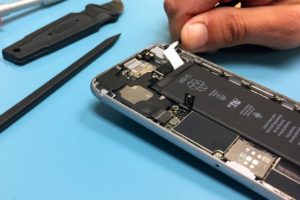
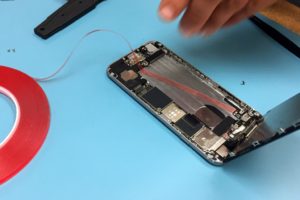
- Continue to pull the tape out from underneath the battery and roll it around the tweezers. It may help to pull
diagonally out from the corner as the tape runs up the full height of the battery.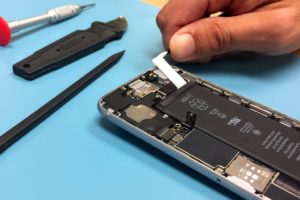
- If the white tape snaps apart you may need to use a spudger to carefully pry the battery up. Continue using a
combination of tweezers and the spudger to separate the battery from the body of the iPhone. You will have to
repeat the process to remove the second strip of tape. 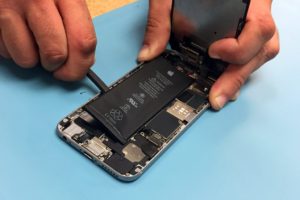
- Now you can remove the battery. Use a small length of some adhesive tape to secure the new battery in place.
Reconnect the battery cable to the motherboard and screw the EMI shield back on.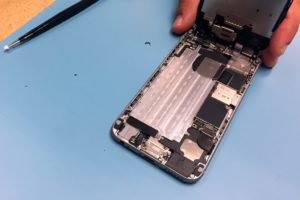
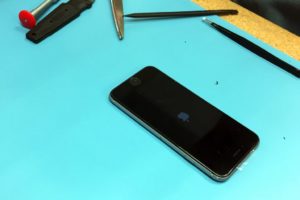
- Reattach the screen by angling the top in first and then clicking the side clasps into place. Replace the two
screws by the lightning dock. That’s it! You’re done.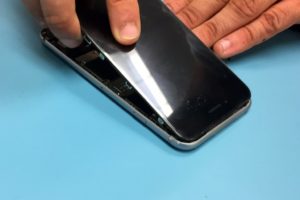
For iPhone 6 Battery Help, Repairs, or Parts
If you need parts or tools for this repair, or if this repair is too much to attempt on your own and you need
professional help with your iPhone 6 repair,
contact iFixYouri at 888-494-4349or www.ifixyouri.com.