
I bet you were told once or twice to never believe everything you see online. This is the case when it comes to tech hacks and DIY repairs. There are hundreds of videos online claiming to be the answer needed to fix your smartphone. In reality, they only offer temporary fixes and can cause further harm to your device.
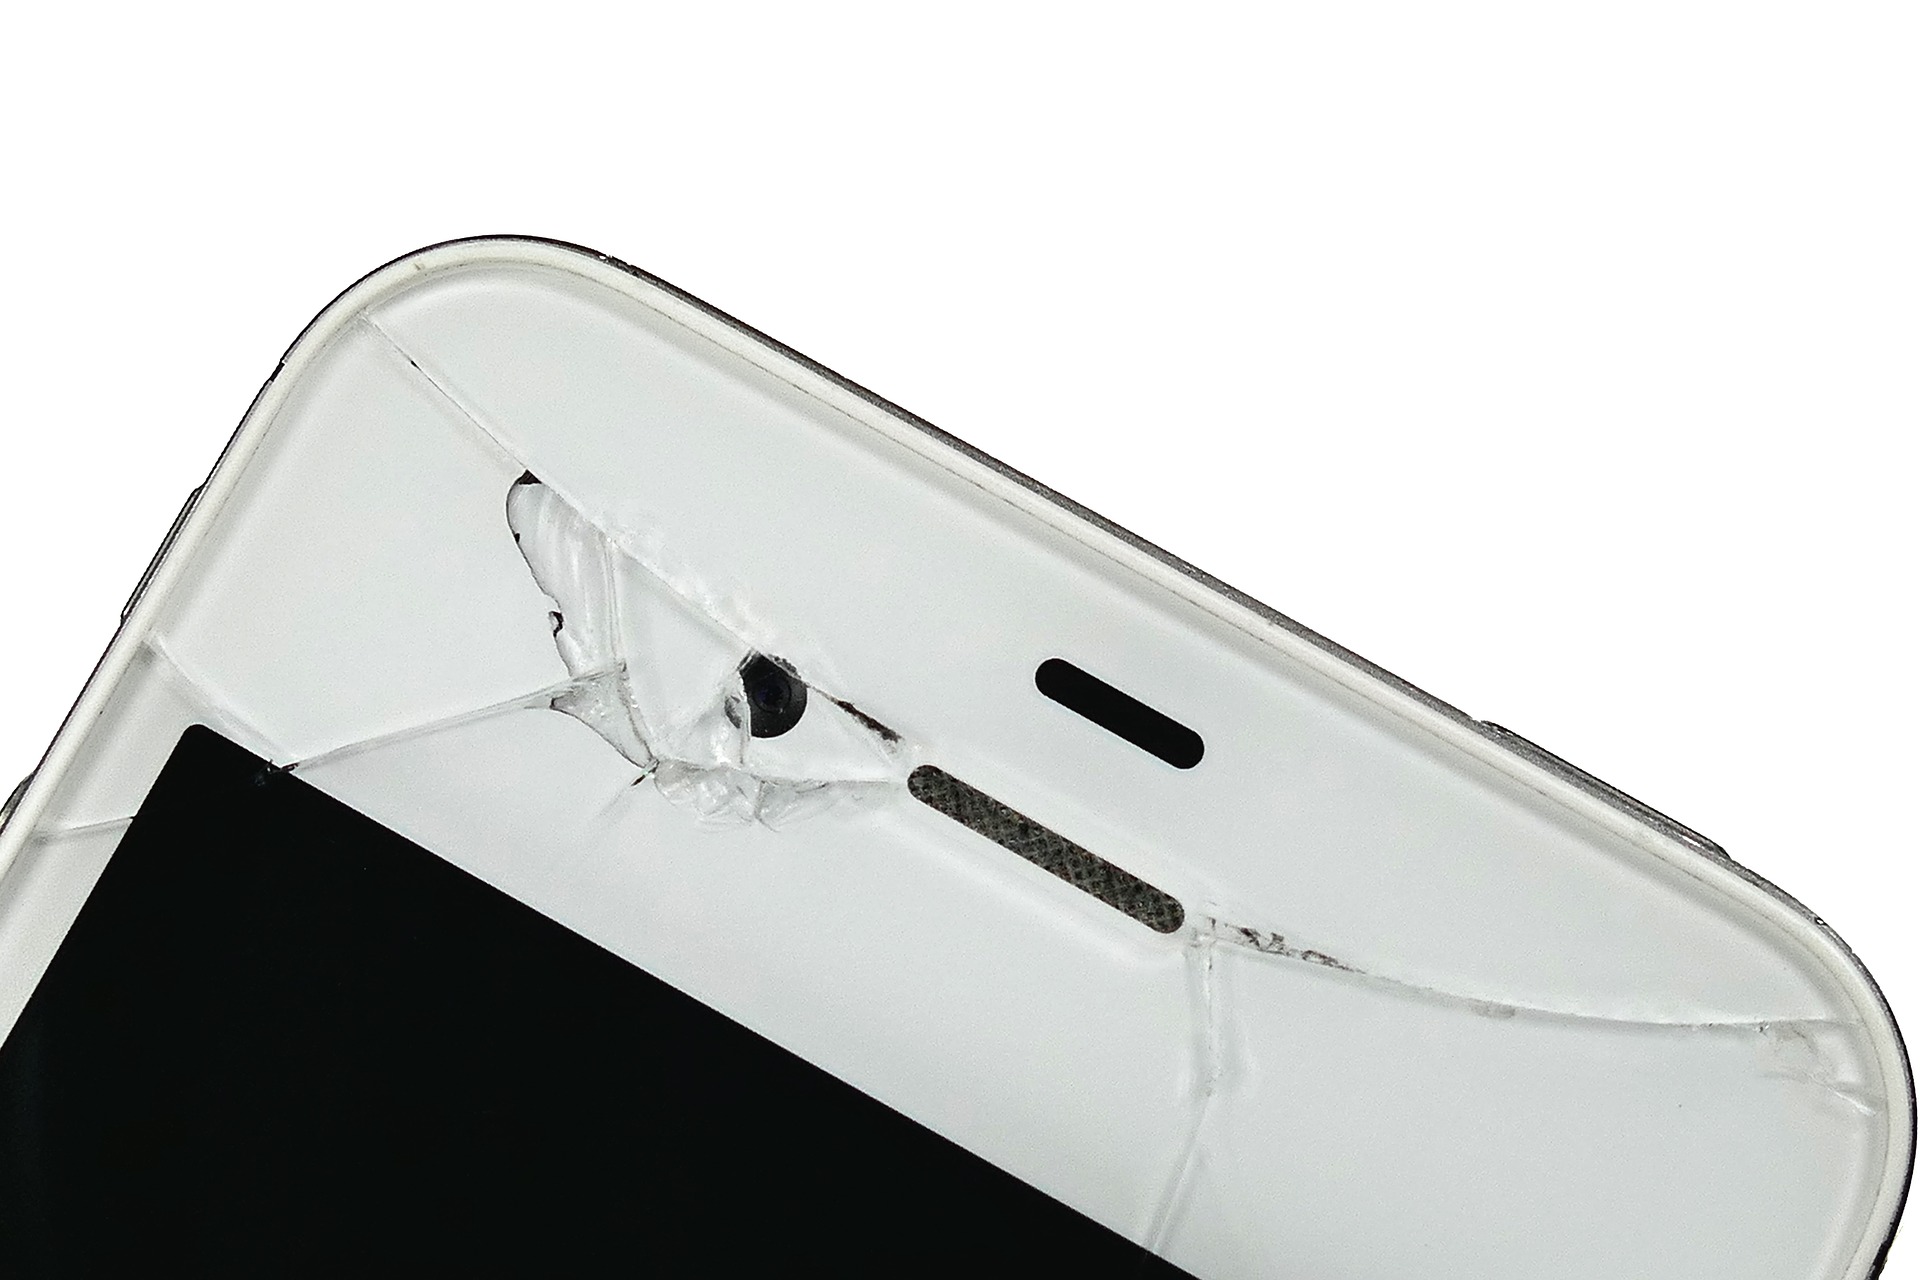
One of the most popular “hacks” circulating the web and cited by many sources is applying toothpaste to your cracked screen. Allegedly once toothpaste fills the cracks of a screen, they suddenly smooth out and disappear. Don’t do this.
Even if your phone does appear smoother, there are still cracks that need to be fixed and you are left with a sticky, minty mess. If a hack seems too good to be true, take it with a grain of salt.
Rather than relying on videos that can be misleading, turn your device issues over to a tech repair service like iFixYouri.
iFixYouri specializes in repairing phones, tablets, computers, game consoles, and accessories.
Specifically for phones, iFixYouri offers:
- Glass repair
- LCD repair
- Battery Replacement
- Water damage repair
- Vibrate switch repair
- Ear speaker repair
- Volume button repair
- Front/ Rare camera repair
- Power button repair
- Microphone repair
- Loudspeaker repair
- Charging port repair
- Backglass repair
All of the following is done at a reasonable price, but if you want to take things into your own hands, you’ll need to use the proper tools and follow the right steps.
Fix your Smartphone: iPhone 6 Battery Replacement
If your device has poor battery life, the video and steps below may help:
Unscrew the two pentalobe screws on either side of the lightning dock on the bottom edge of the iPhone 6.
Use the isesamo to slowly and carefully separate the glass screen of the iPhone from the body. Start on the bottom edge of the device and proceed slowly. The flex cable for the screen is at the top.
Slowly pull the top of the screen away from the body and locate the EMI (electromagnetic interference) shield located by the bottom right of the battery.
Unscrew the two screws securing the EMI shield to the logic board and remove it.
Using a spudger, disconnect the battery cable from the logic board.
The next steps involve removing the adhesive tape underneath the battery to make it easier to remove. Slide one tip of your tweezers under the black adhesive strip at the bottom of the battery. Each black strip runs halfway across the bottom of the battery.
Now roll your tweezers away from the battery while simultaneously pull the tape out from underneath the battery.
Continue to pull the tape out from underneath the battery and roll it around the tweezers. It may help to pull diagonally out from the corner as the tape runs up the full height of the battery.
If the white tape snaps apart you may need to use a spudger to carefully pry the battery up. Continue using a combination of tweezers and the spudger to separate the battery from the body of the iPhone. You will have to repeat the process to remove the second strip of tape.
Now you can remove the battery. Use a small length of some adhesive tape to secure the new battery in place. Reconnect the battery cable to the motherboard and screw the EMI shield back on.
Reattach the screen by angling the top in first and then clicking the side clasps into place. Replace the two screws near the lightning dock. That’s it! You’re done.
Fix your Tablet: iPhone Mini Screen Replacement
If you ever want to remove your tablet’s glass and LCD, here’s another helpful video:
Tools Required
- Heat Pad: soft mat with a variable temp electrical heating element
- iSesamo, or metal spudger, used for prying device exteriors, never internal electronics
- Phillips head screwdriver
- Plastic spudger
Instructions
- Loosen adhesive with the heating pad (10min @ 75°C)
- Pry with a metal spudger slowly and gently.
- Lift glass from the bottom to avoid damage to the flex cable.
- Unscrew the screen from the body with a Phillips head screwdriver. Keep your screws organized.
- Be extremely careful while removing the screen. Go gently around all the edges to loosen the LCD.
- Unscrew the metal shield with your Phillips head screwdriver. Keep your screws organized.
- IMPORTANT: Disconnect the battery.
- Disconnect the LCD Flex.
- BE EXTREMELY CAREFUL. Separate the backside of the digitizer flex from the housing.
- Then, USING A PLASTIC SPUDGER, remove the digitizer clip evenly from the logic board.
- If the end of the flex cable is still attached, align your spudger with the side of the iPad and disconnect it.
Needless to say, several helpful tutorials can be found on iFixYouri’s YouTube page.
If you ever have trouble while attempting to fix your smartphone, feel free to visit iFixYouri for further assistance!
Image by InspiredImages from Pixabay